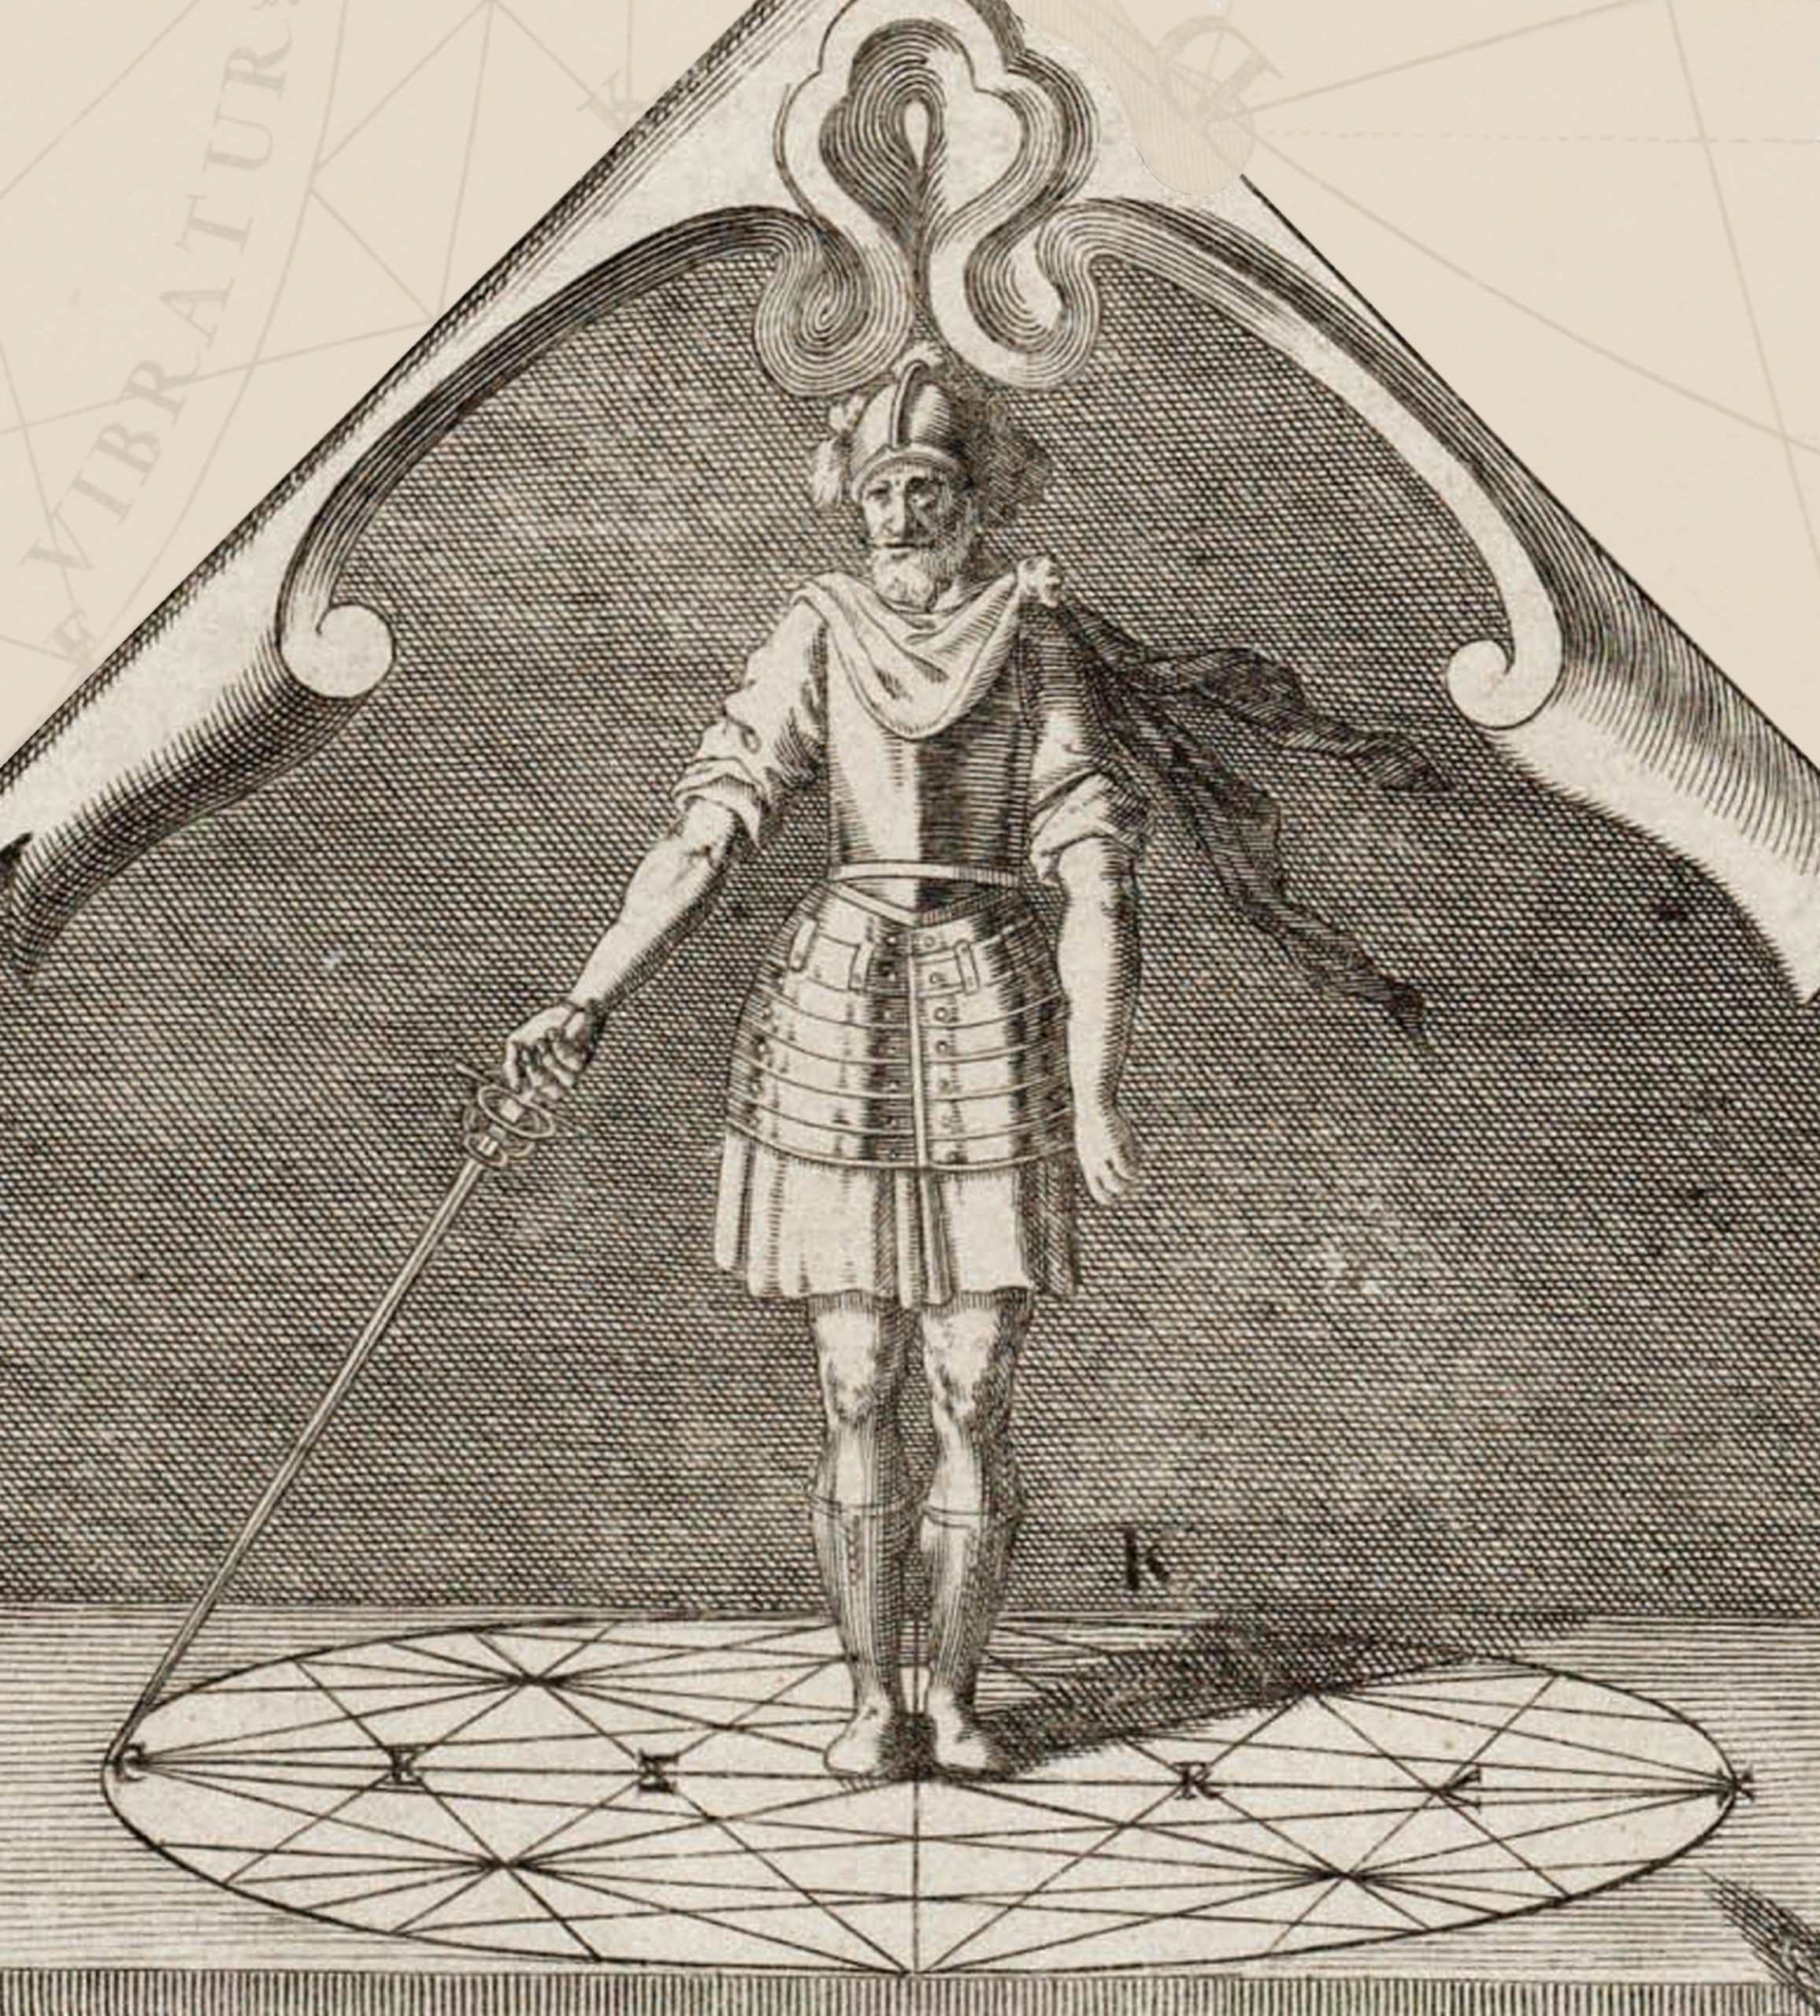
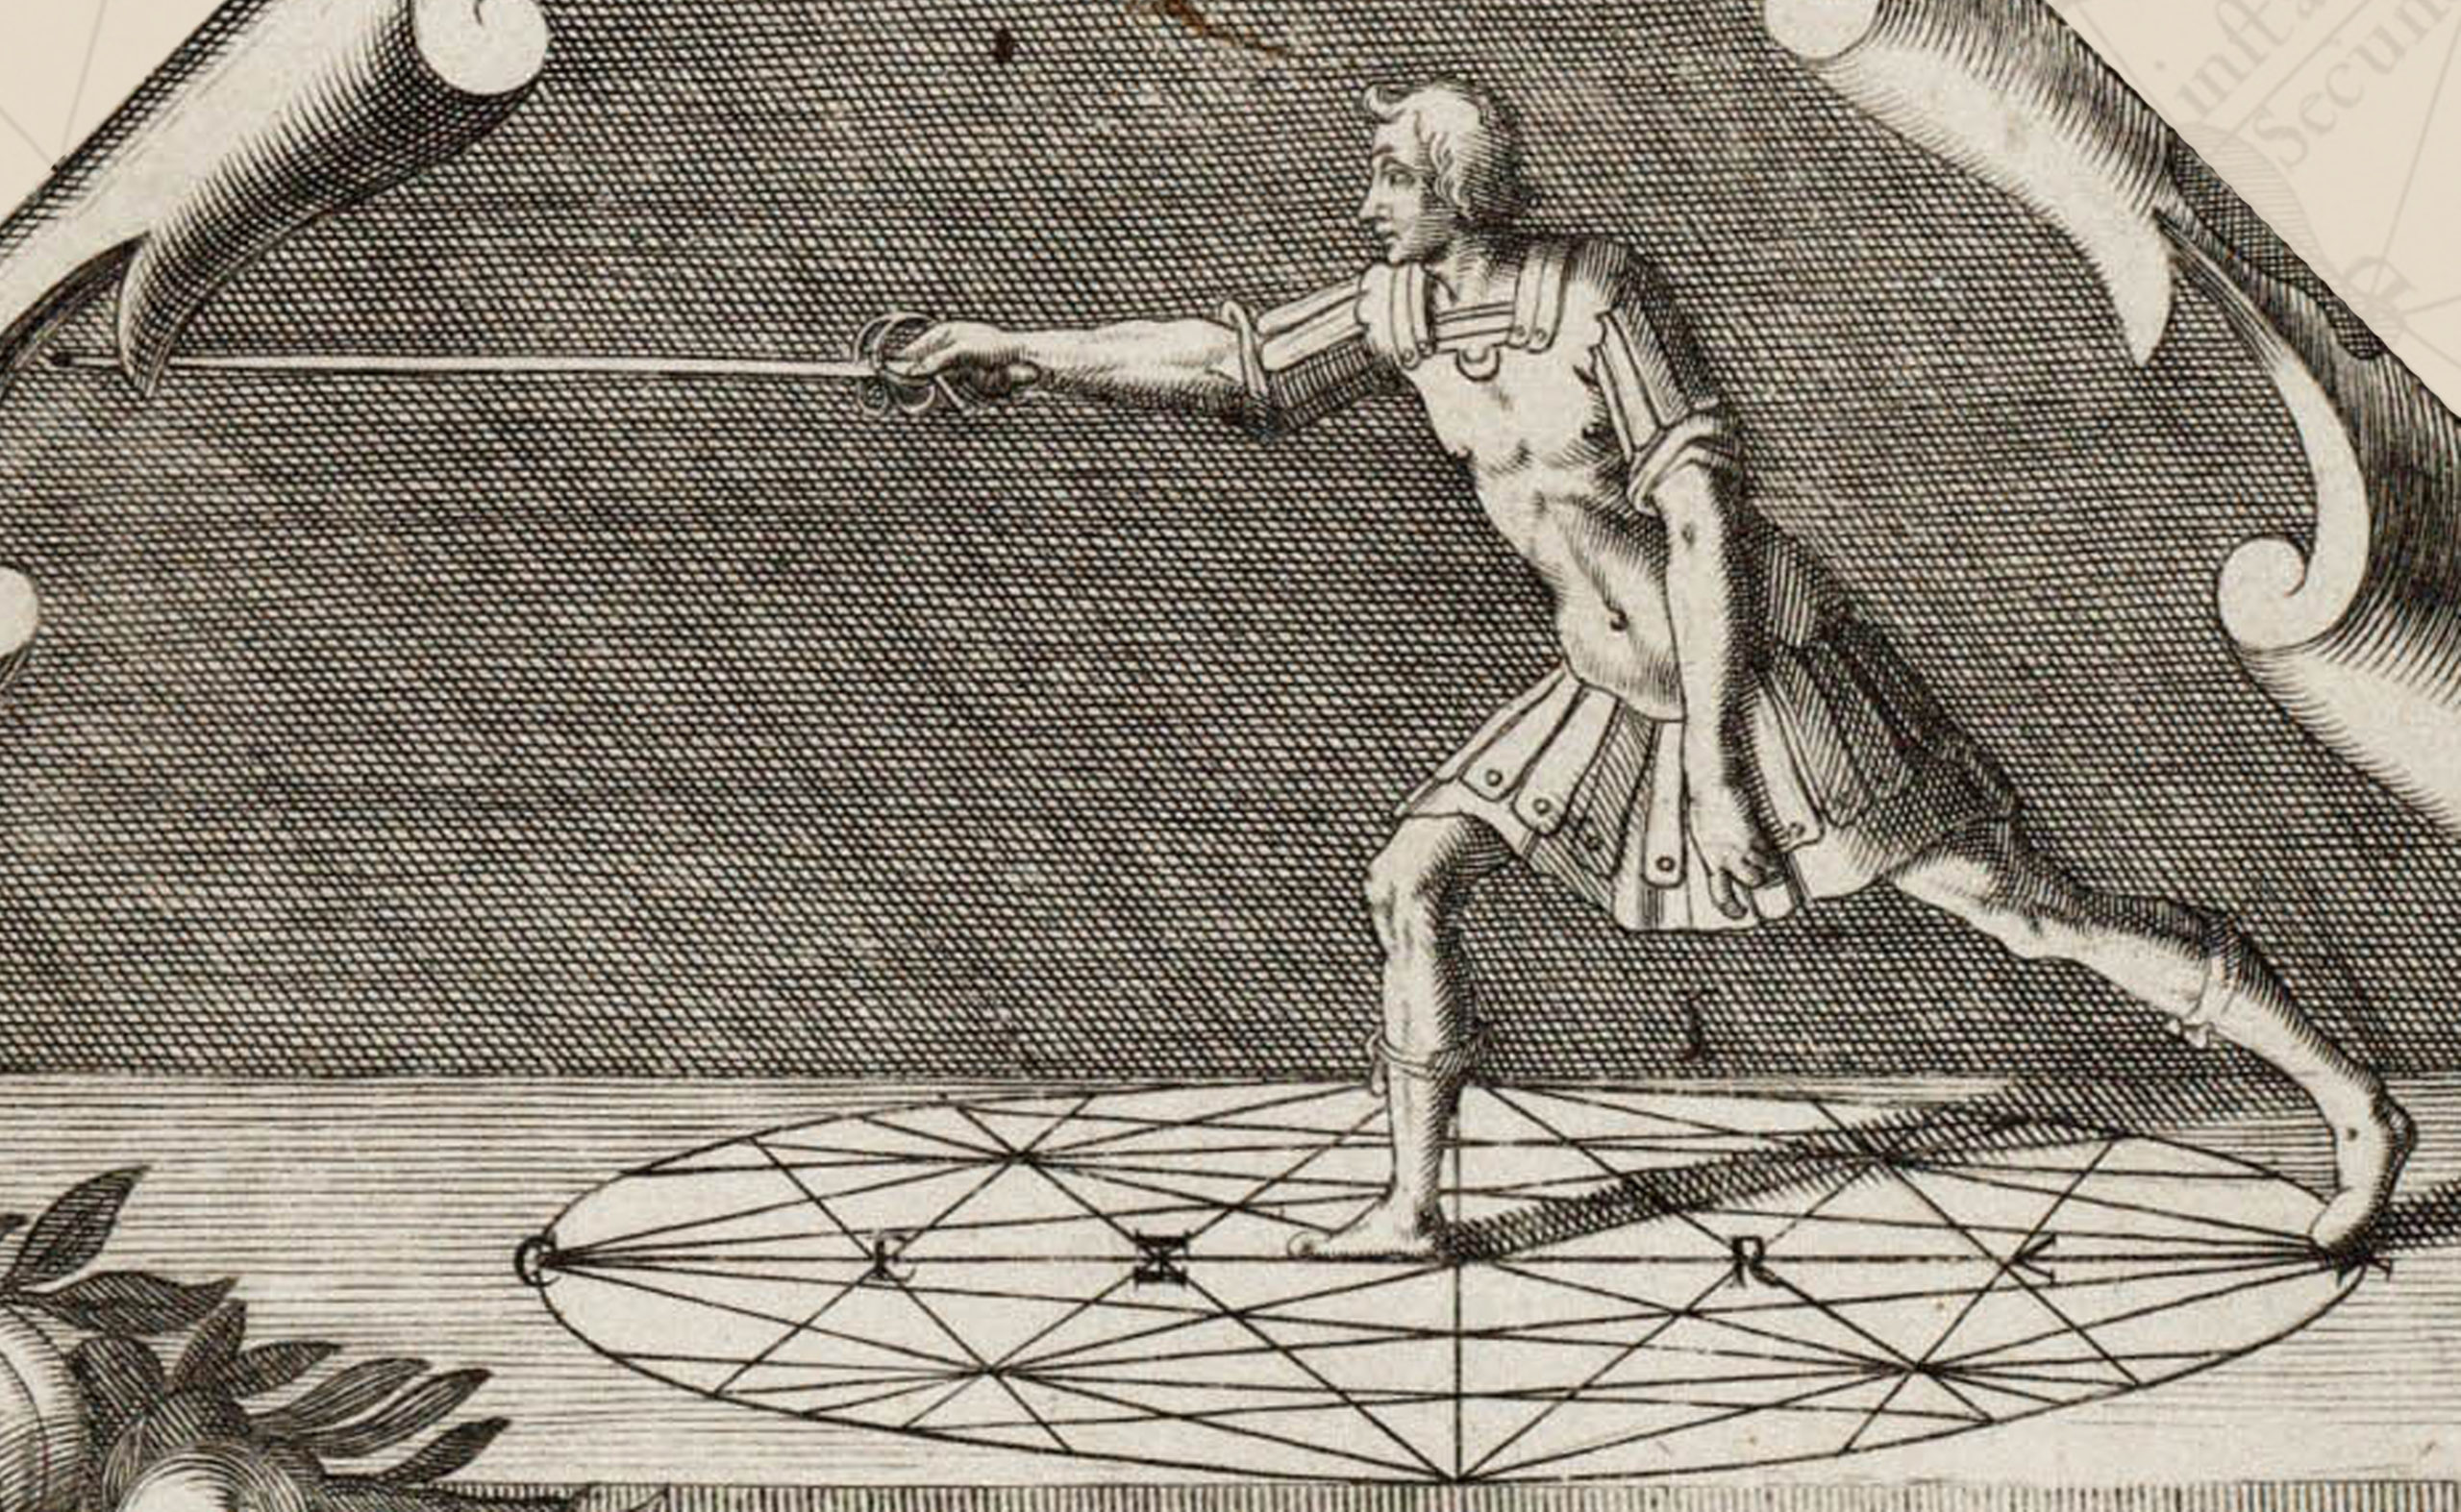
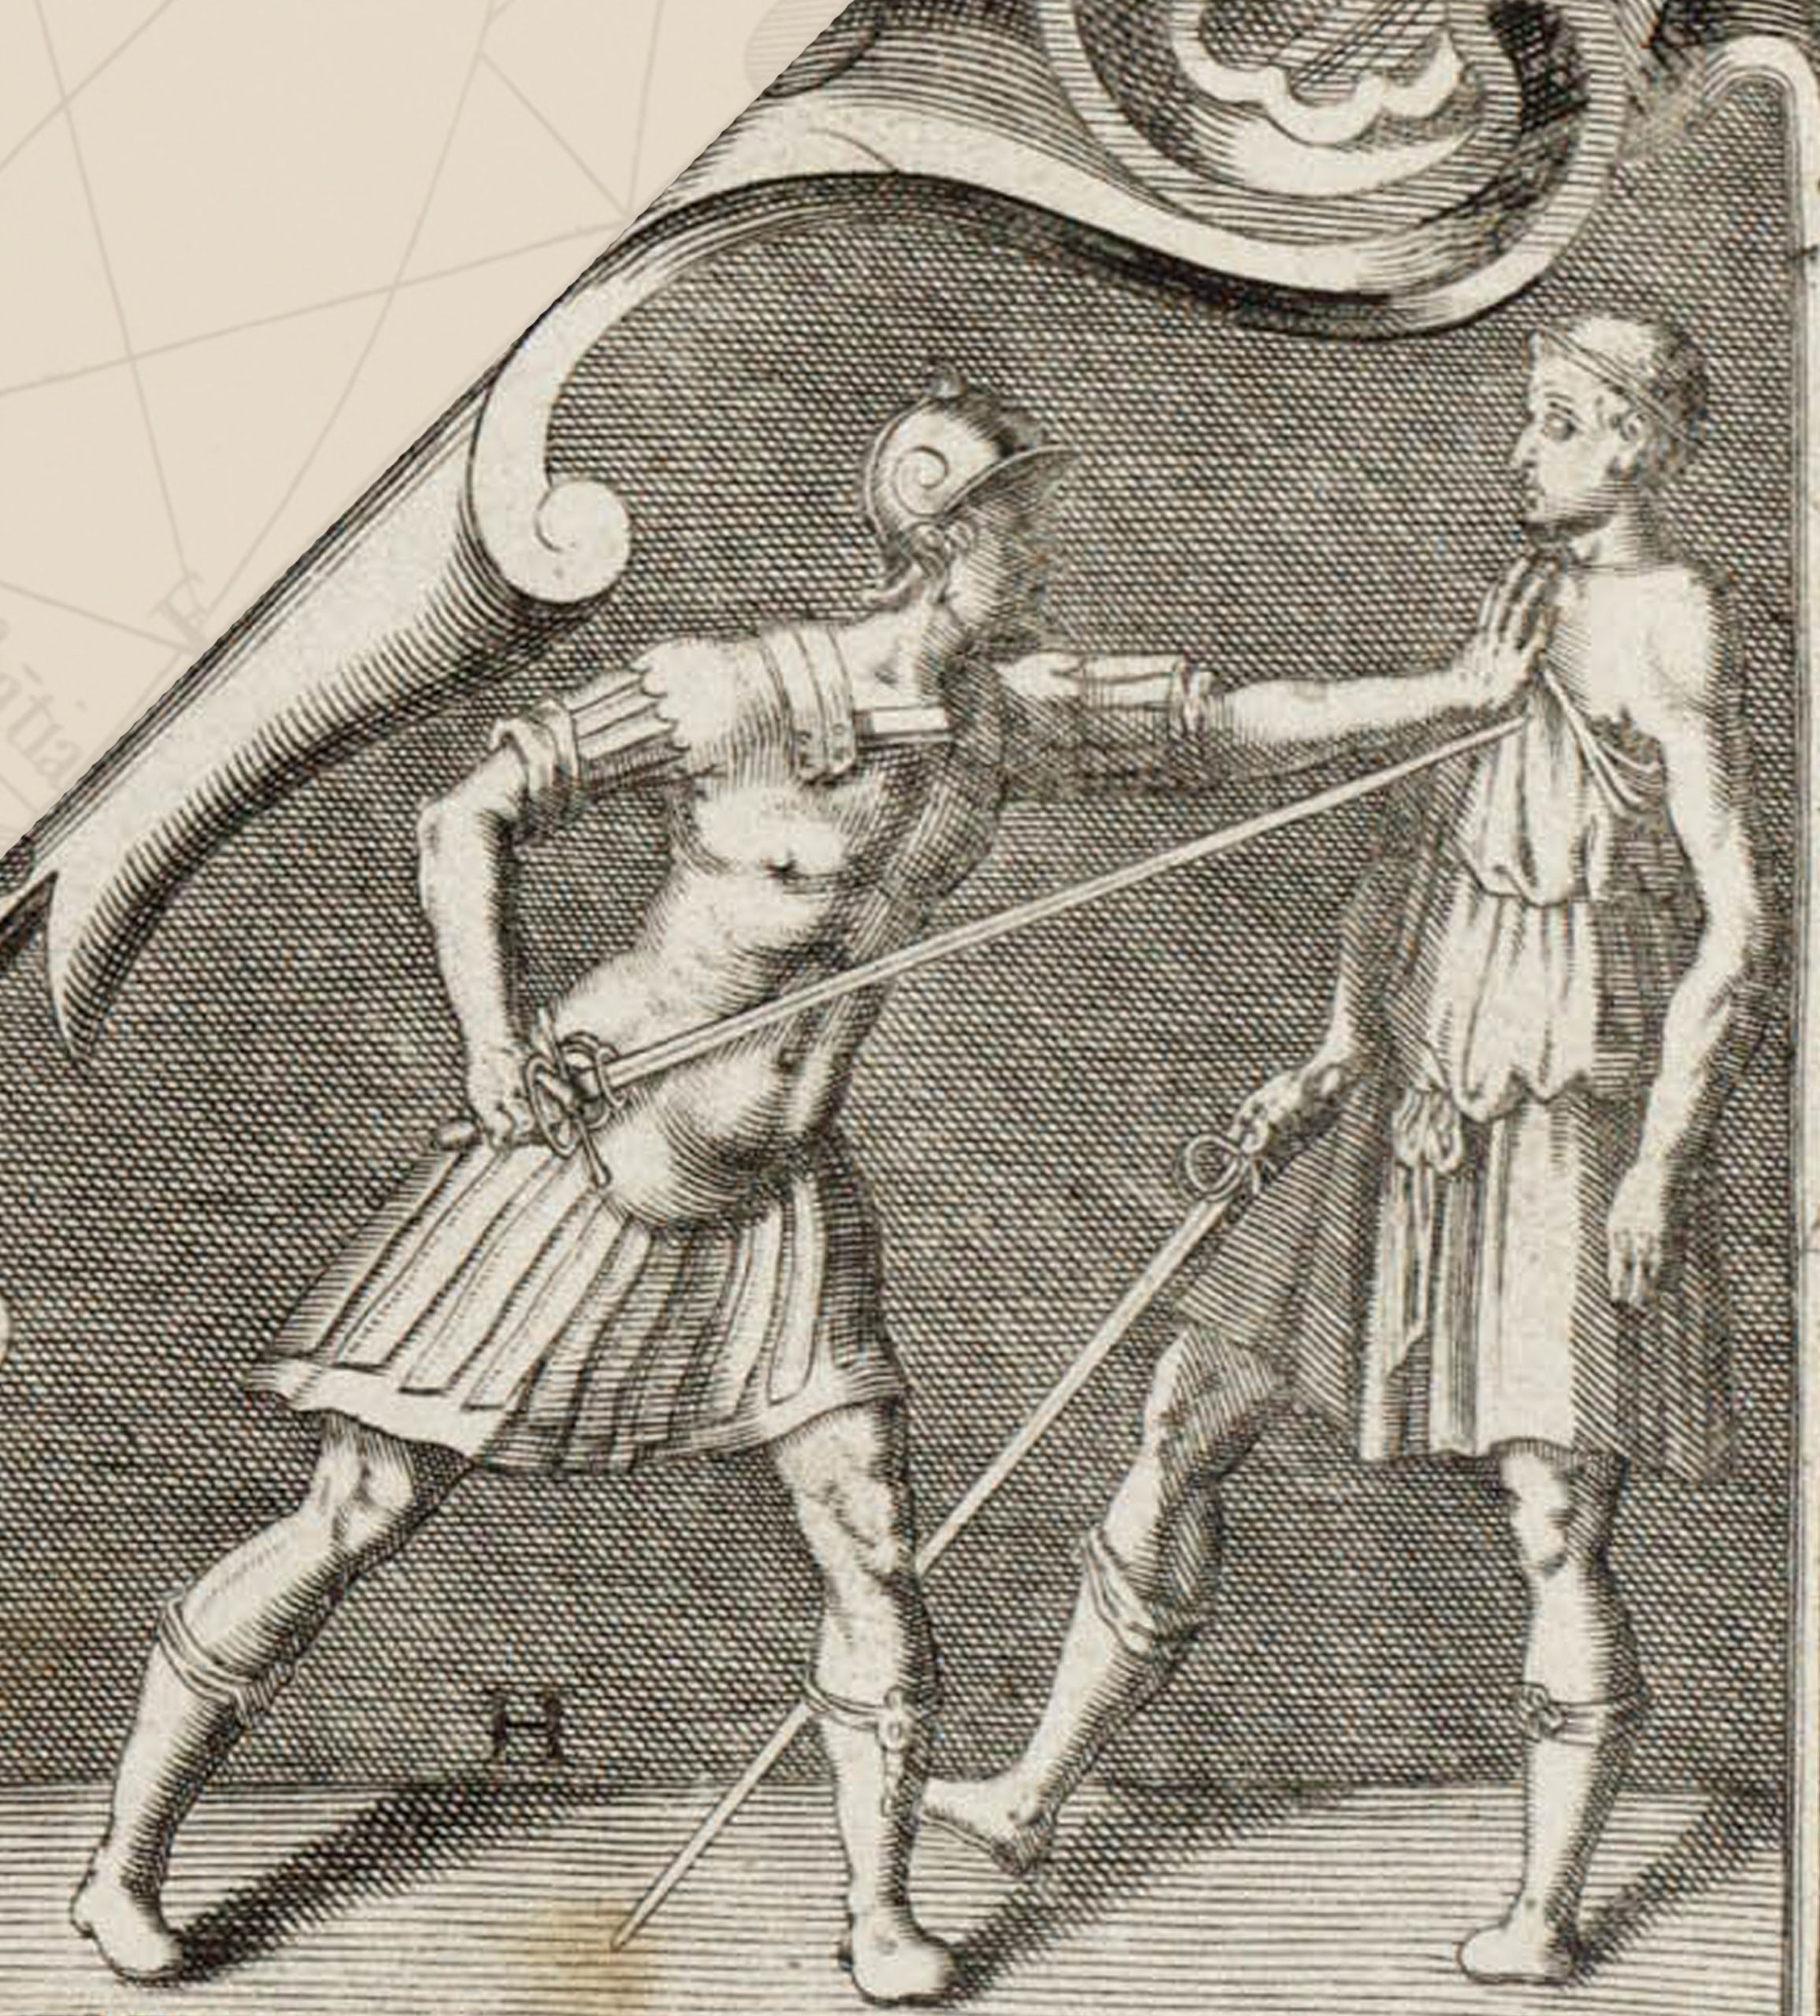
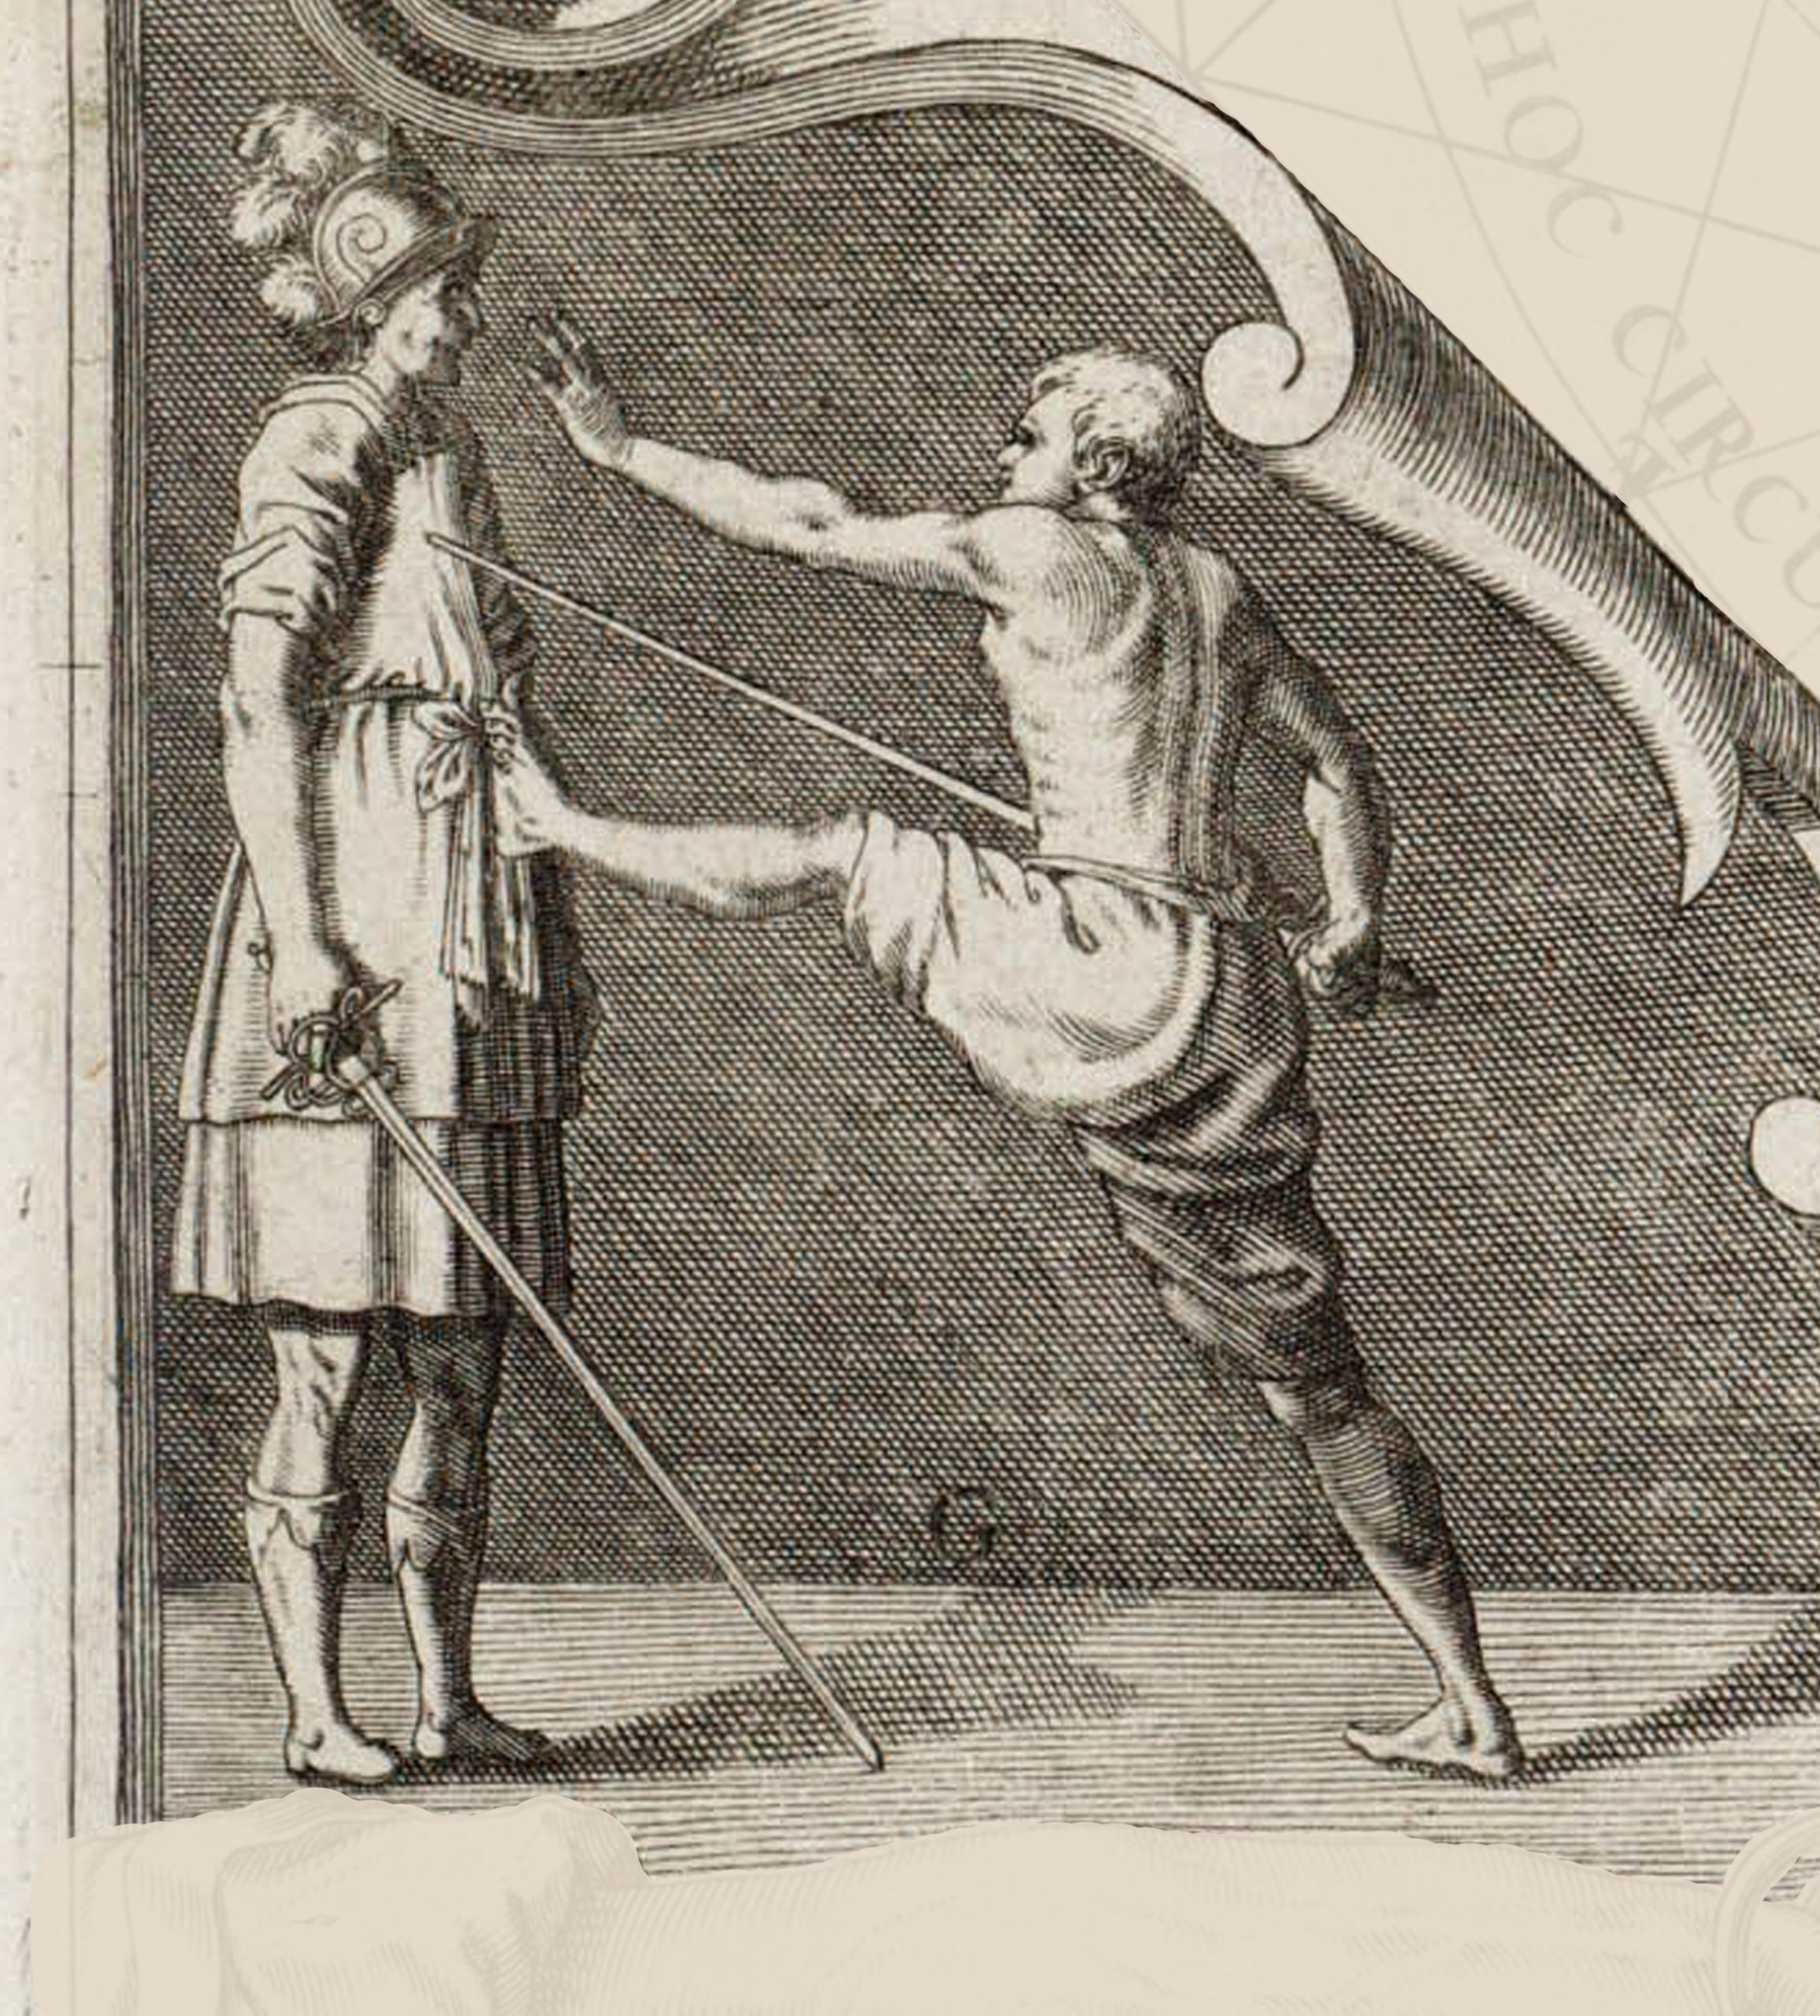
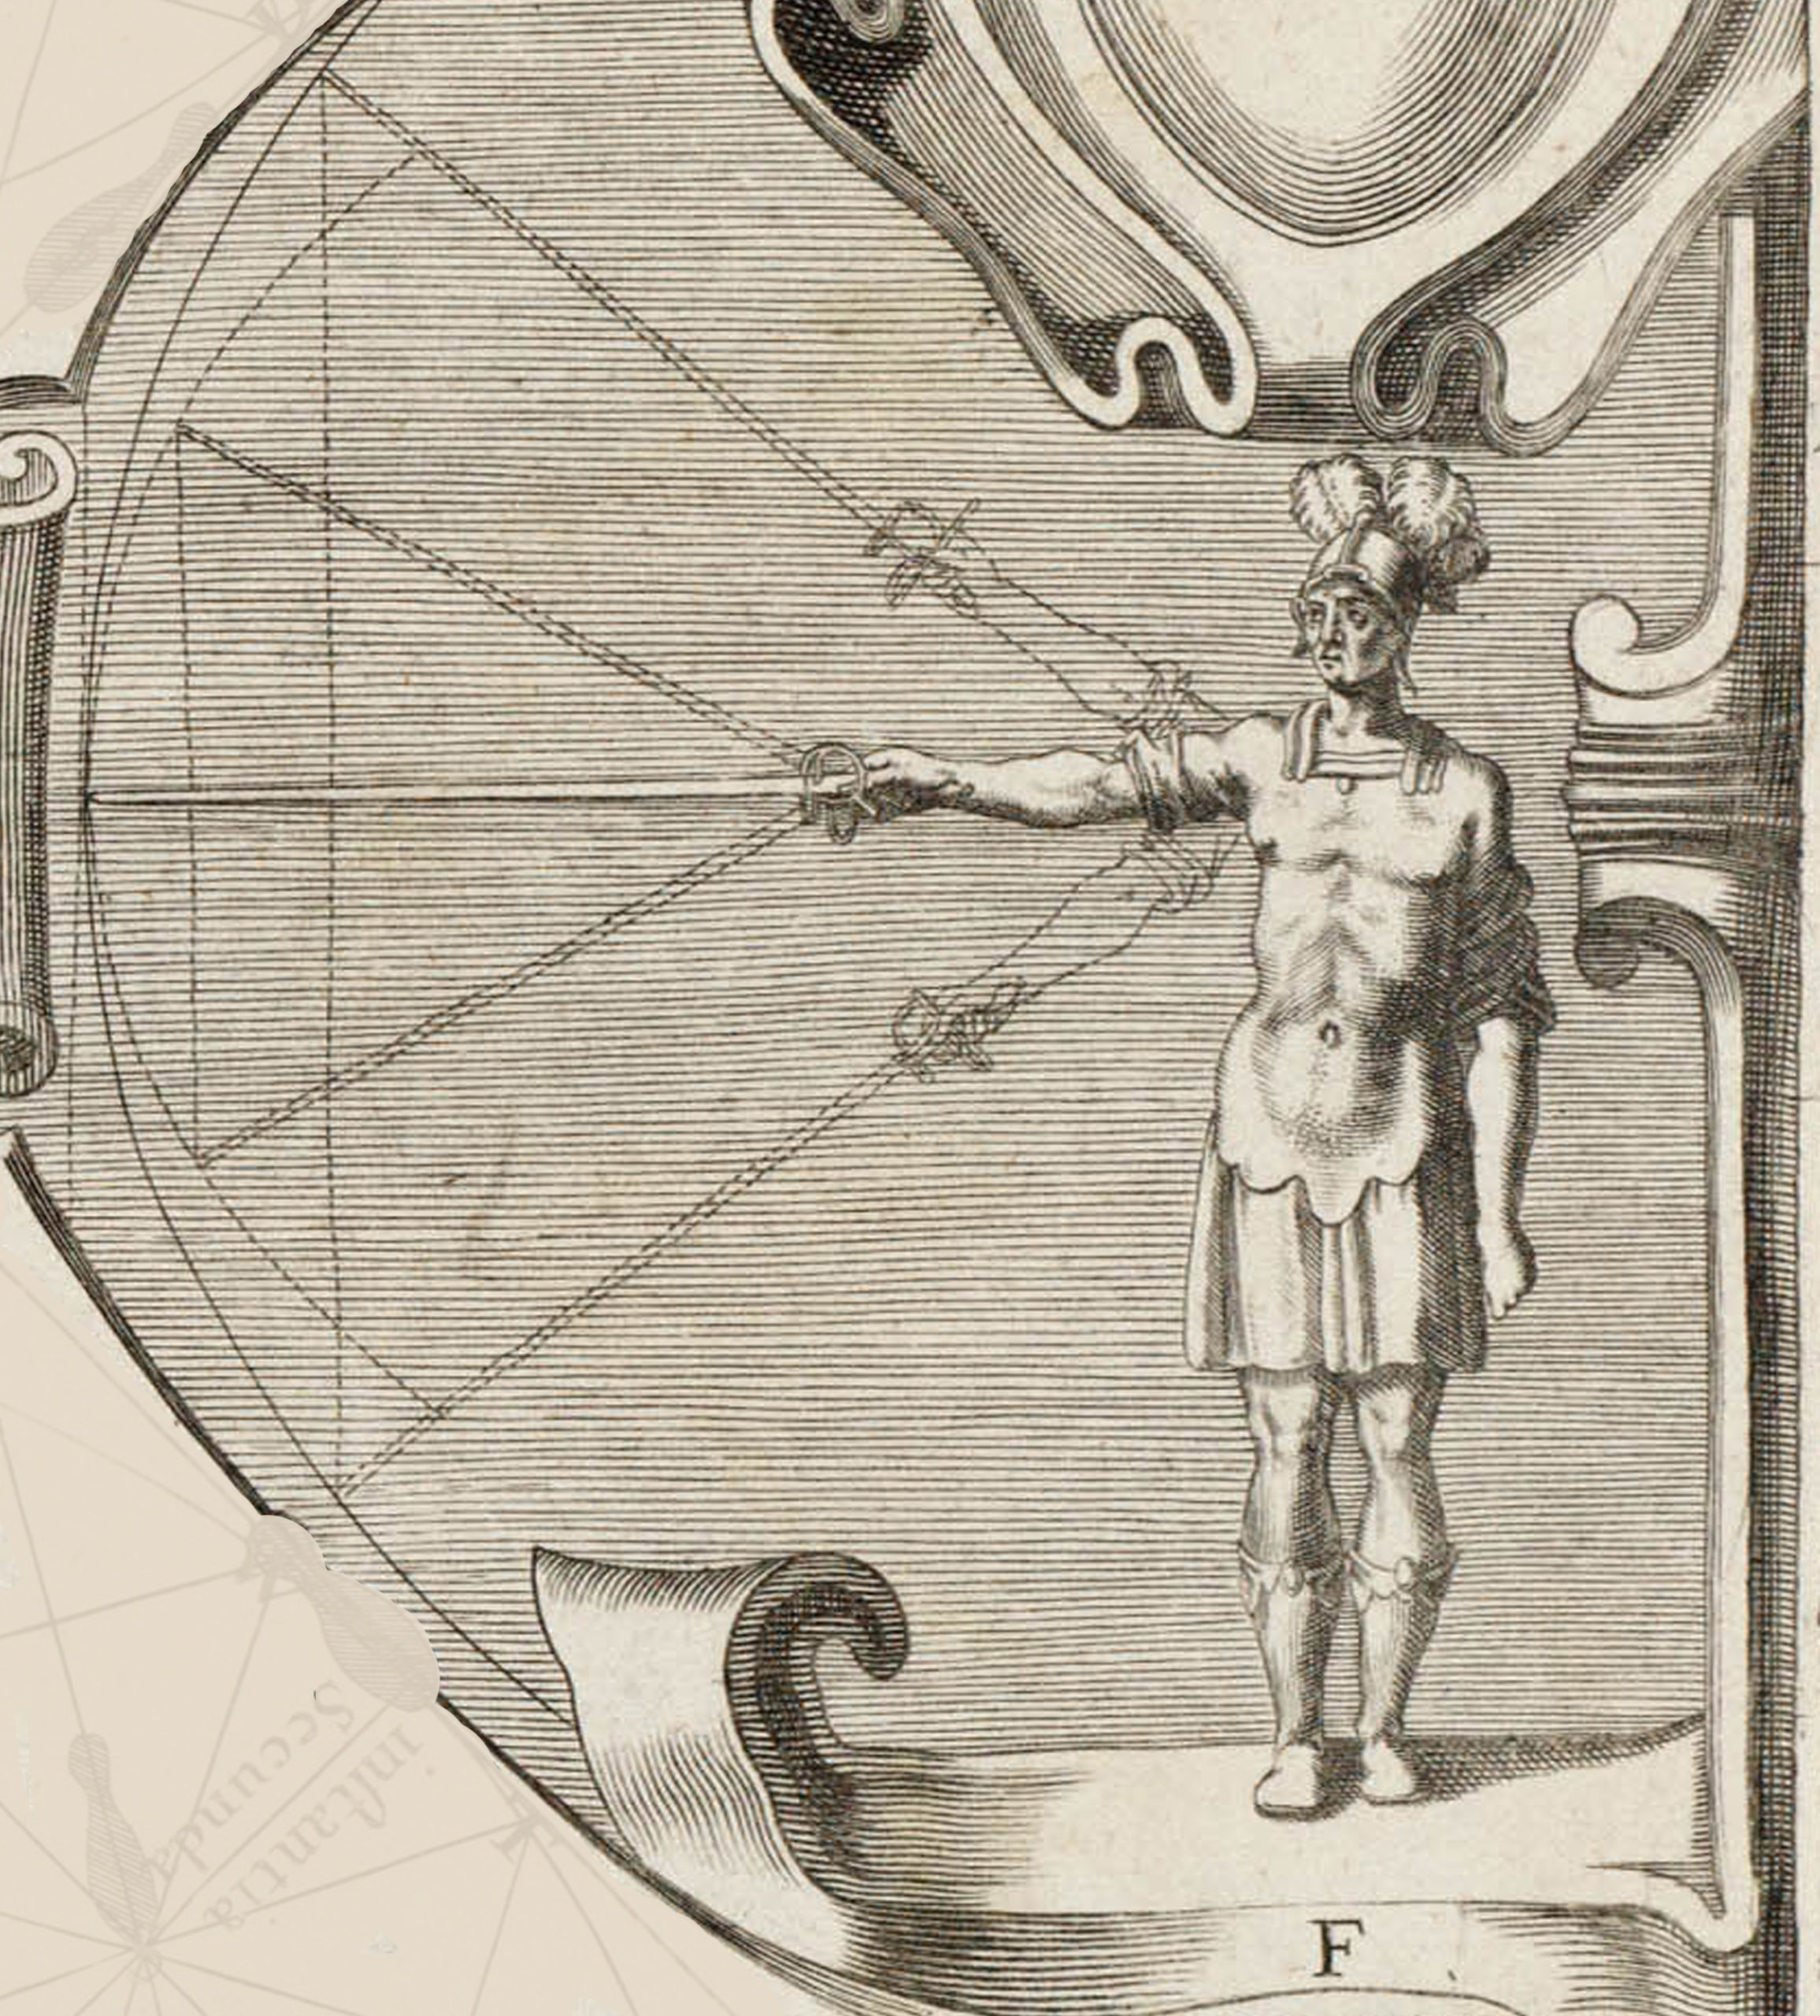
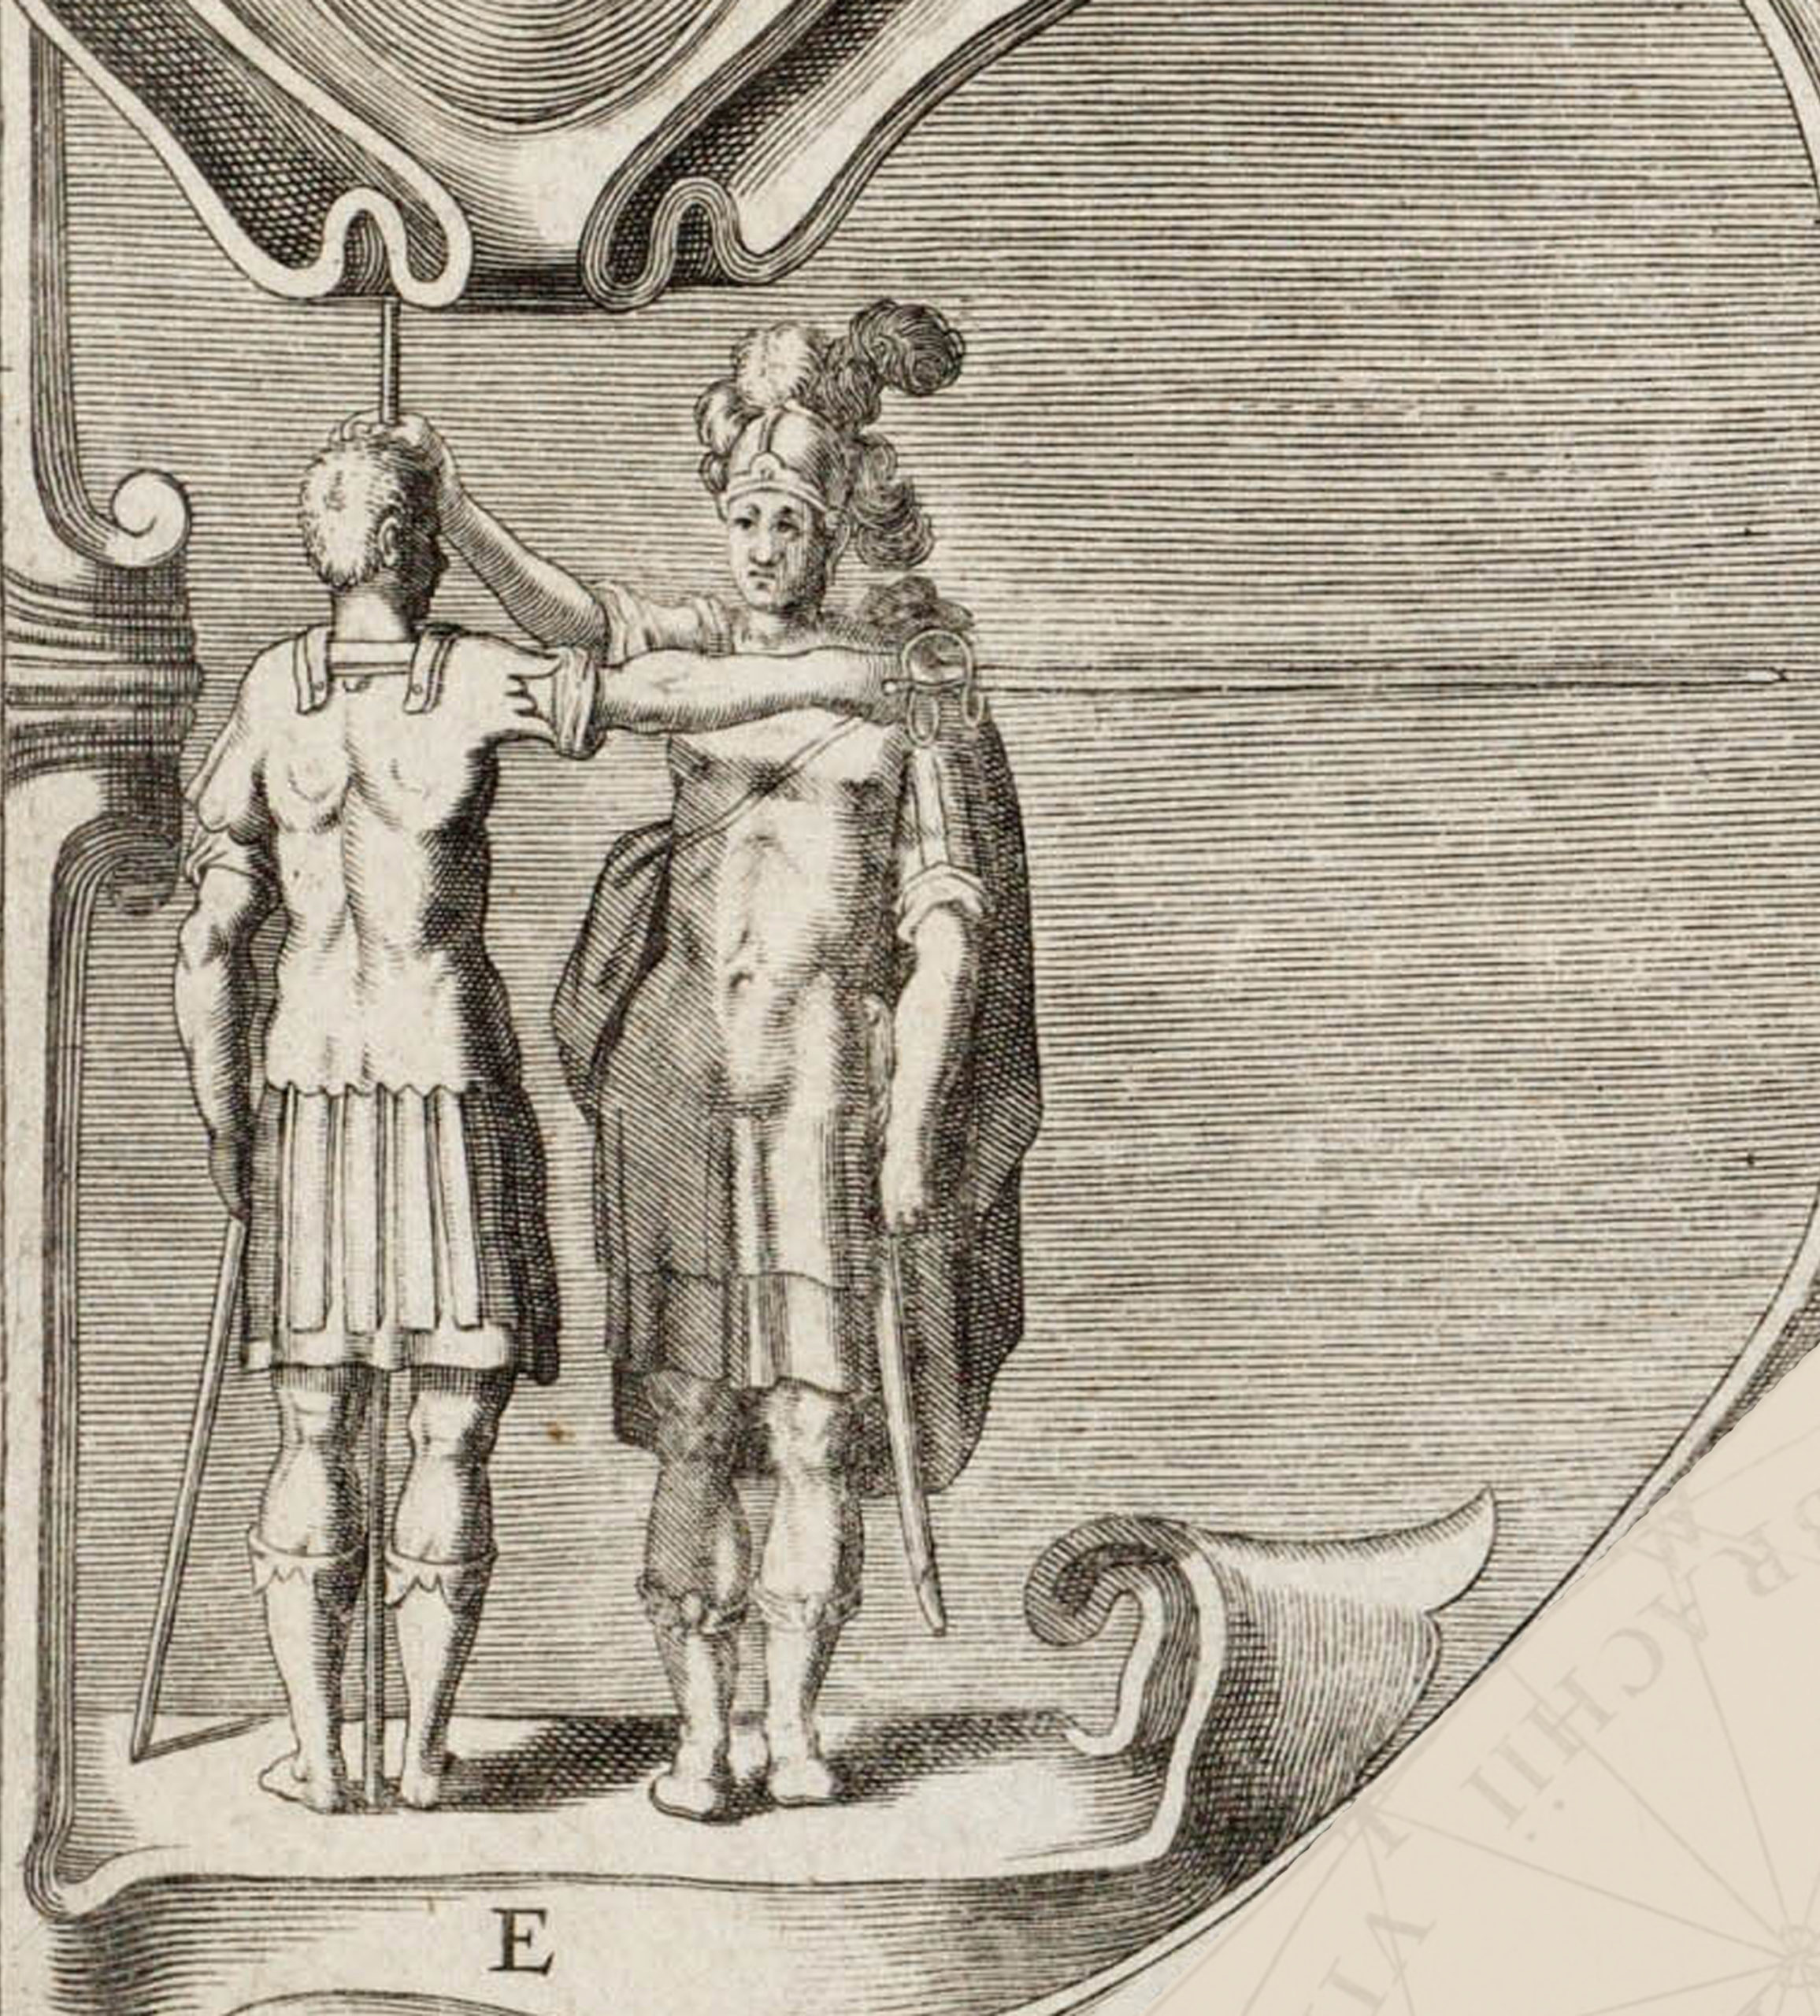
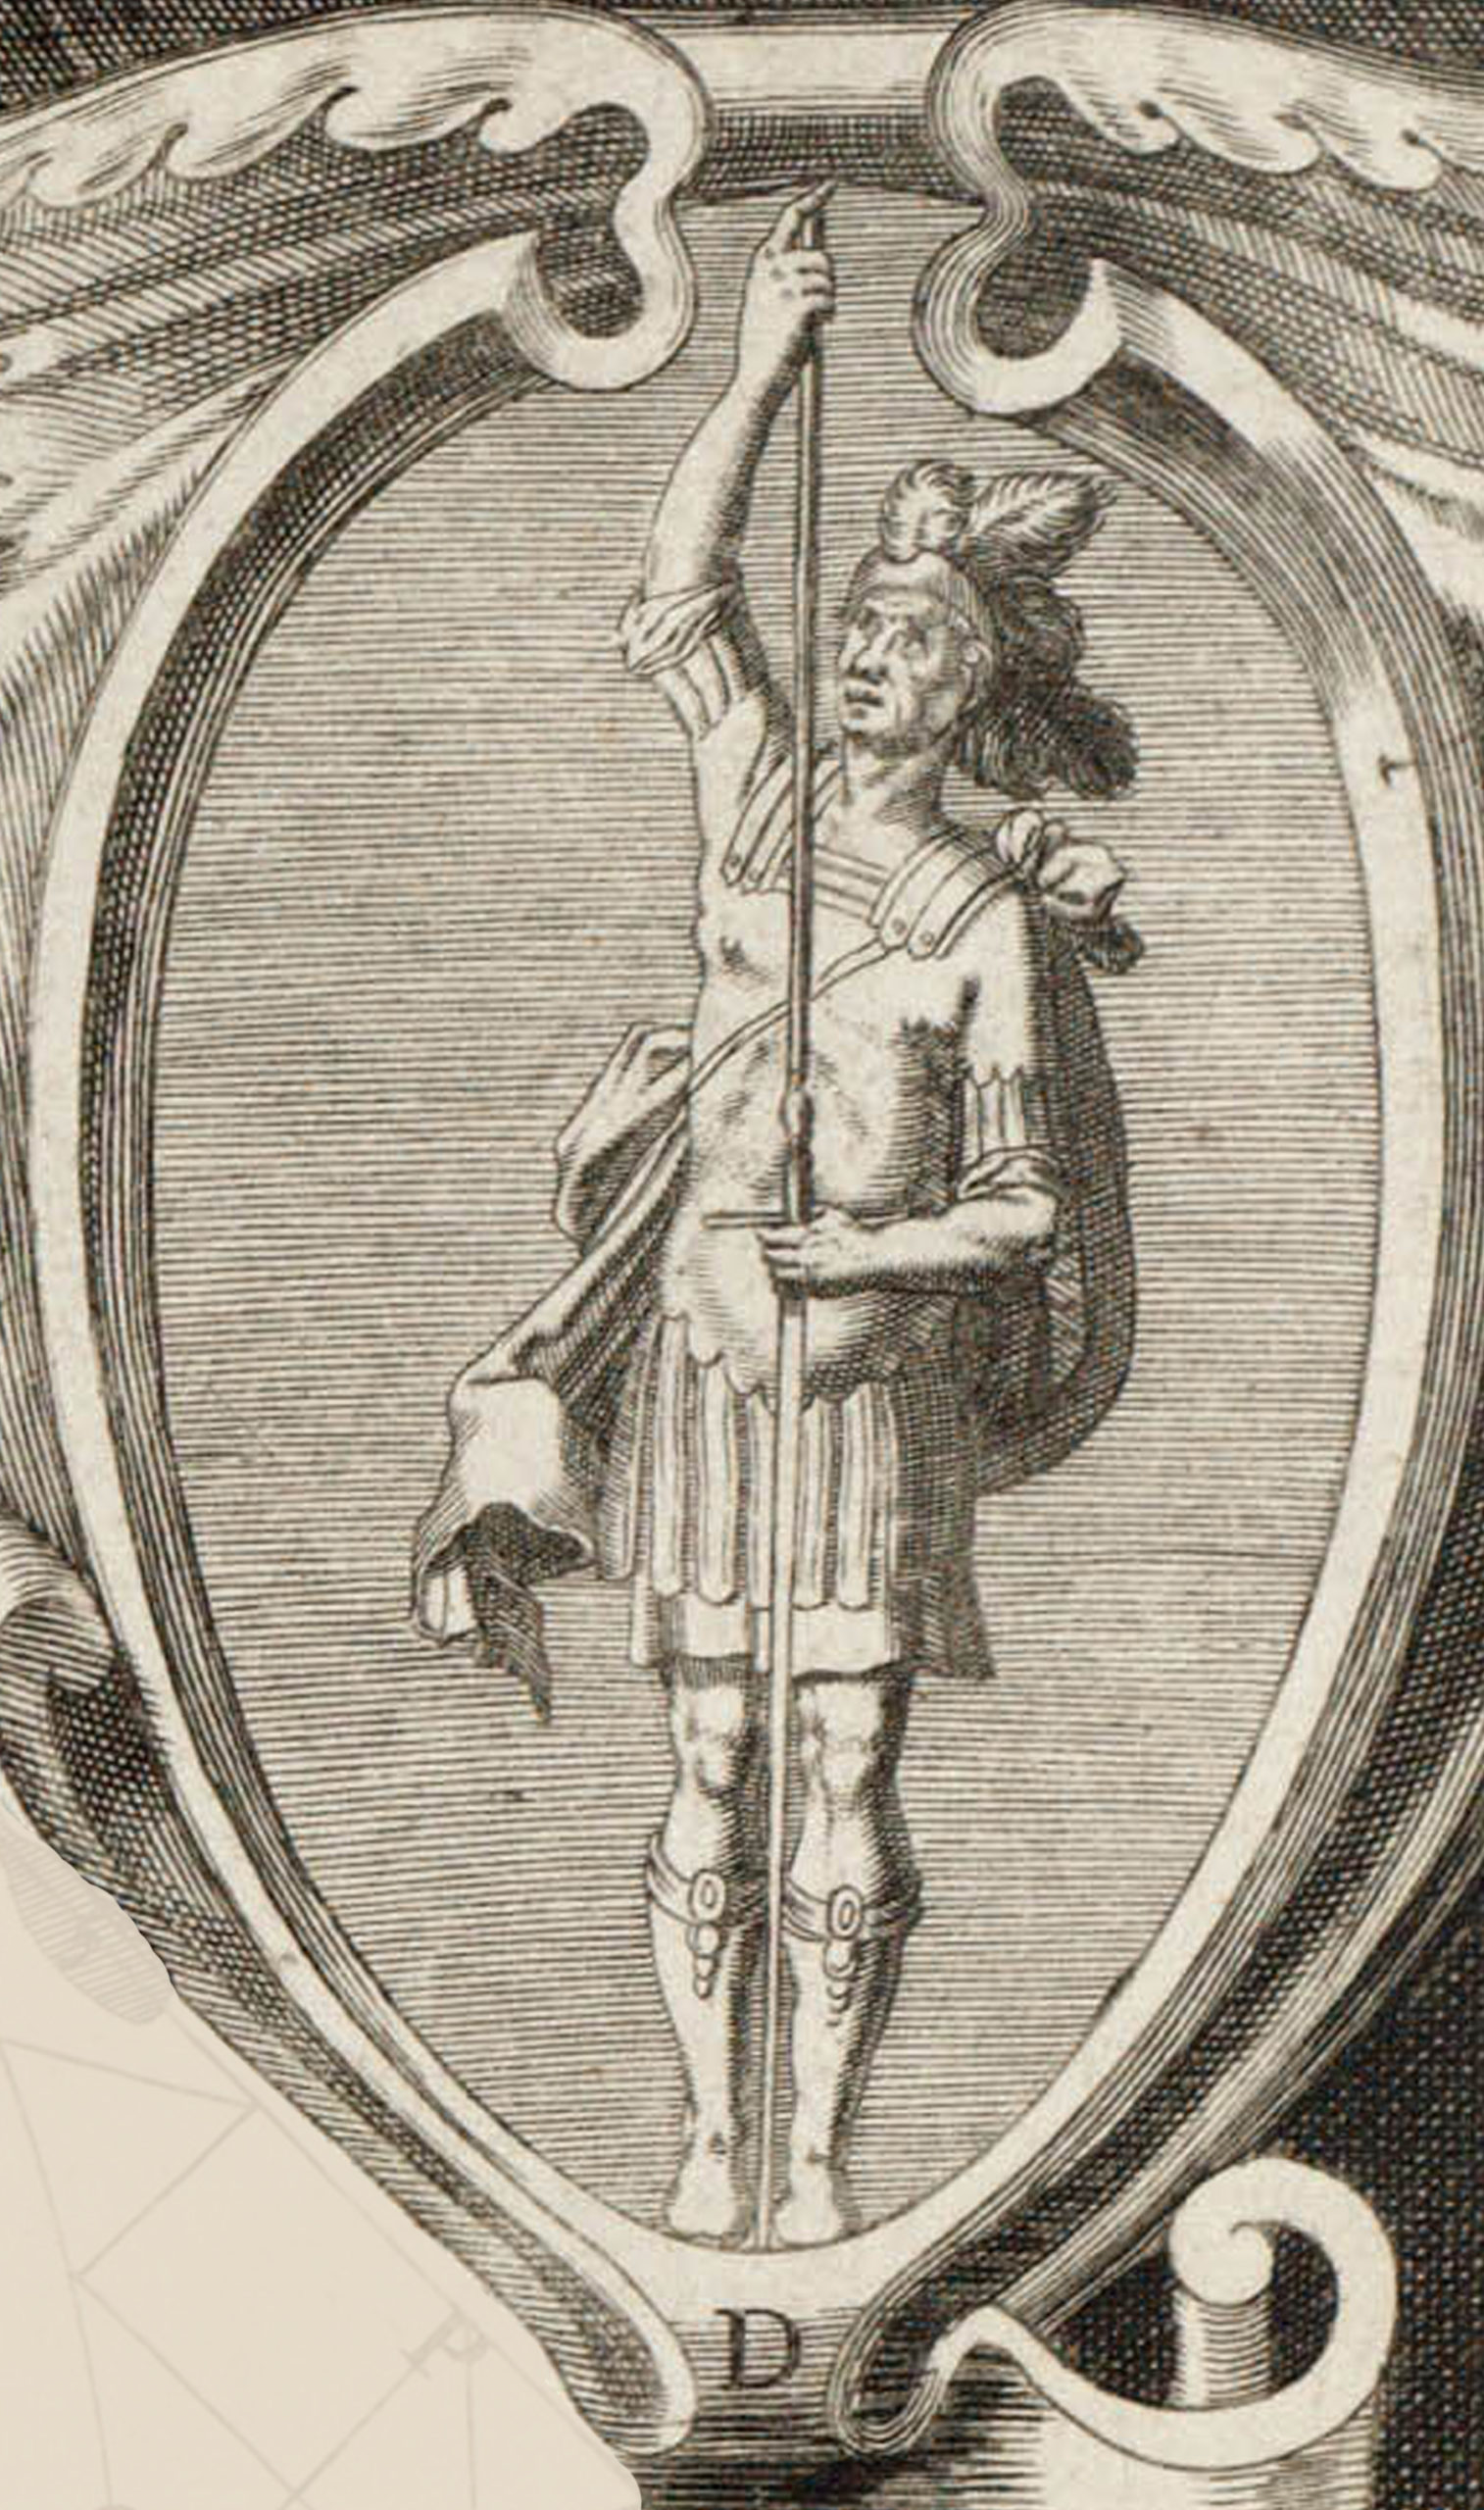
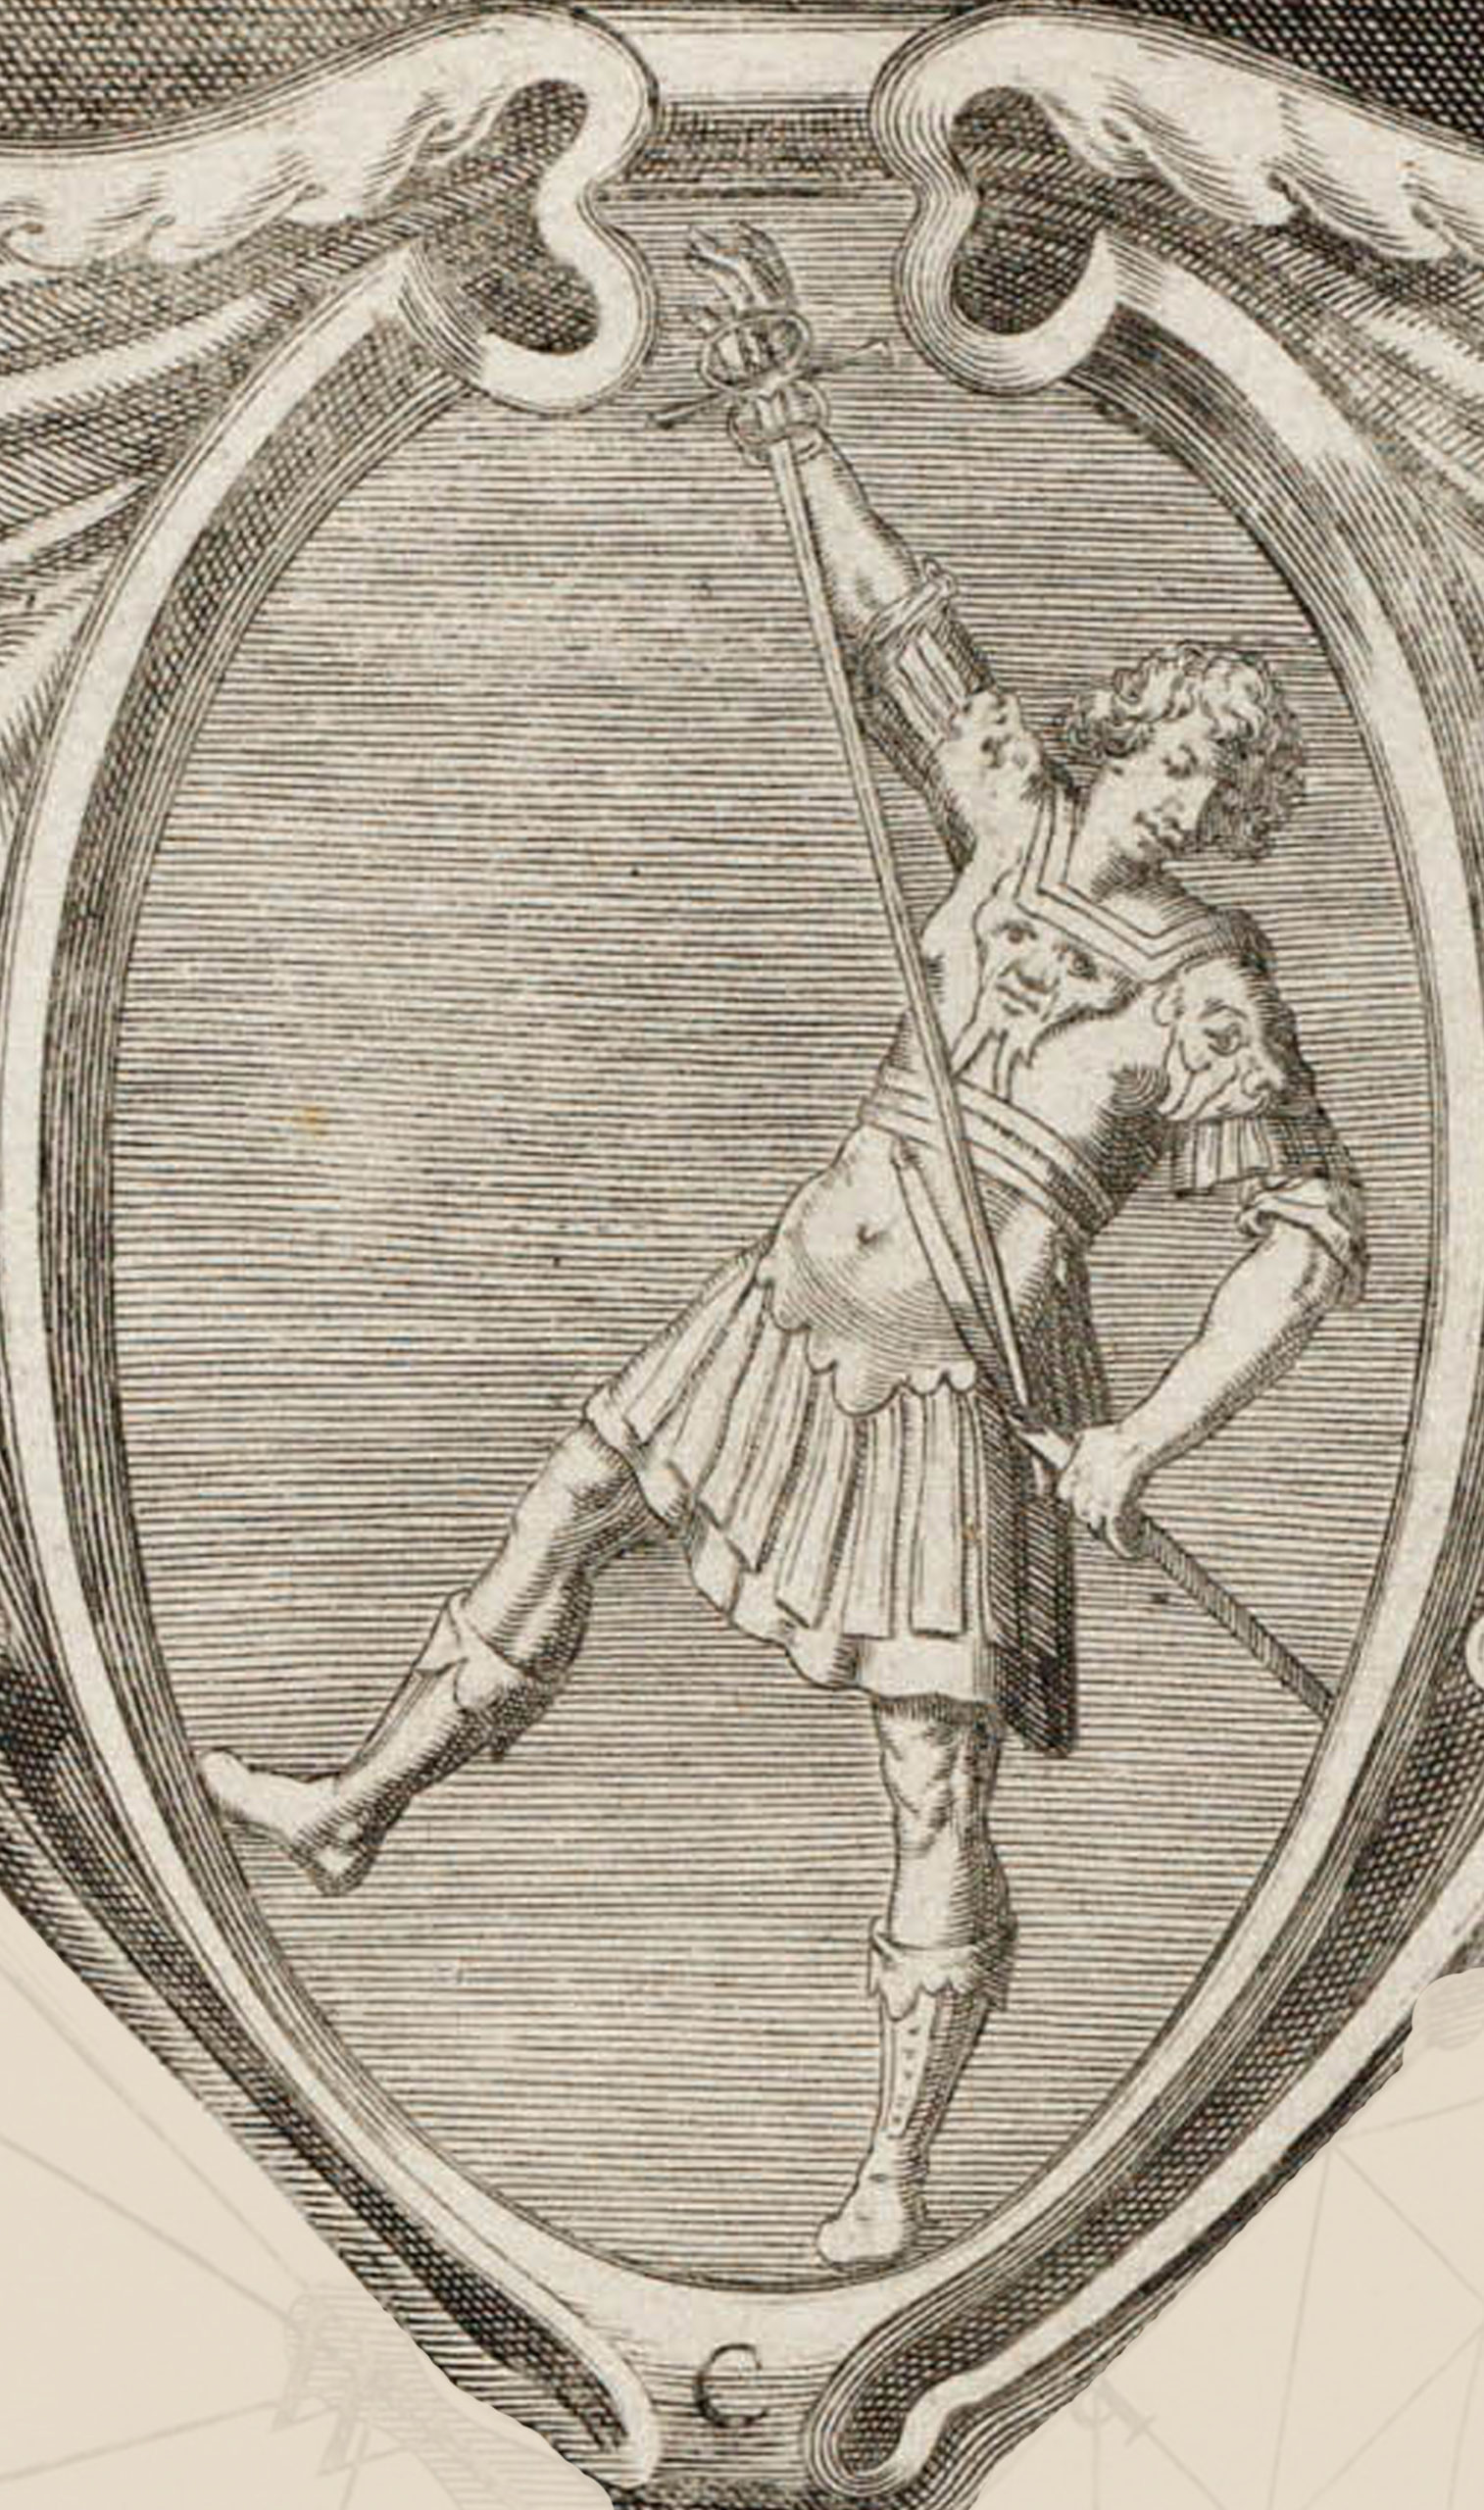
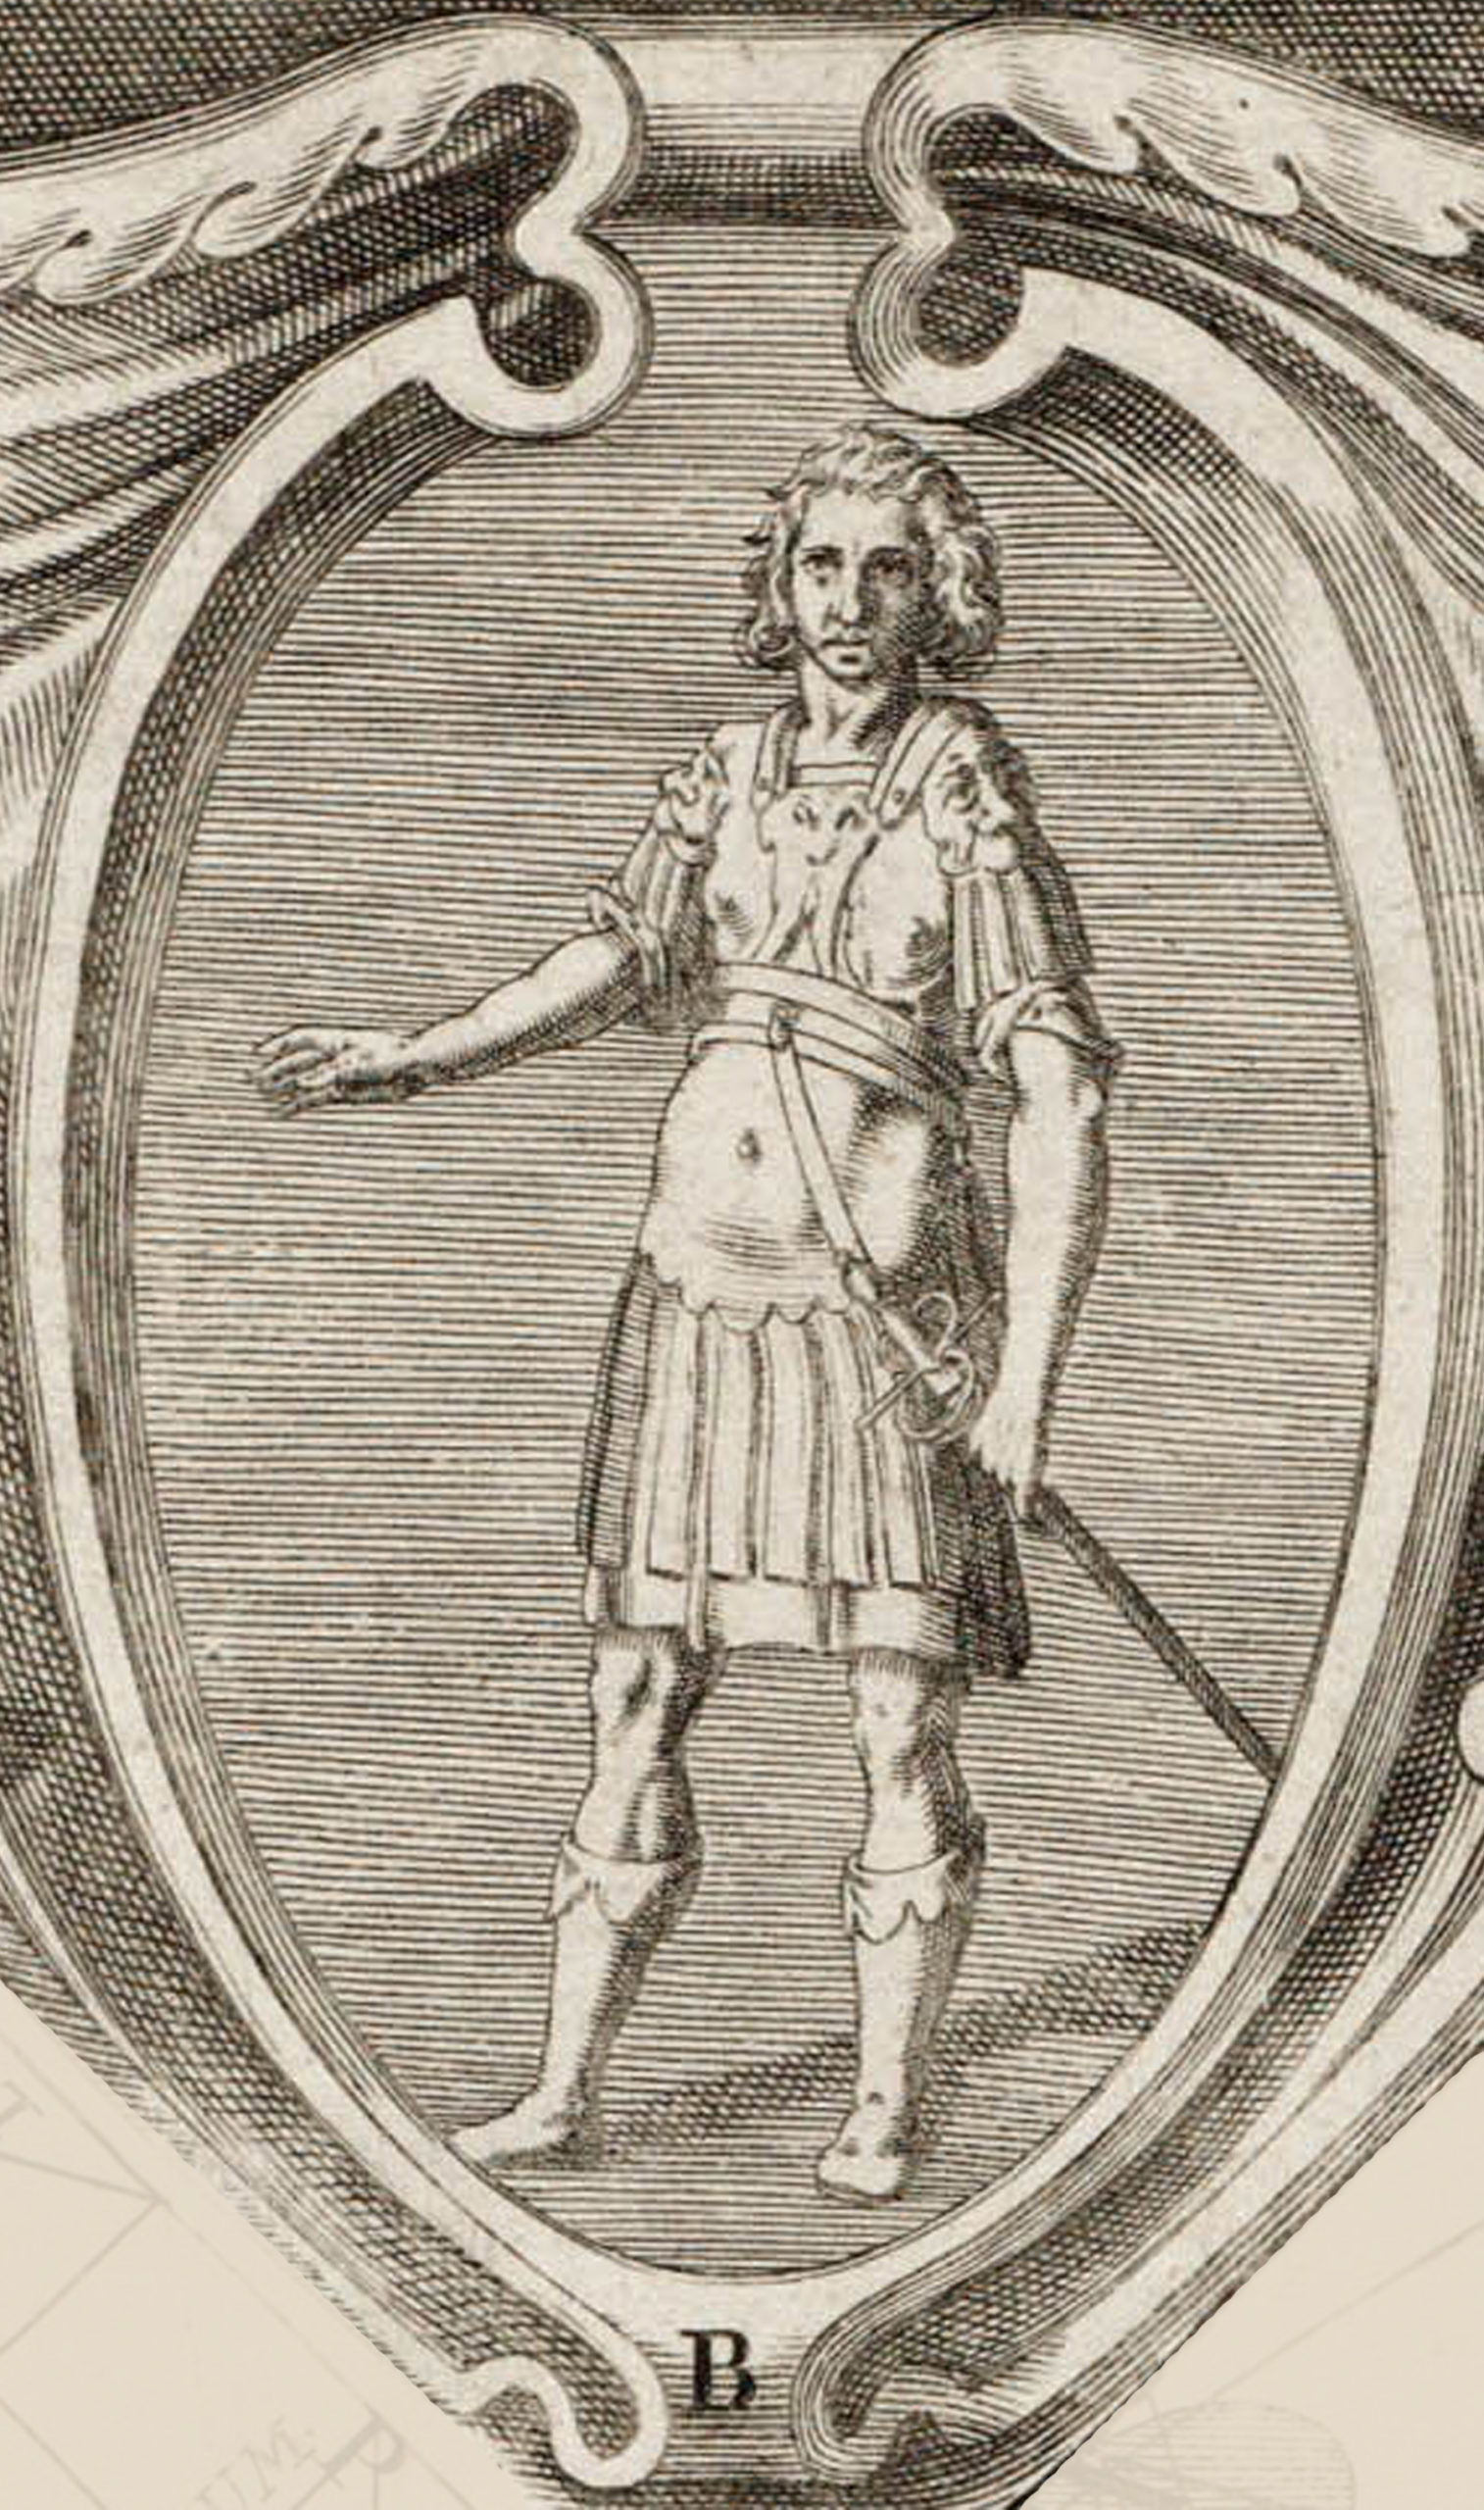
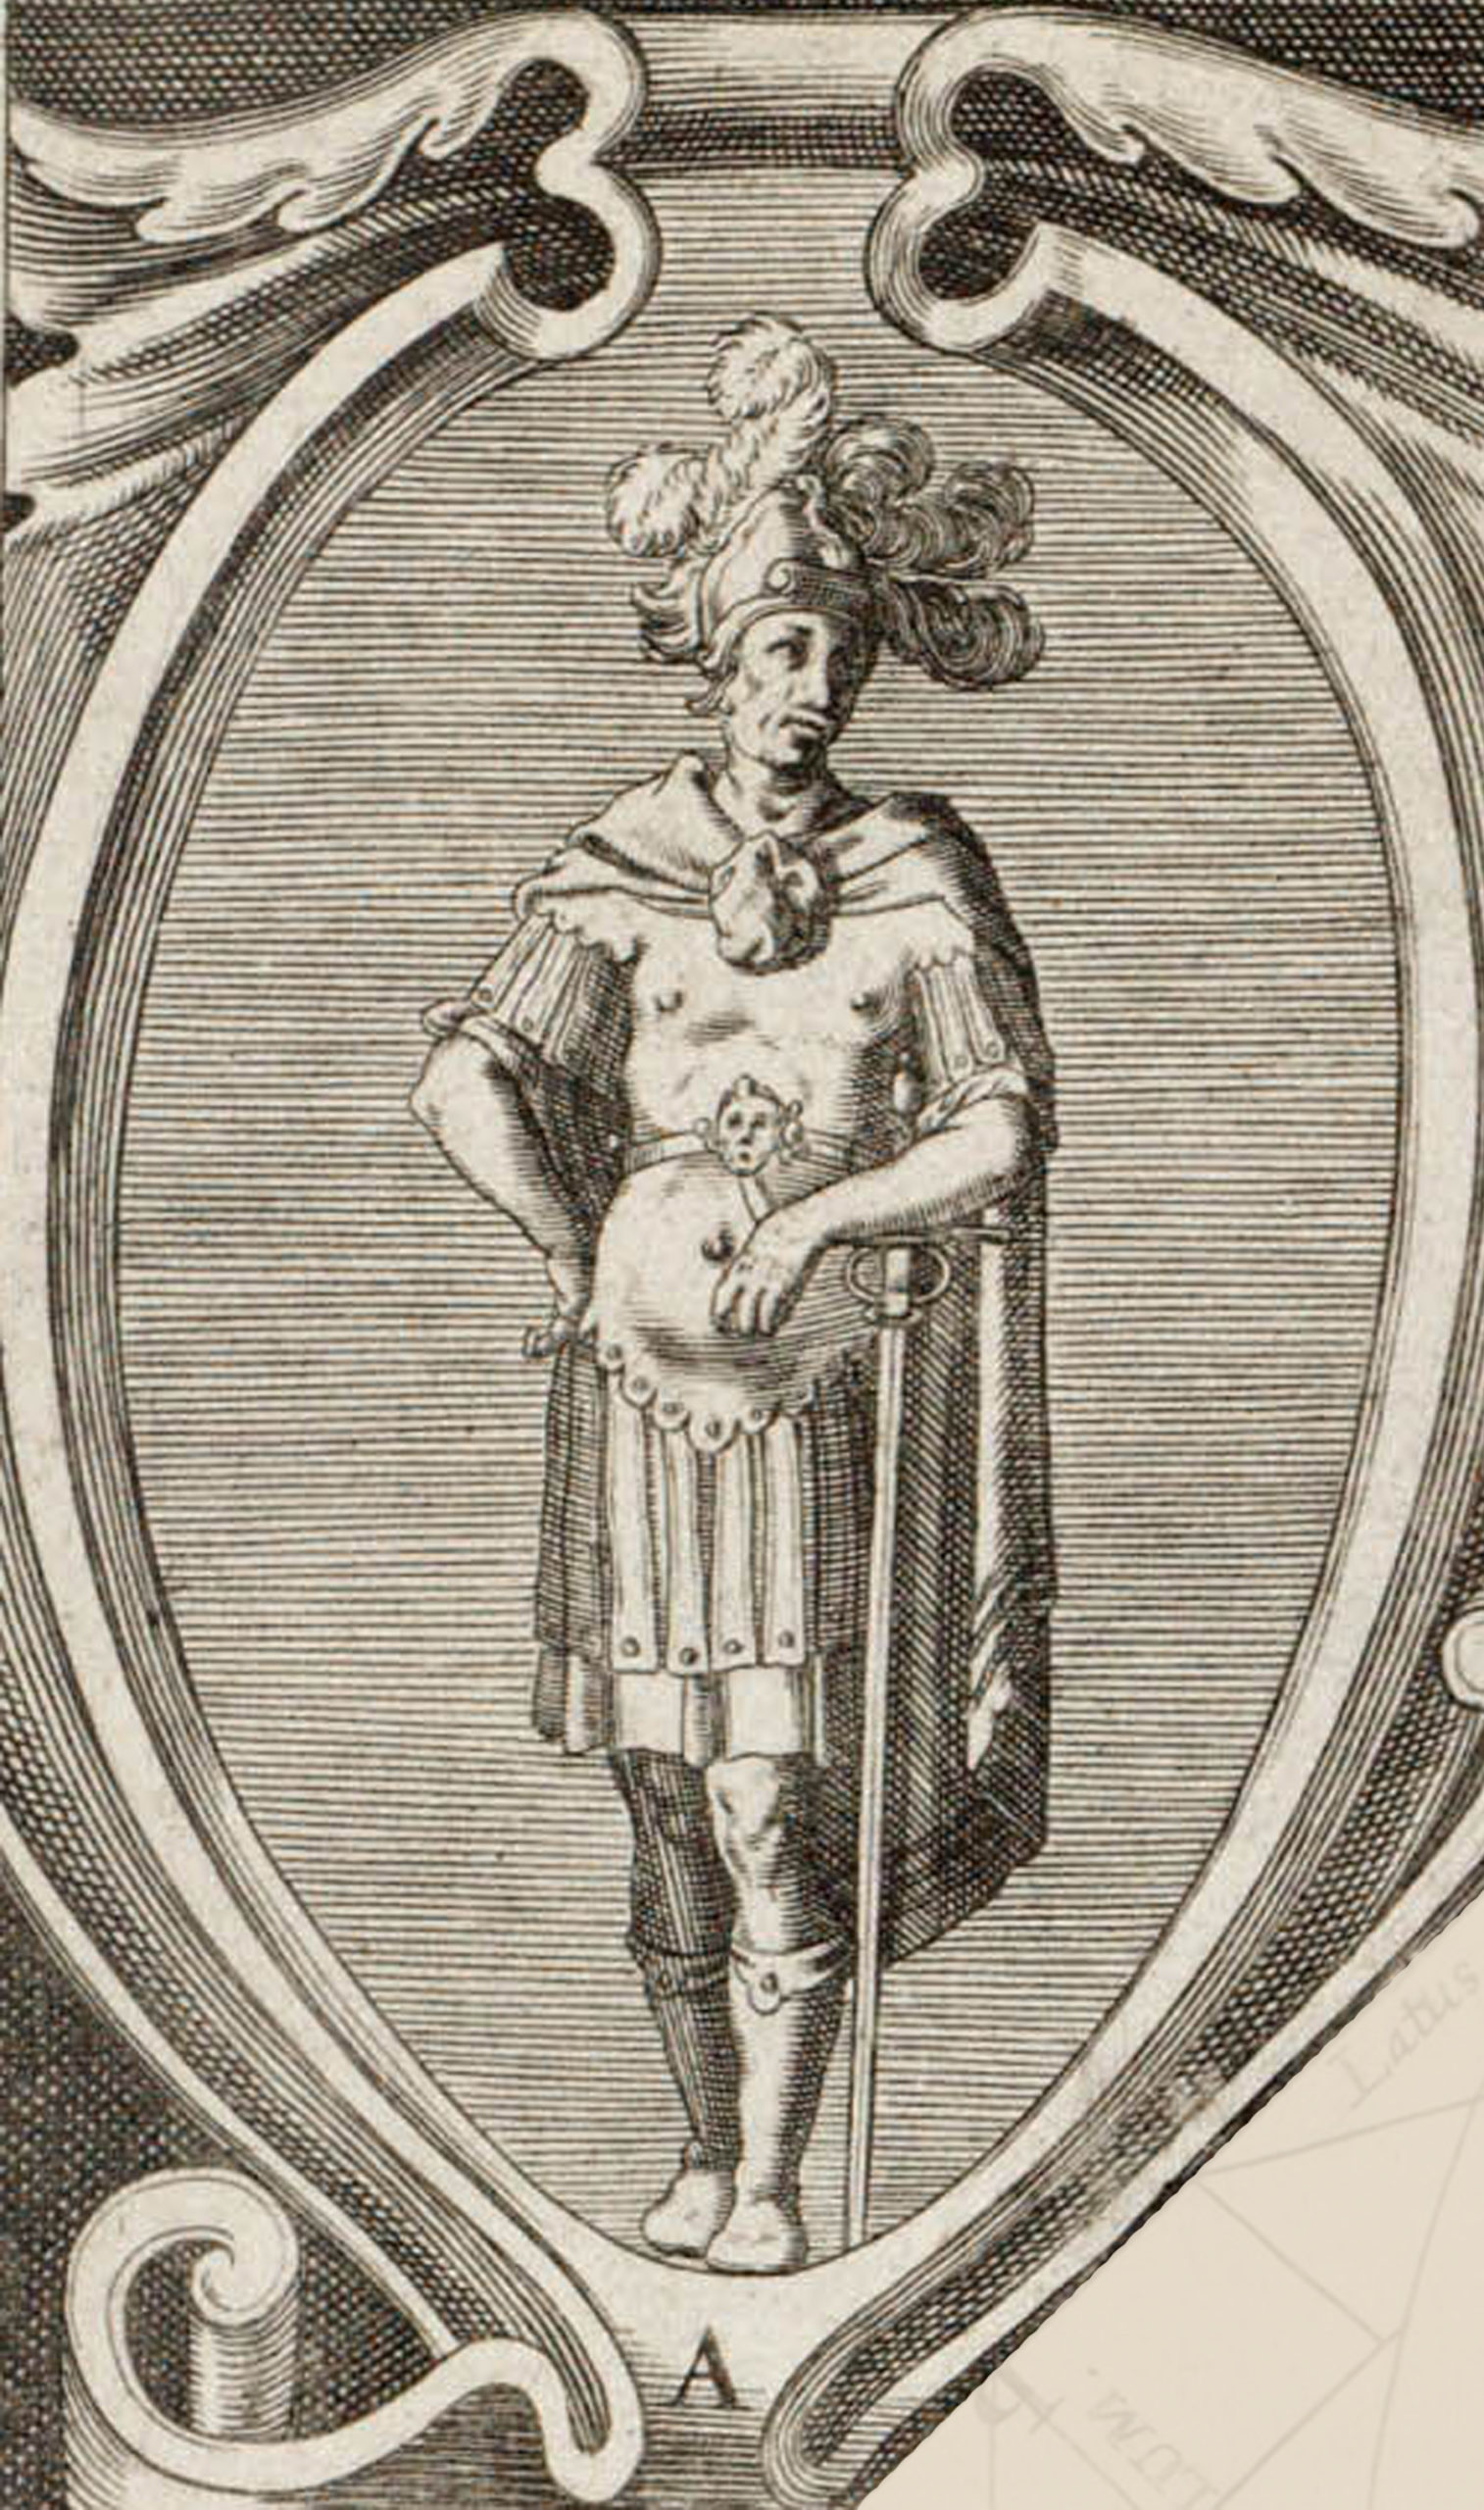
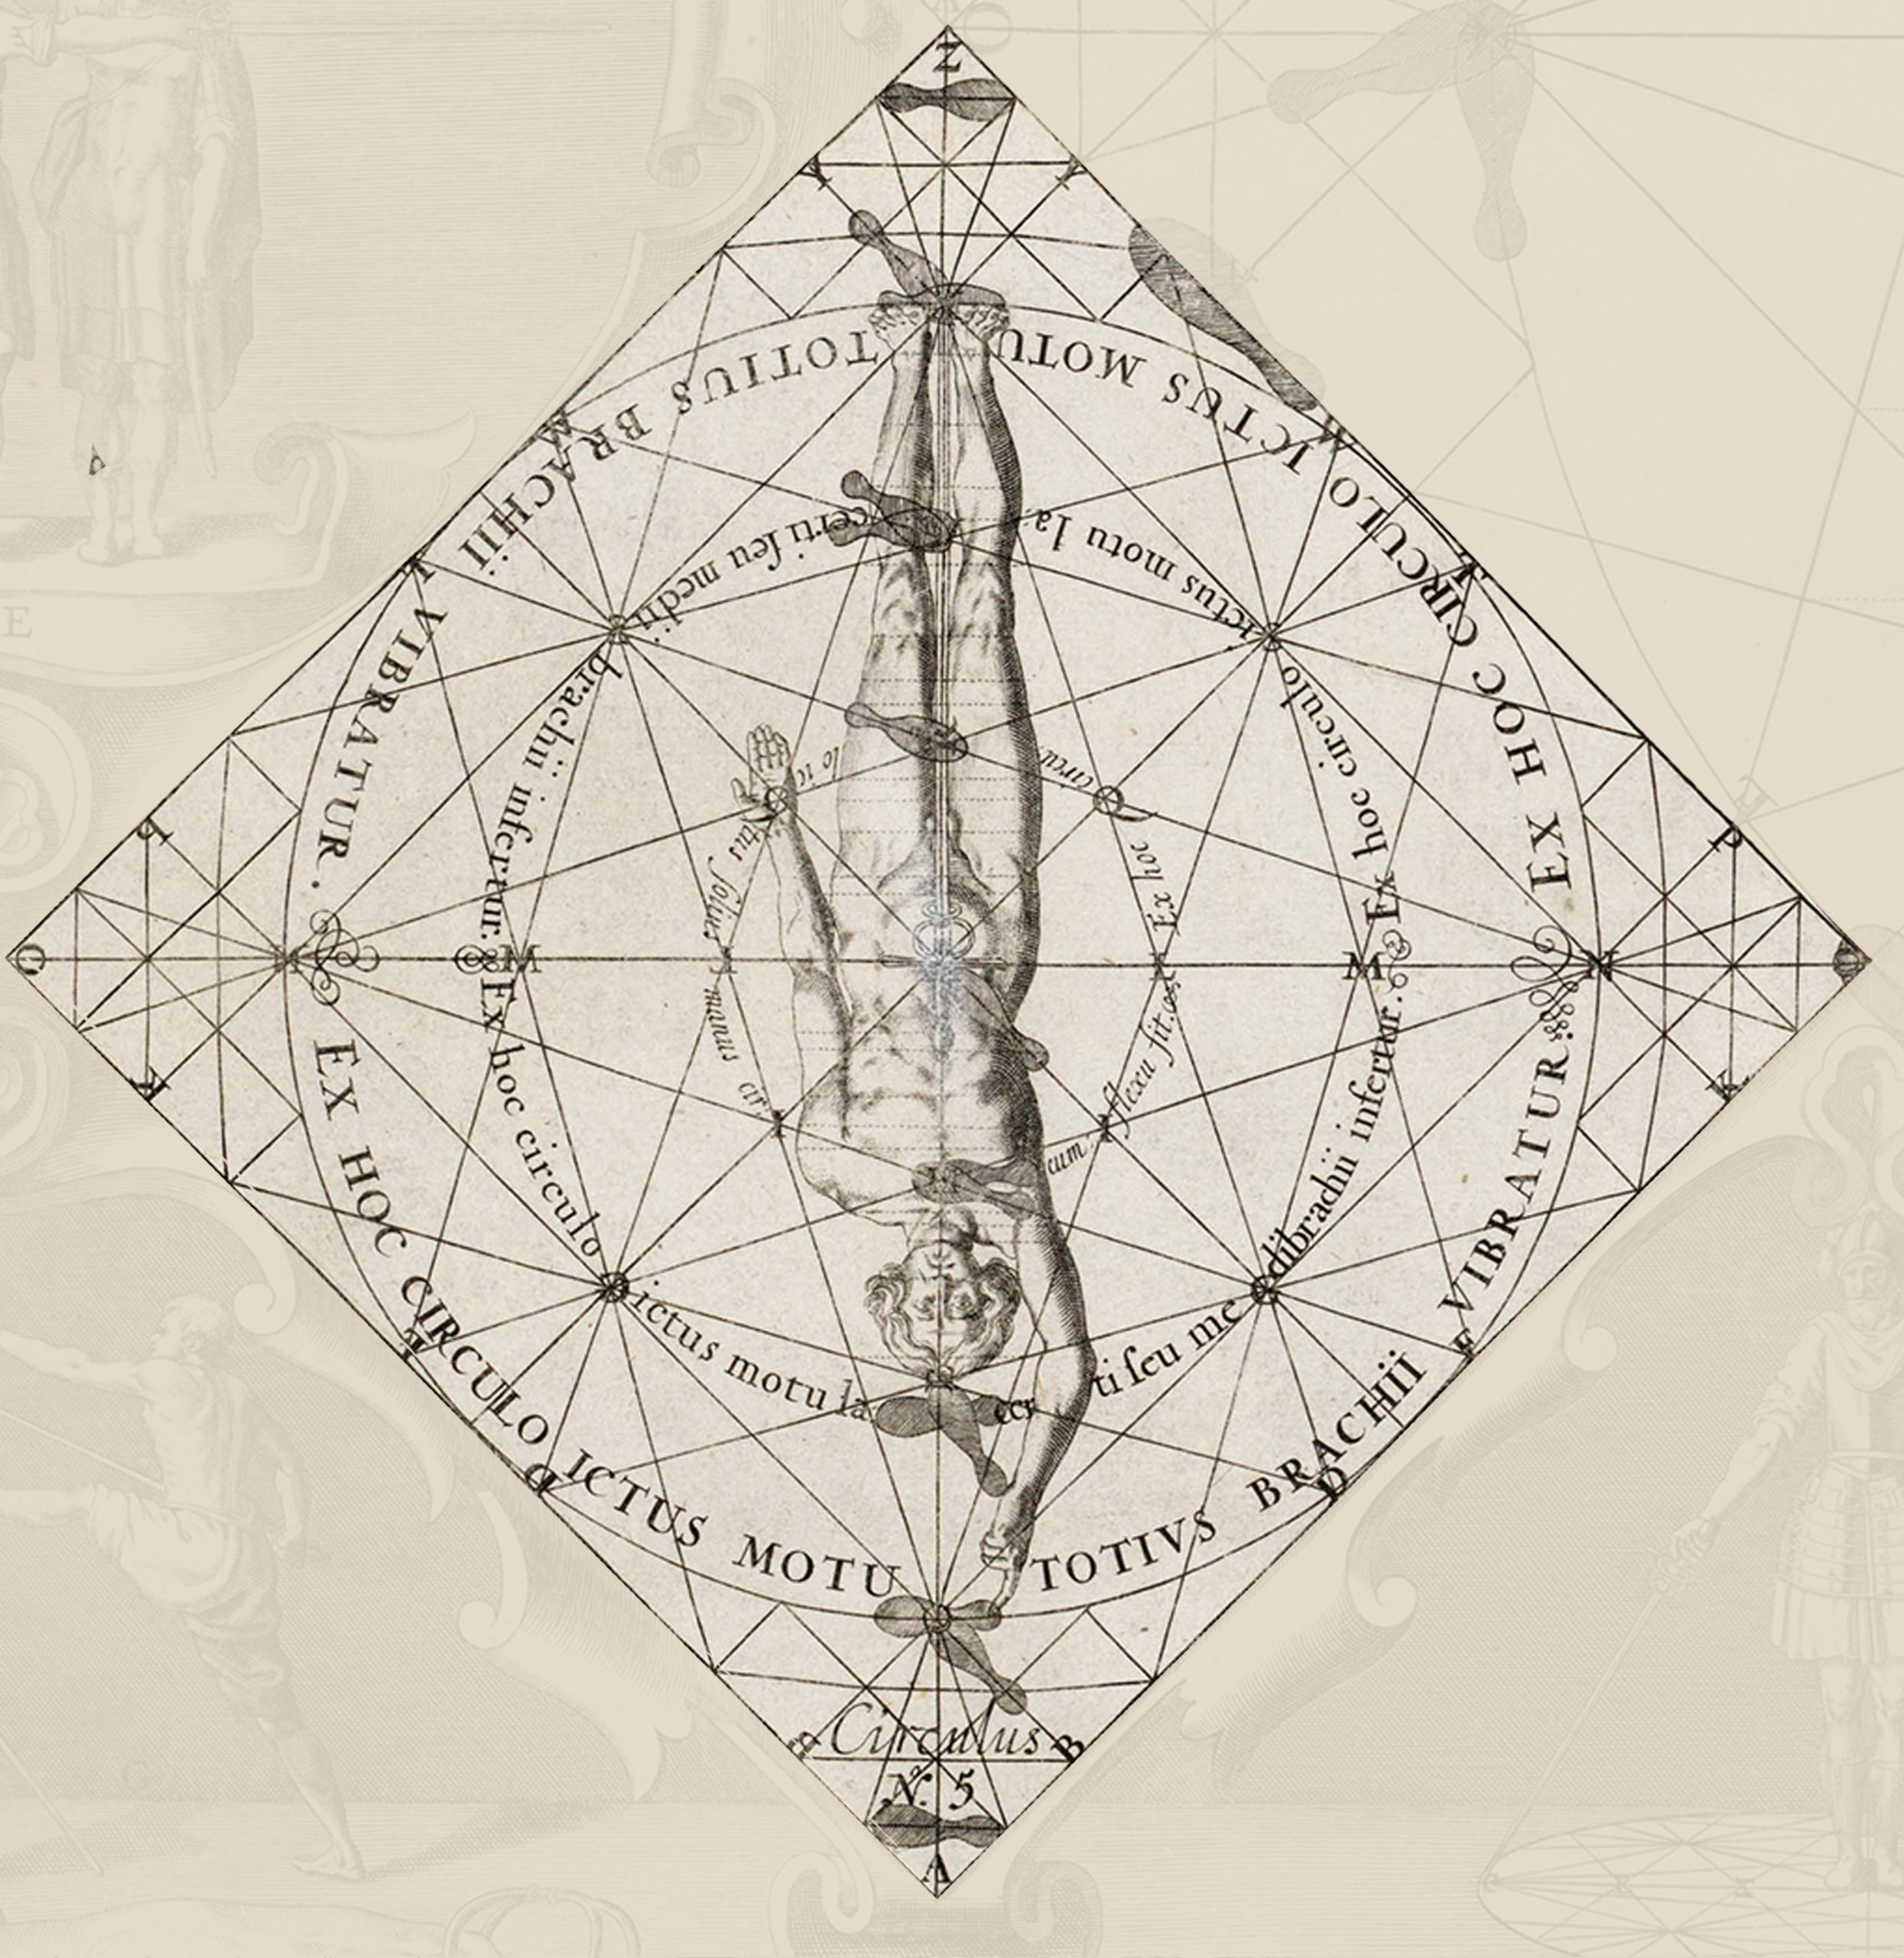
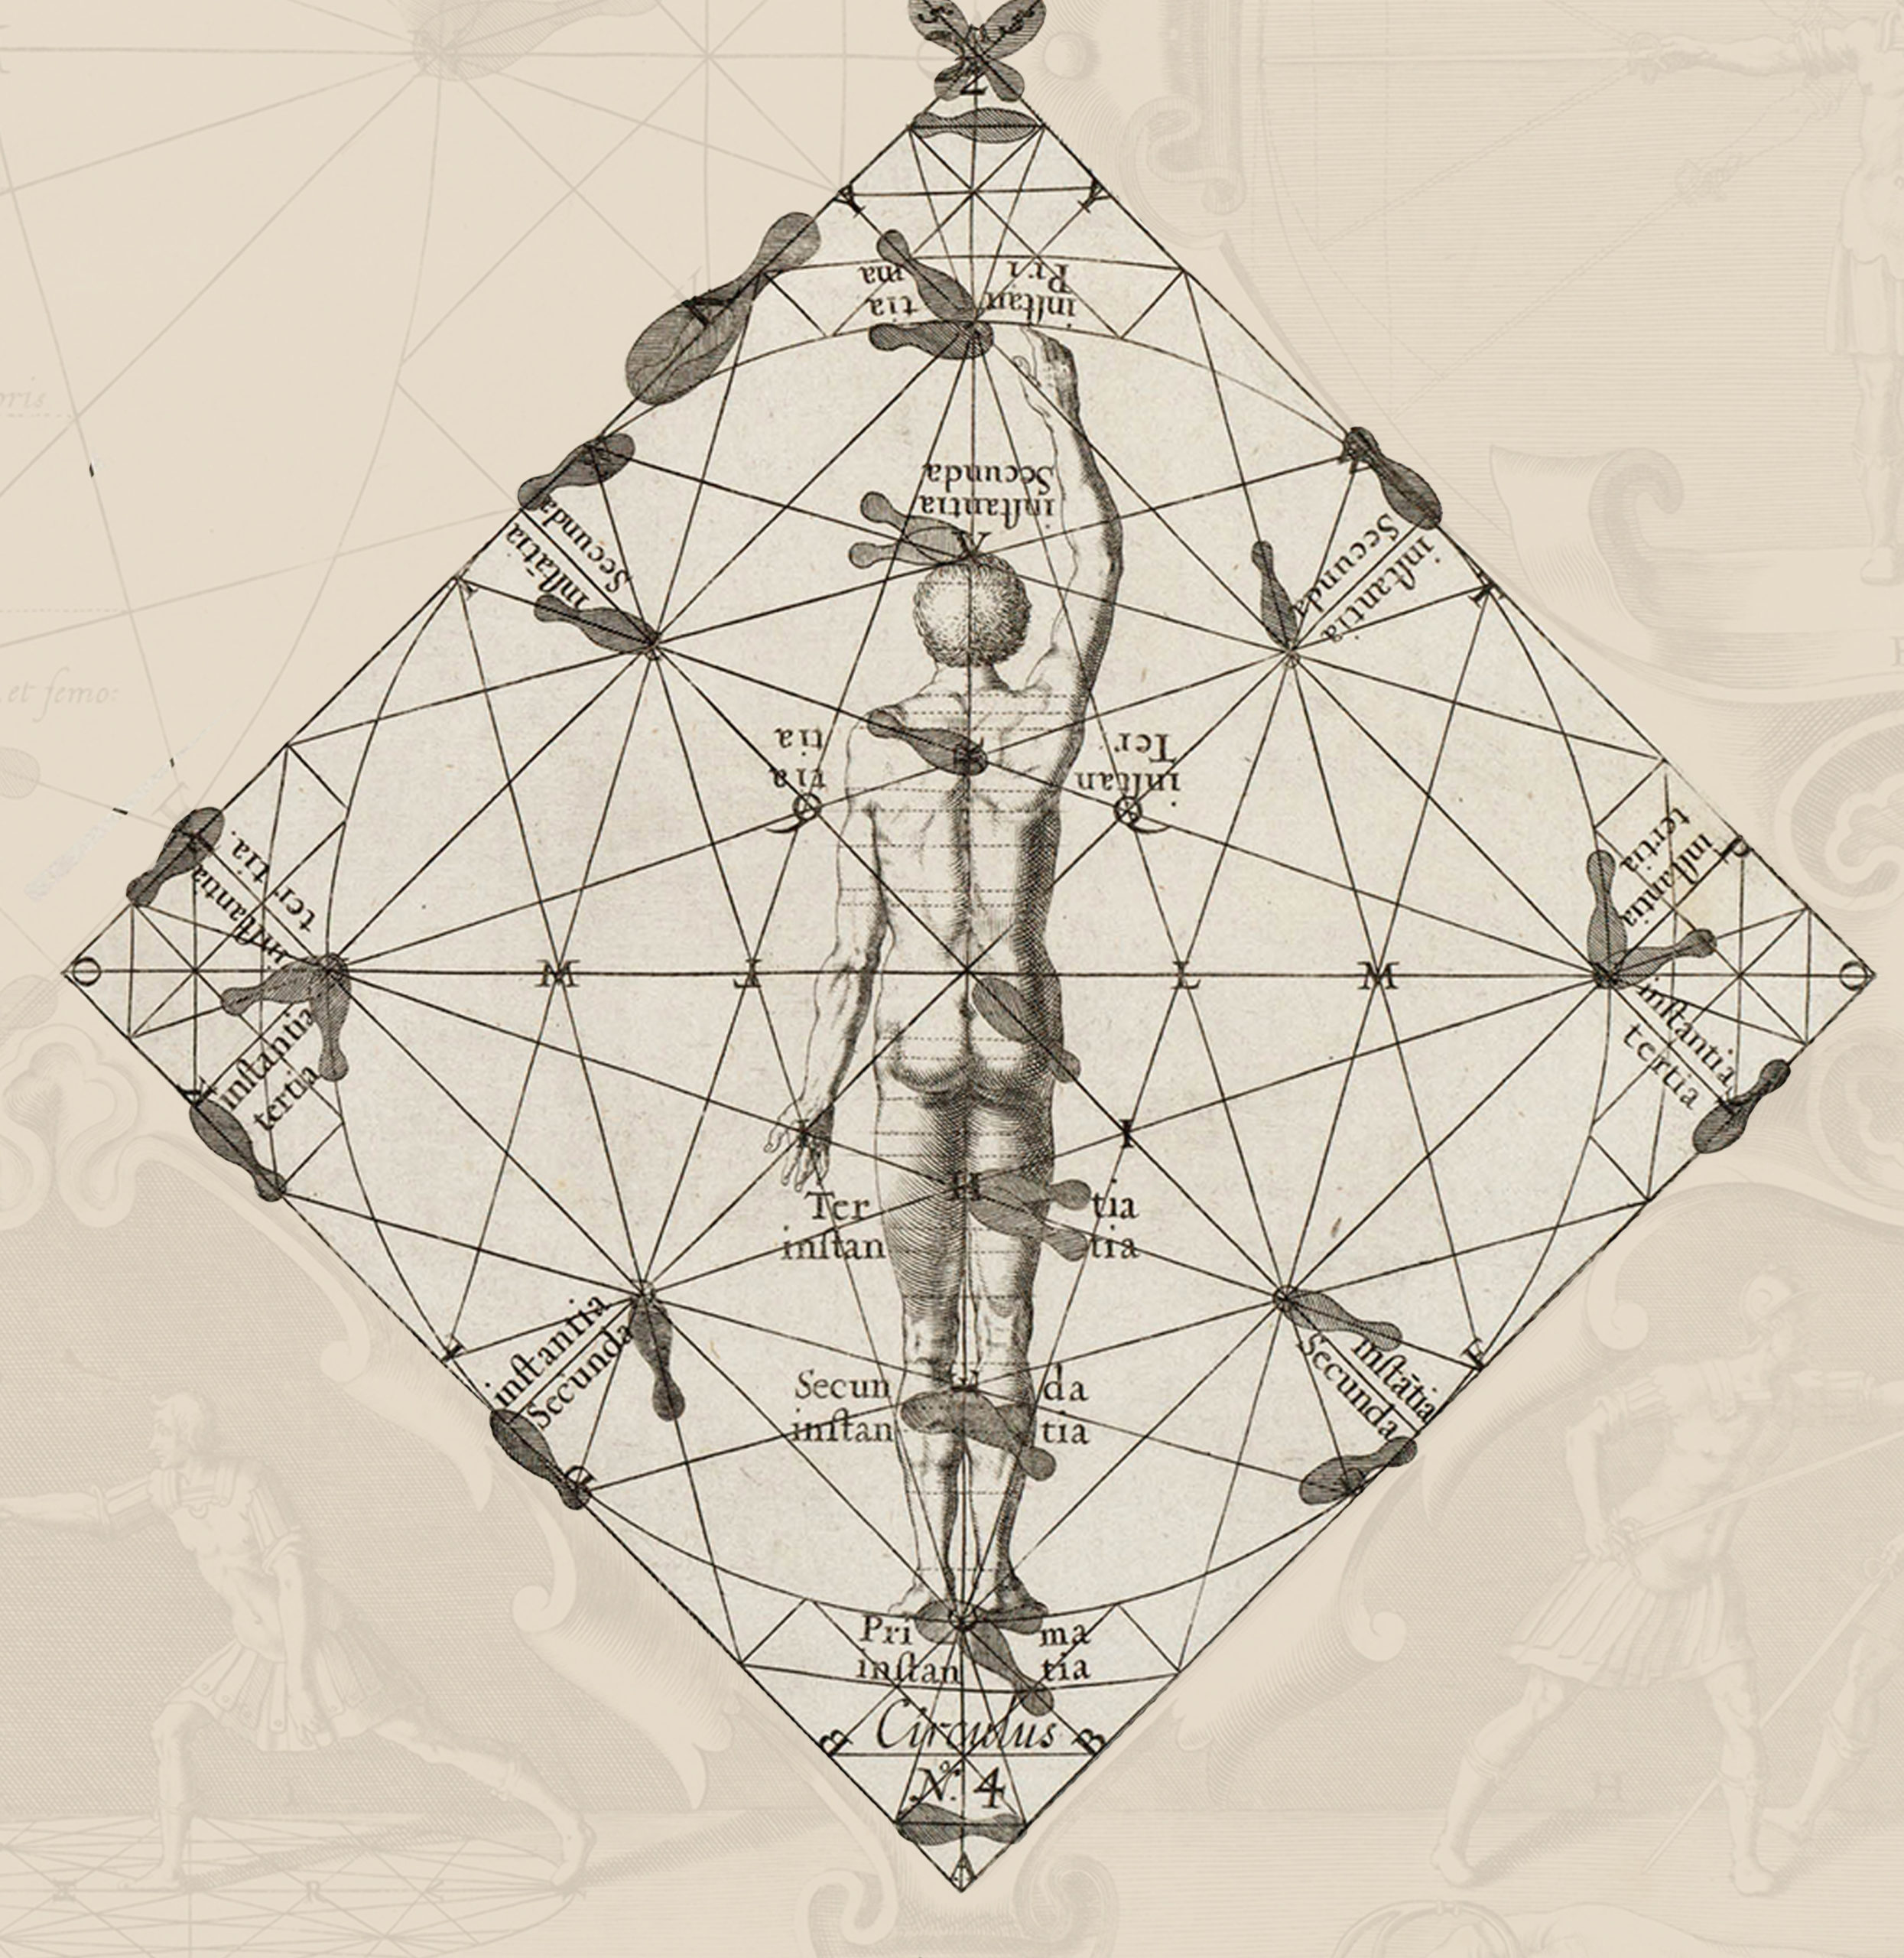
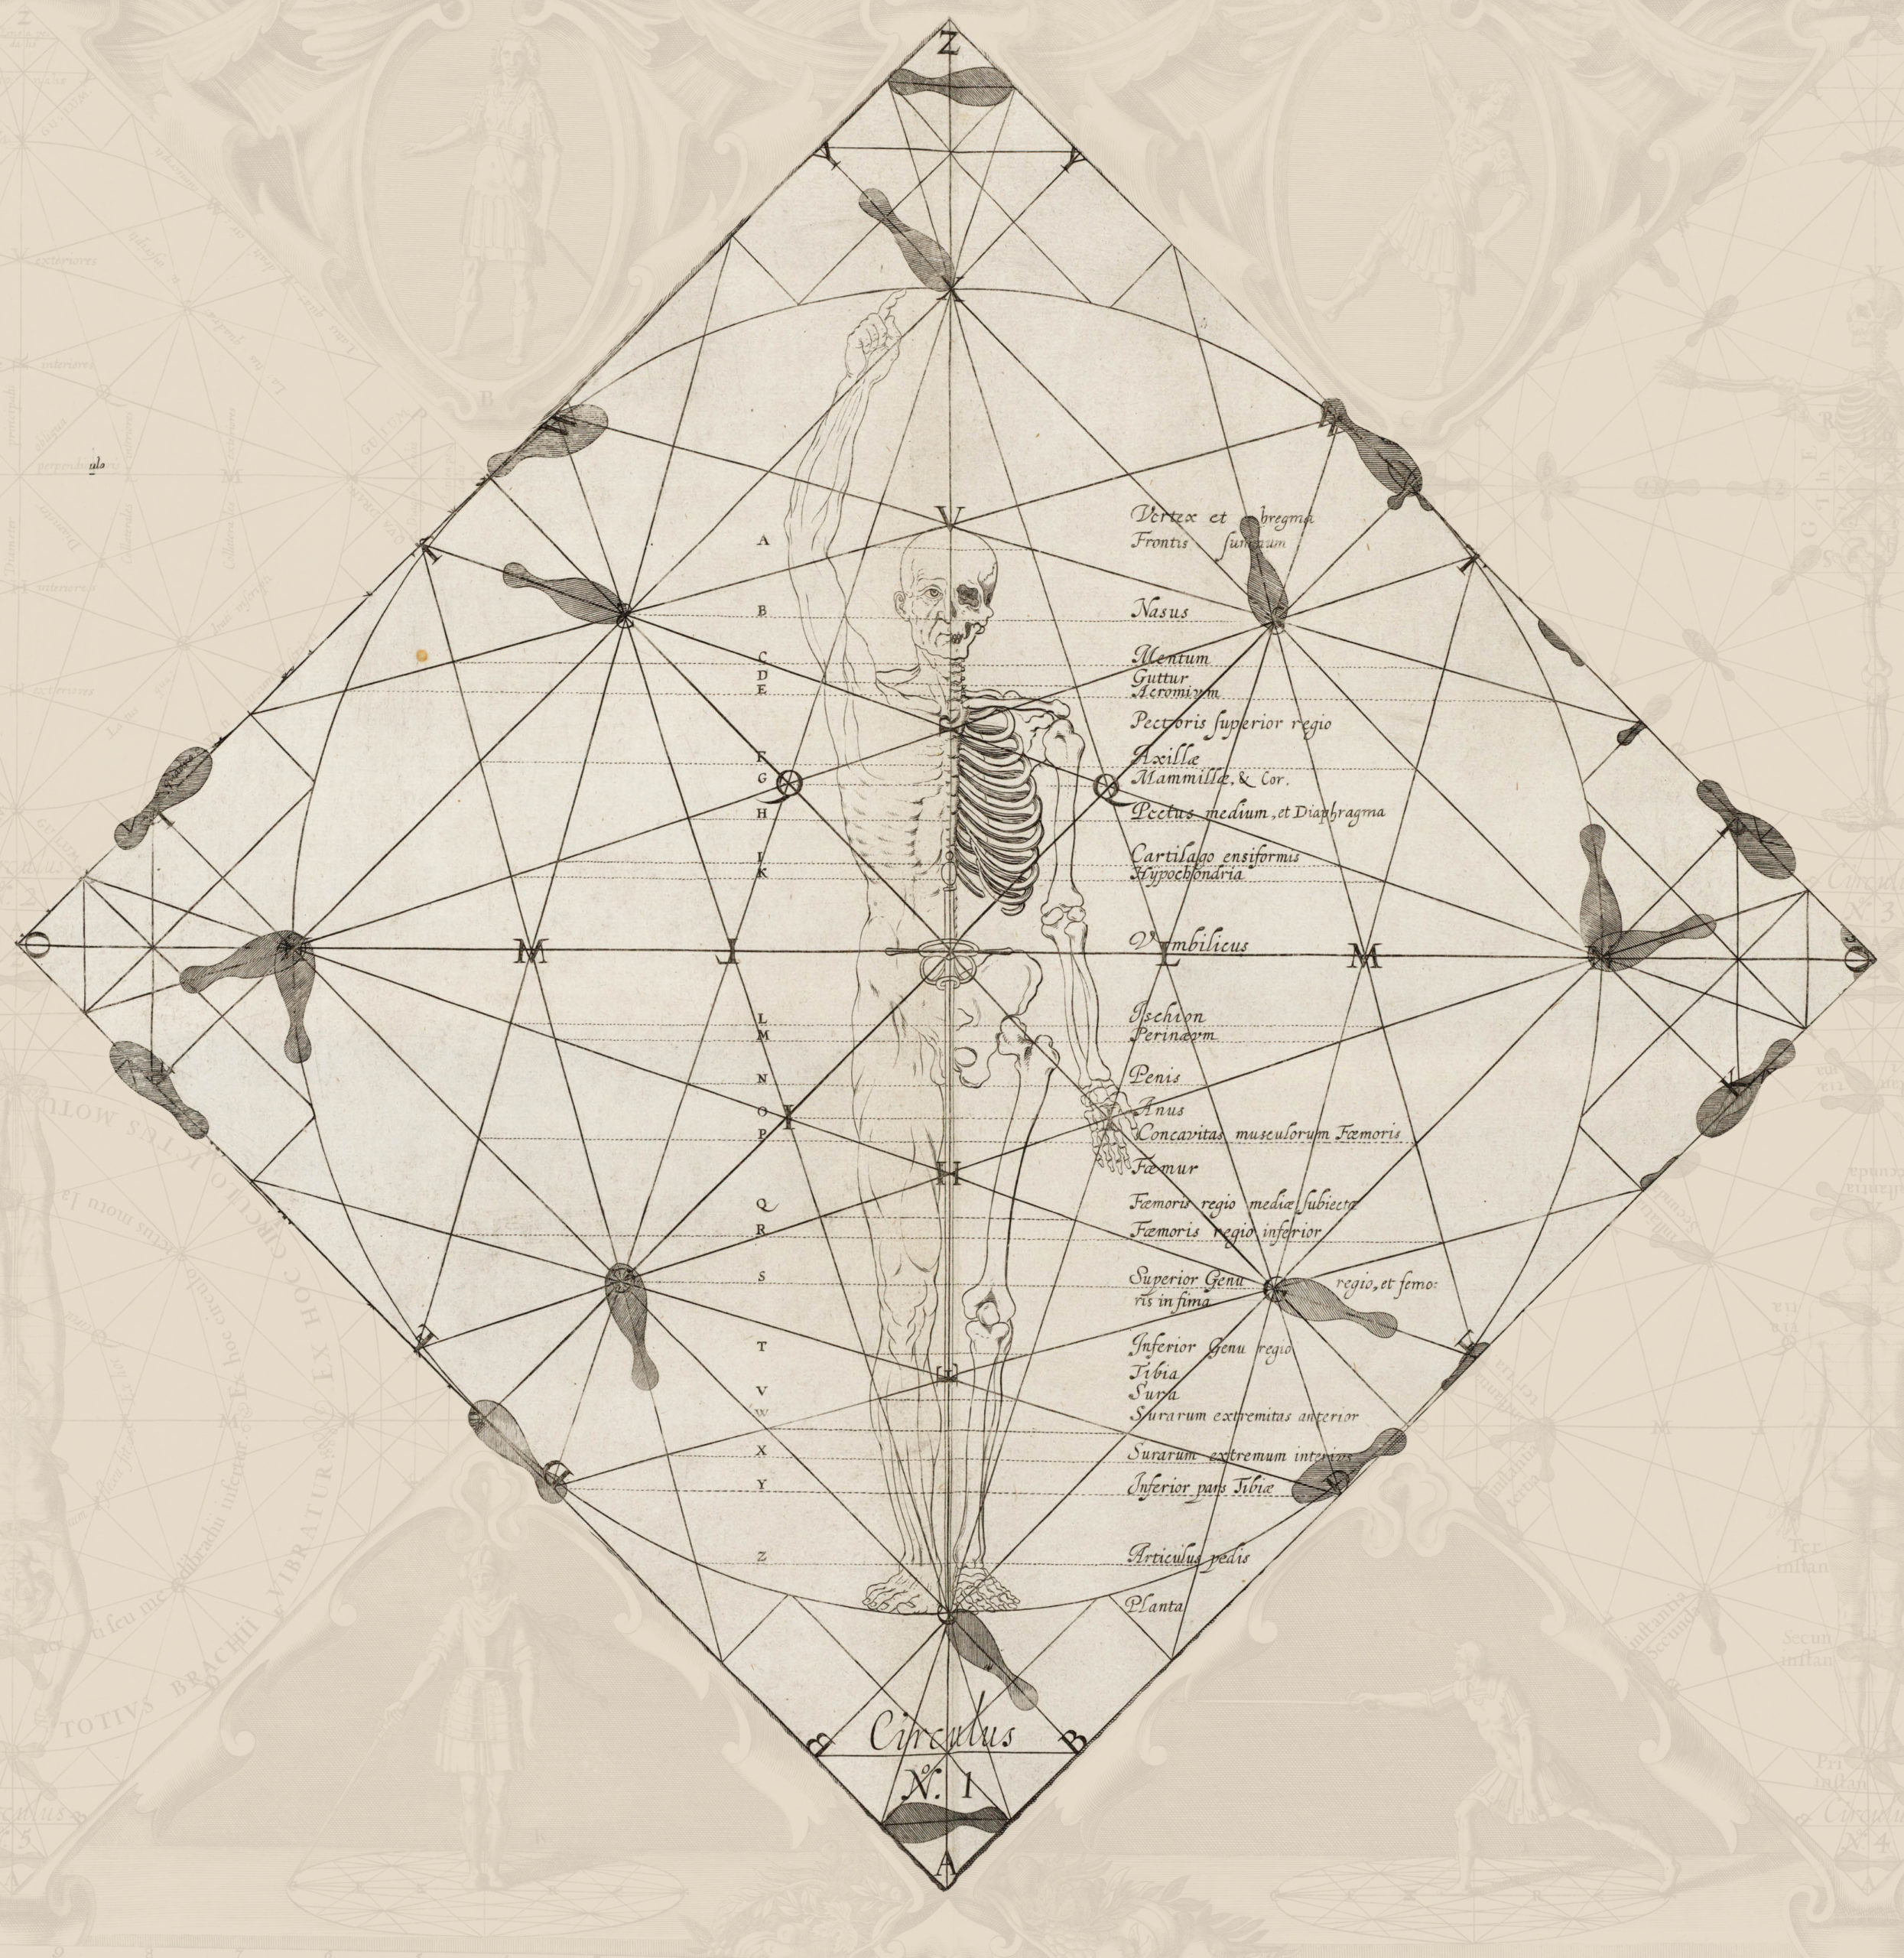
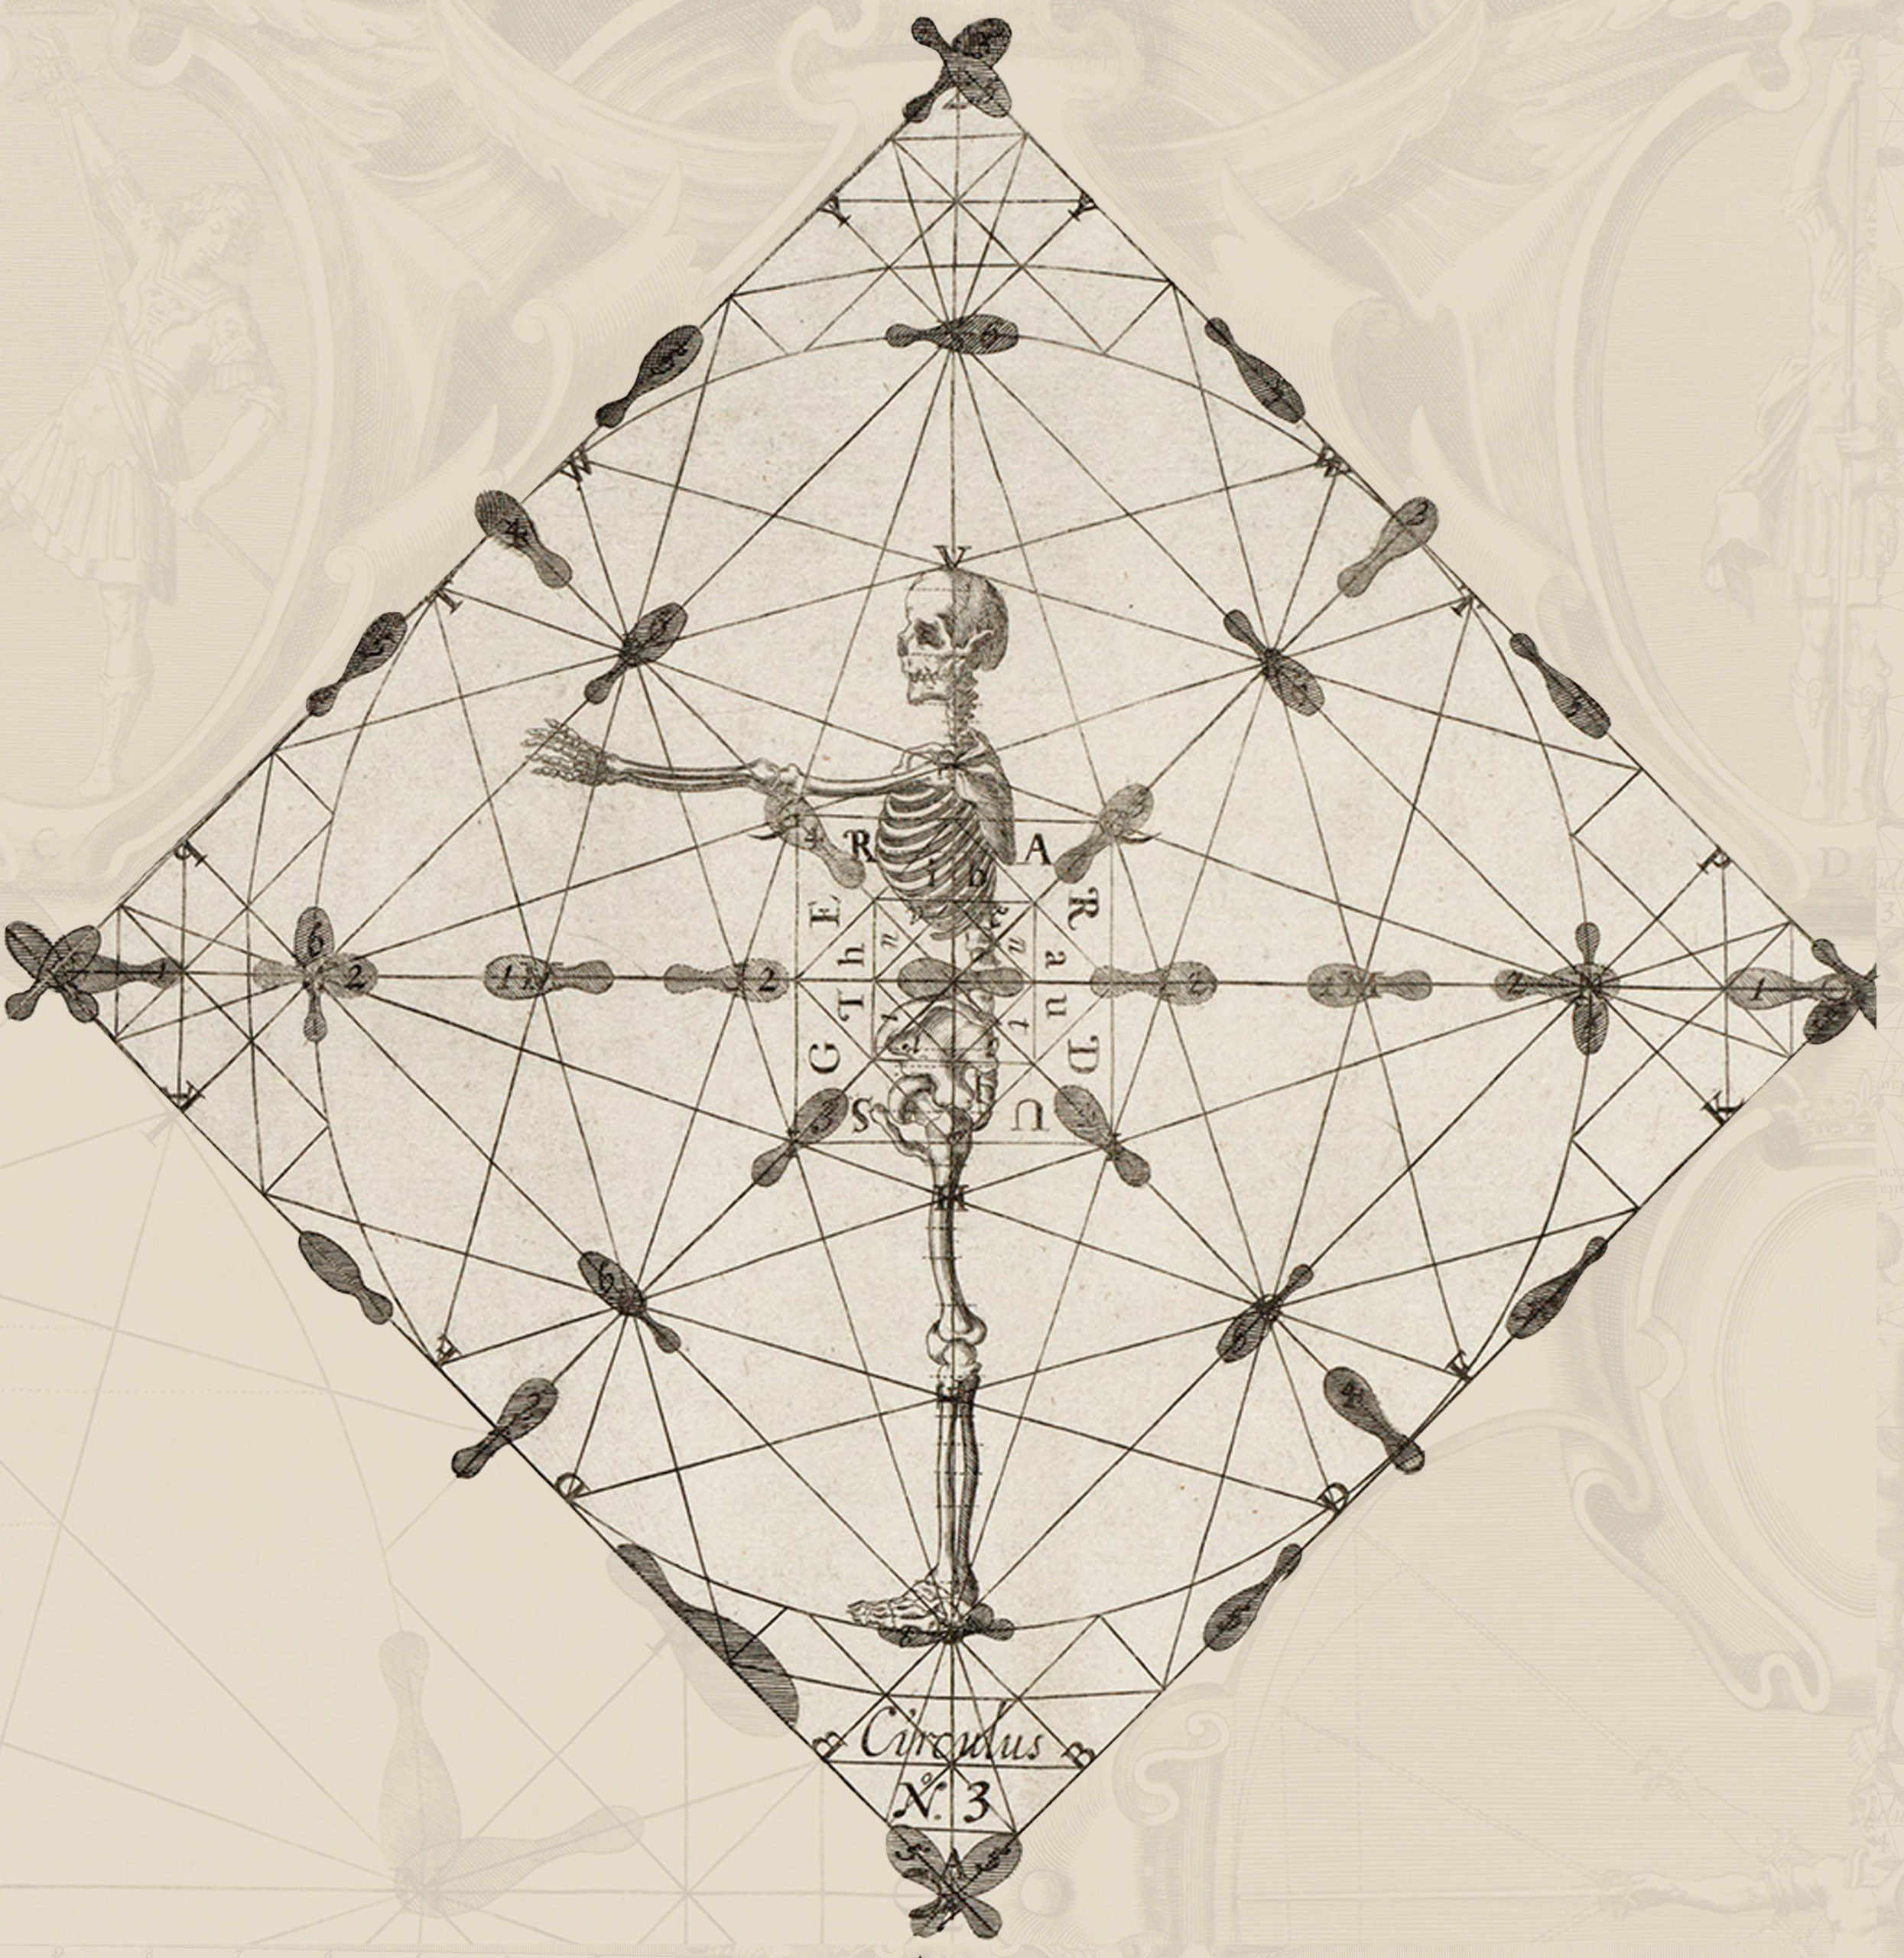
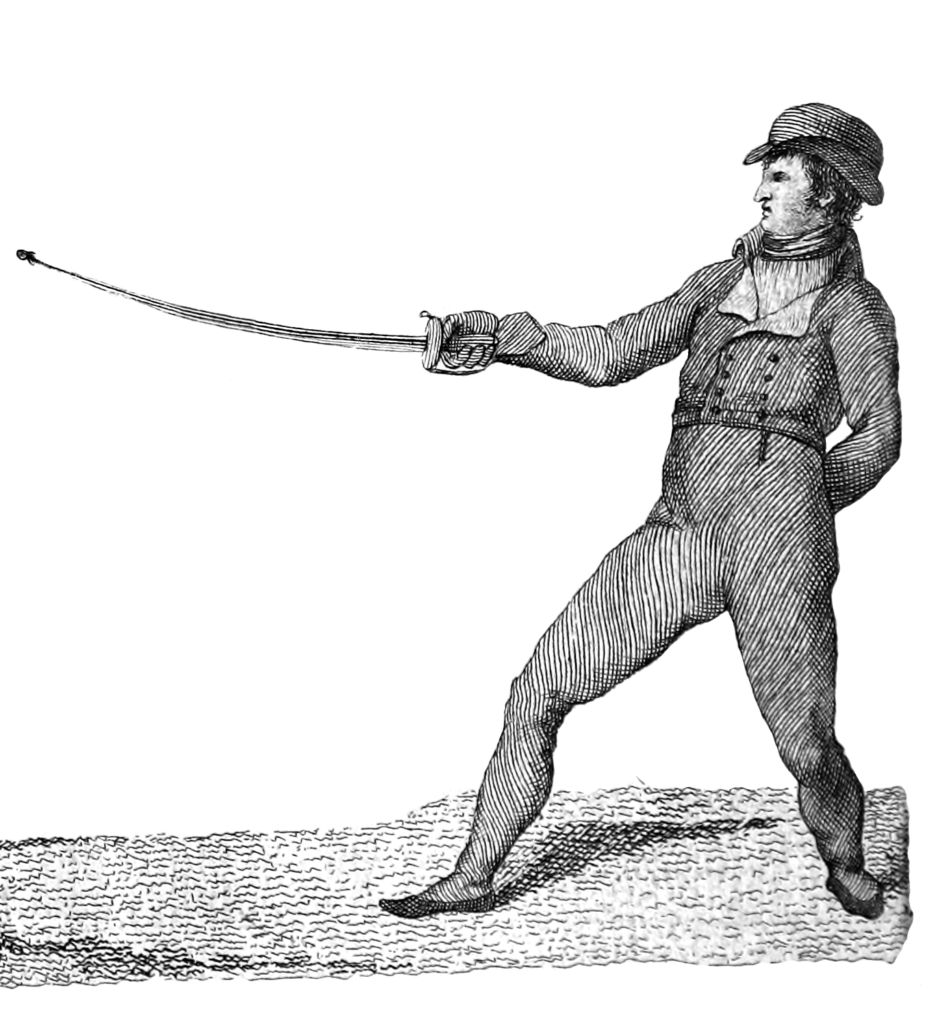
At least as far back as the 16th century, we see illustrations of targets hung on the wall to give fencers reference for thrusts or cuts. These can be large and elaborate like the various images from Joaquim Meyer’s “Thorough Descriptions of the Art of Fencing,” a simple reference point on the wall, or pretty much anything in between.
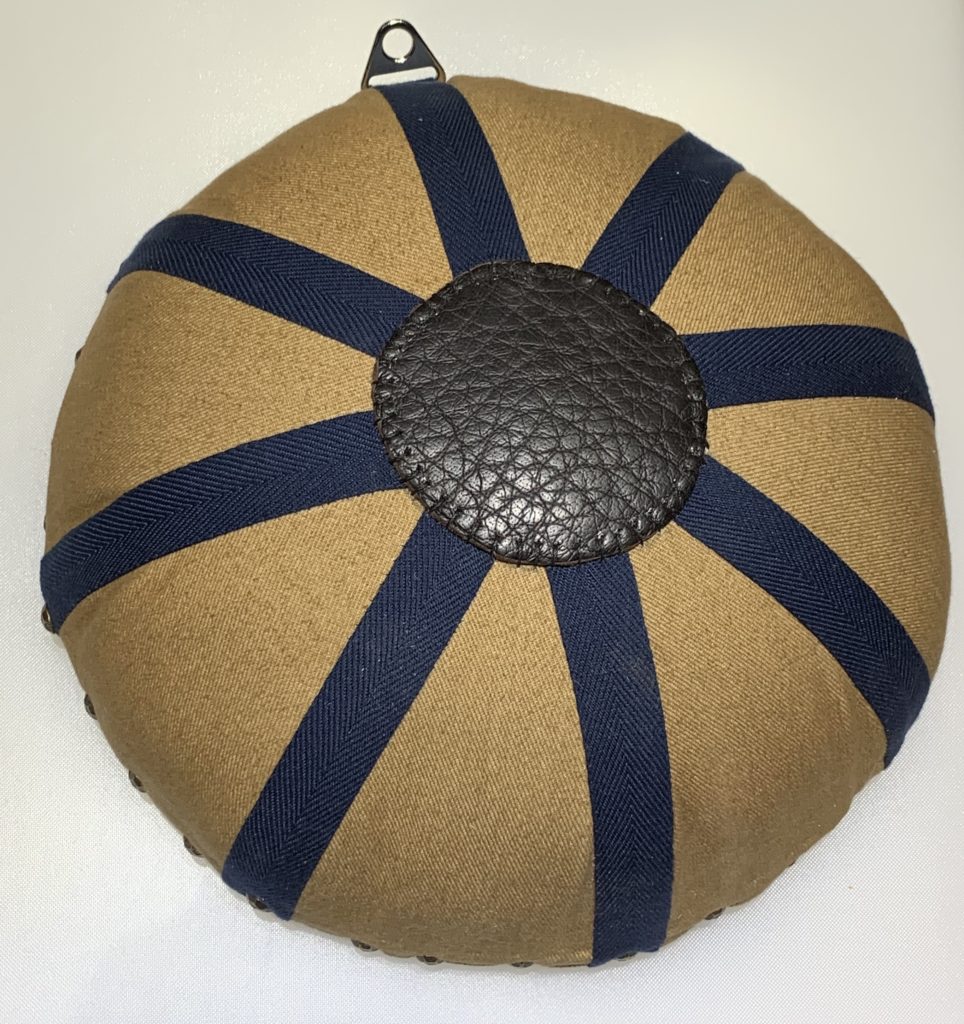
For this project, I decided to go with a simple round target, about 12 inches in diameter, with a bullseye in the center and directional lines at 45 degree intervals for the common cutting angles. The target is padded to allow for more solid thrusts without jarring the weapon or damaging the wall behind the target. Targets of this kind were fairly common in classical fencing salles and can still be found in fencing schools around the world.
For those of you who may be interested in this kind of target but would rather just pay someone else to make it for you, some nice smaller targets can be found for sale by Benjamin Arms. On the other hand, if you’re like me and enjoy making things with your own hands and customizing them to your liking, please read on.
If you want to make one of your own, you’ll want the pattern piece.
For this project, I used the following materials:
- About 1/2 yard of canvas
- About 2 yards of cotton twill tape (for the directional striping)
- A small amount of water buffalo hide cut into a 3-3/4 inch diameter circle (for the bullseye)
- 1/3 yard of Grip-Stop Cotton fabric cut into a 12 inch circle
- Upholstery thread (matched to the canvas)
- Dual Duty thread (for sewing down the matched to the twill tape)
- Waxed synthetic sinew (for attaching the leather bullseye)
- 3/4 inch plywood cut into a 12 inch diameter circle
- 32 furniture tacks
- 1 Dritz brand triangle ring (for making detachable straps)
- About 1/3 yard of flat batting
- 1 12oz bag of Poly-Fil batting
I also used the following tools:
- Sewing scissors
- Hand sewing needles
- Leather glovers needle
- Leather awl
- Upholstery stapler (with 3/8inch heavy duty staples)
- Tack hammer (for setting the upholstery tacks)
- Pliers (for stretching the canvas into place during final stitching)
- Pencil
- Dritz measuring gauge (if you sew and don’t already have one of these, I suggest picking one up)
- Beeswax (for hand sewing)
- Steam iron
- Pressing ham
- Band saw (to cut the plywood into a circle)
- Random orbital sander (to smooth the edges of the plywood down and remove any splinters)
My choice of materials and tools was somewhat effected by my decision to sew this project by hand rather than using a machine. Sewing the target by machine is perfectly acceptable. I just happen to enjoy sewing by hand and it allows me to use heavier threads in the structural seams and apply some finishing techniques that aren’t available on sewing machines.
Speaking of hand sewing, I used the following stitches:
- Running stitch
- Applique stitch
- Herringbone stitch (for blind hemming)
Let’s get to work. Here’s the process that I followed:
Cut out 8 of the pattern pieces.
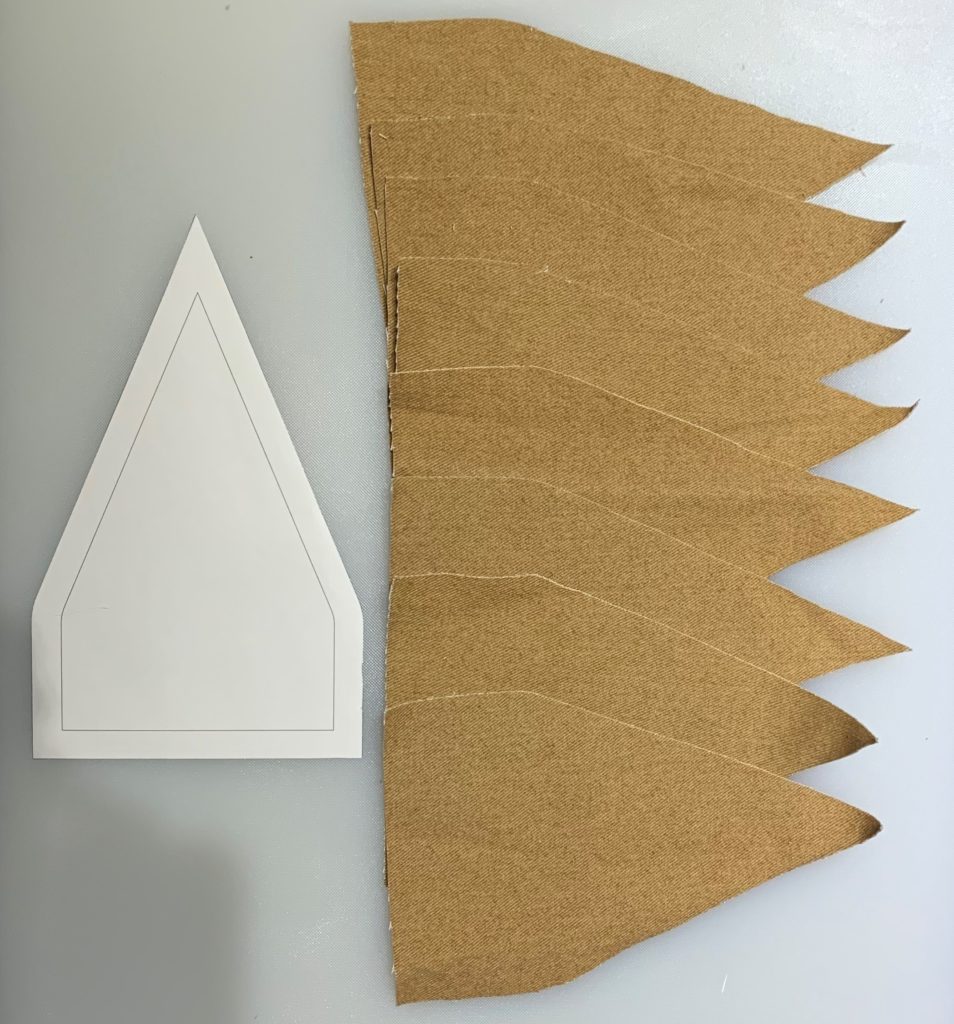
You’ll want to cut these on the grain of the fabric. That way, they’ll be able to flex a tiny bit where the seam is, but they’ll resist deforming through the center. I didn’t have the grain markings on the pattern piece I used, but I’ve added it to the pattern linked above. When you’re laying these out, be sure to leave enough canvas to be able to cut out a circle about 16 inches in diameter to use on the back of the target.
Mark your seam allowances using your measuring guage
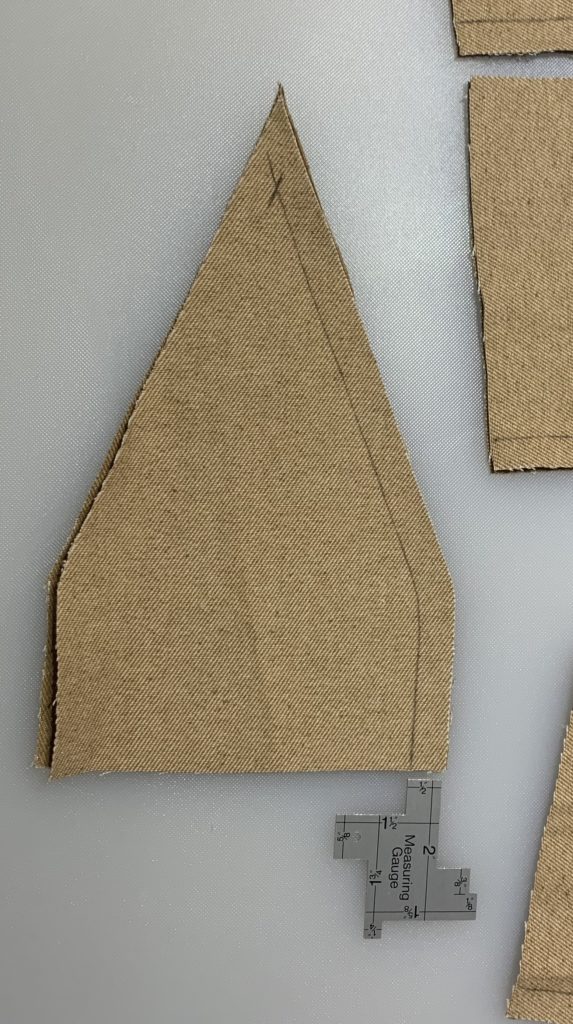
Use a 1/2 inch seam allowance and be sure to mark where the seam allowances come together at the point. Make sure you’re marking on the back side of the fabric.
Stitch two pieces together
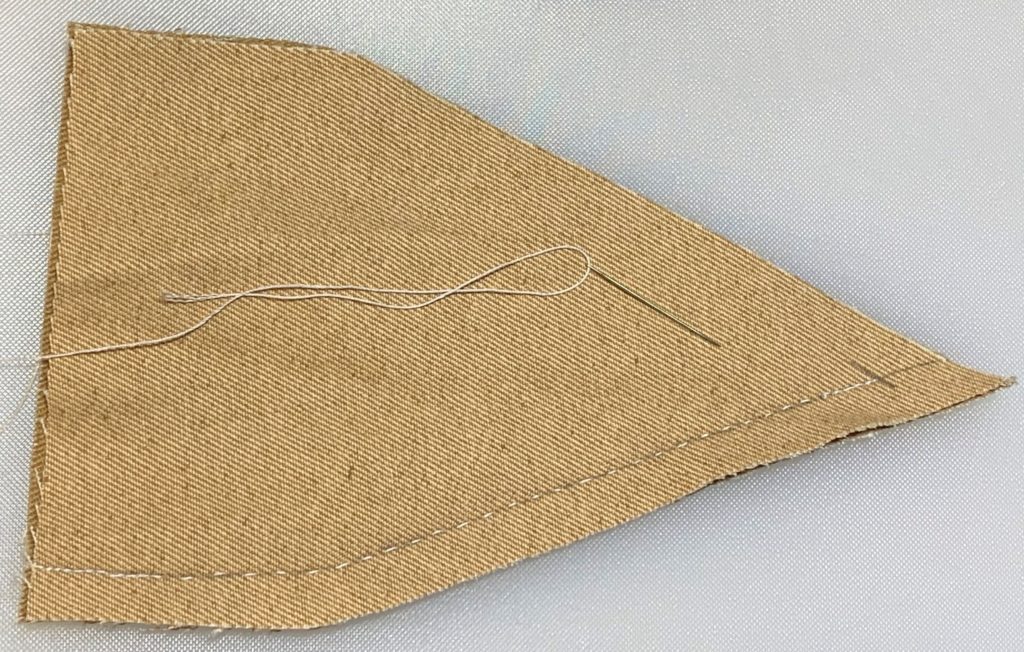
Lay your first two pieces face to face and use running stitch to attach them to each other along the seam you just marked. Start the seam at the point, making sure that both pieces are lined up at the point mark for the seam allowance. You can always adjust the bottom of the piece if needed, but alignment errors at the point will be more difficult to address later on.
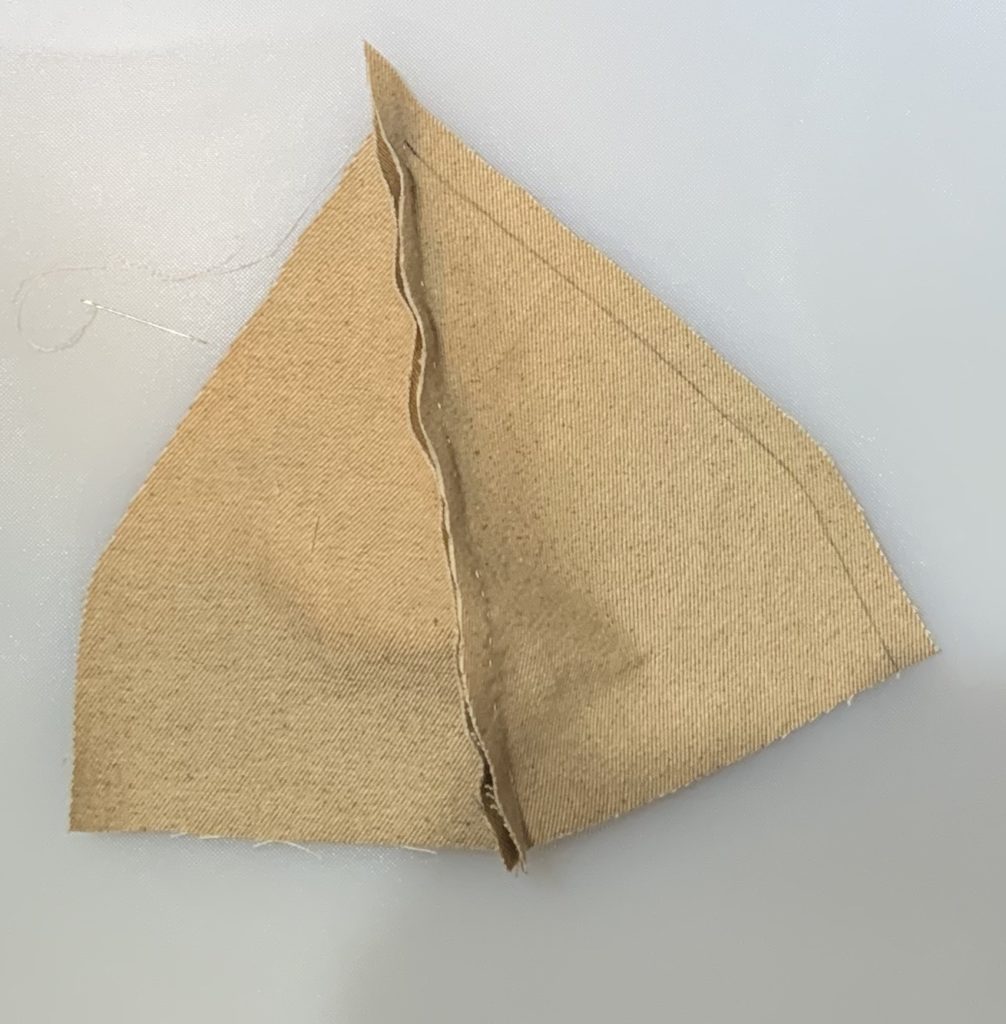
When the seam is finished, you should be able to lay the pieces open like in the picture above. It will not lay entirely flat.
Repeat this process three more times.
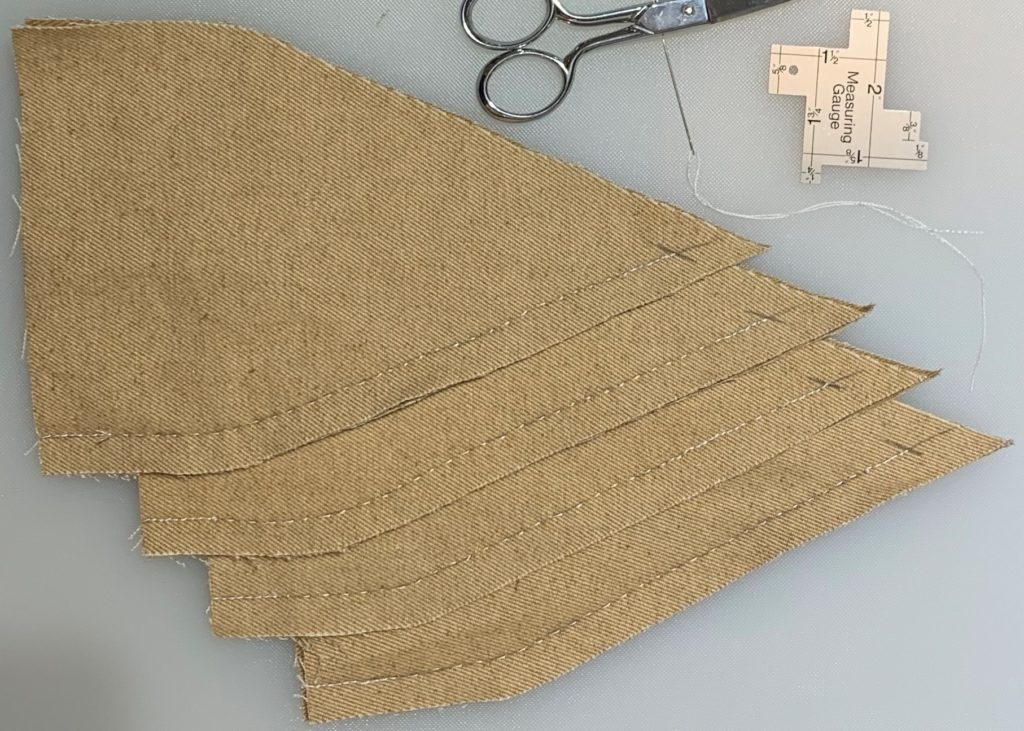
While you could simply keep adding pieces in series, in my experience, working in pairs like this makes it much easier to manage all of the alignment issues and keeps problems from compounding. Given the option, you might as well do it the easier way. When you’re done, you should have four stitched pairs as pictured above.
Mark out your second seam lines.
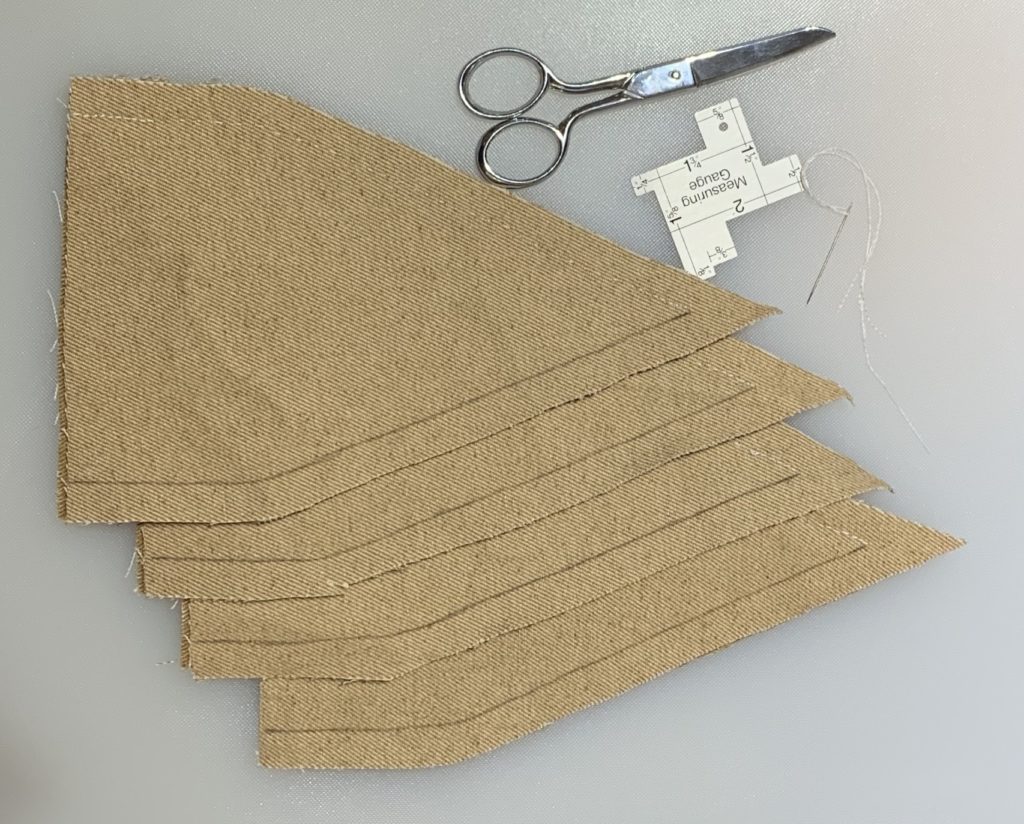
To be fair, you could have done this all at once when we laid out our first seam lines. This is just the order I did it in.
Line up two stitched pairs face to face and sew them together on one edge.
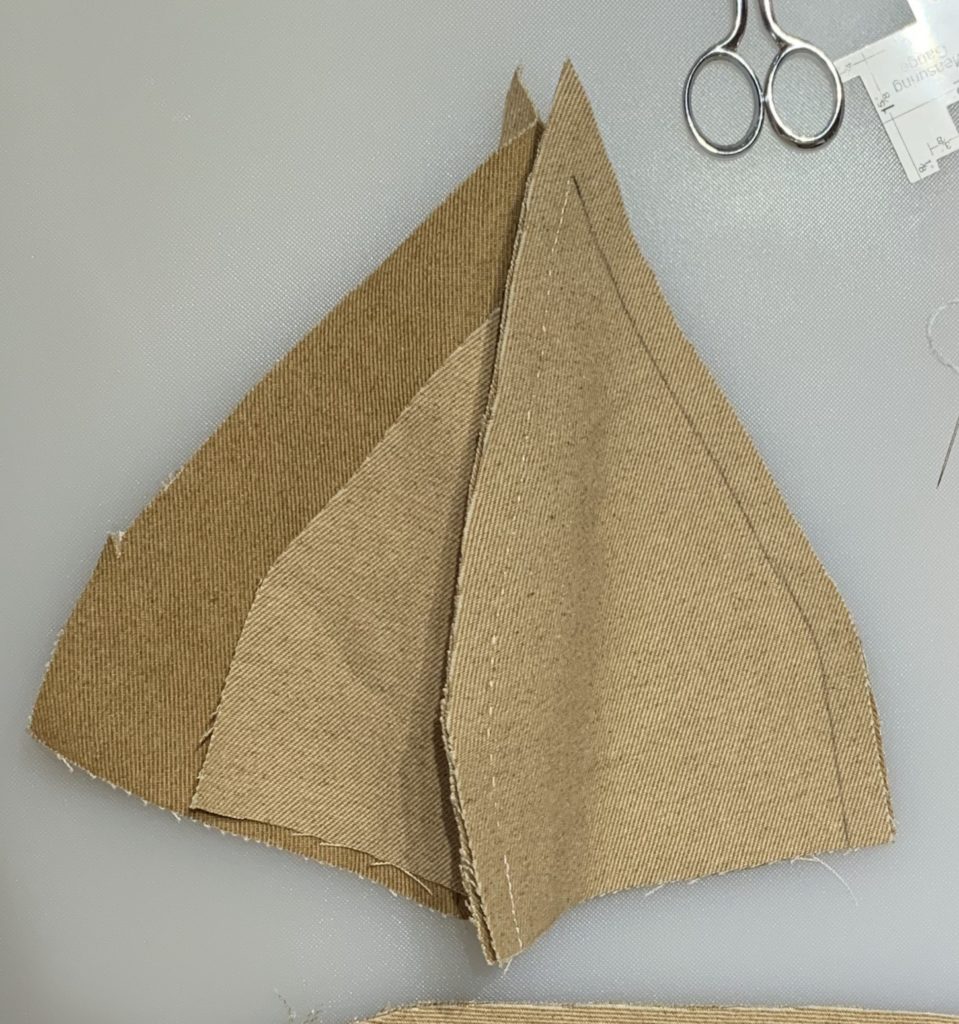
You should end up with four pieces connected to each other by three total seams. Just like when you stitched your pairs, line up the point first, and use running stitch for the seam.
….and, repeat.
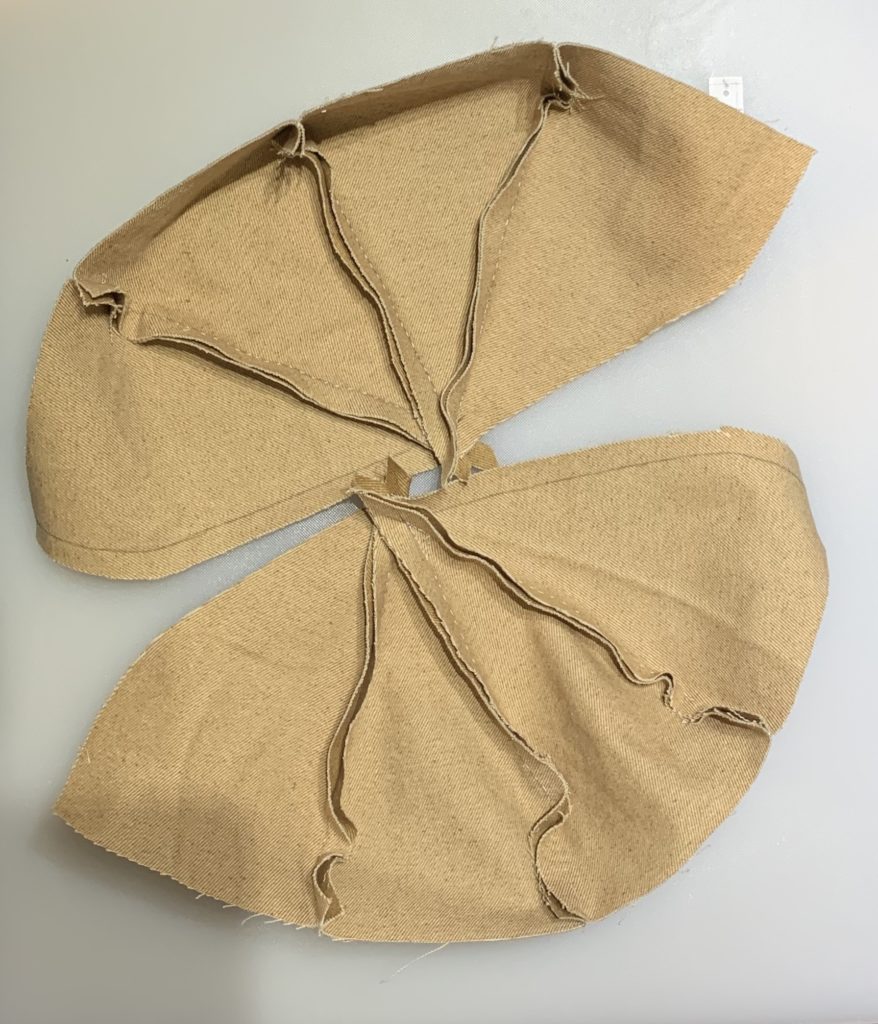
You should end up with two sets of four panels. They should look more or less like the picture above.
Attach your two sets of four to each other
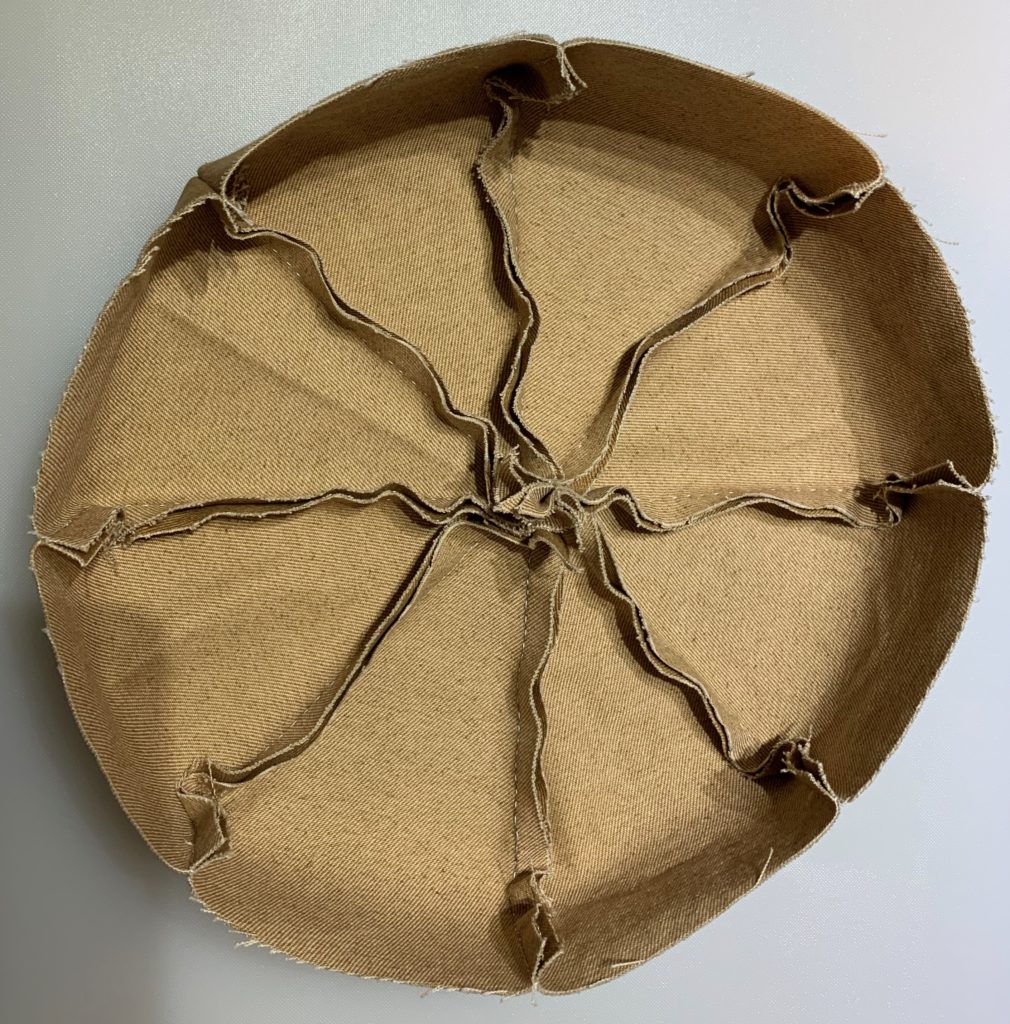
Just like before. Face to face. Start at the point and stitch to the edge. Use running stitch.
Flip it over and admire your work so far
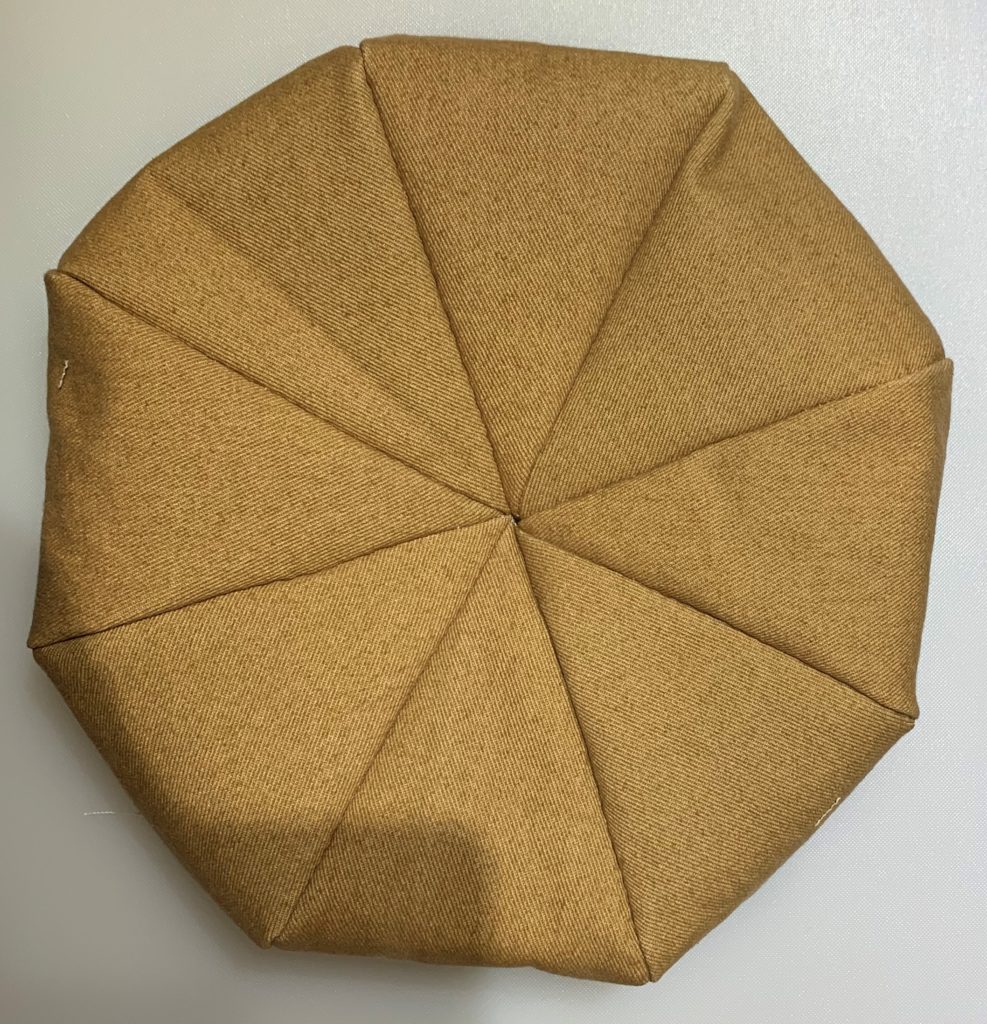
If it looks more or less like this, you’re on the right track.
Do a little bit of snipping
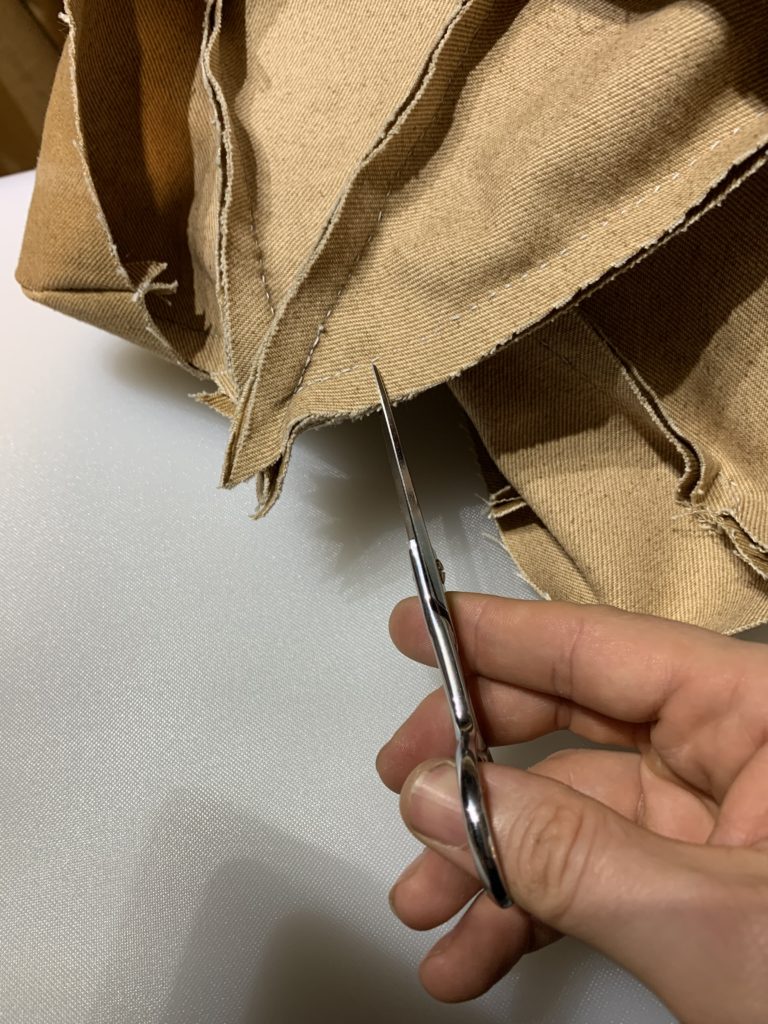
In order for the seams to lay neat and flat, we’re going to want to press them open. That’s going to be a problem at the center point where all of those seam allowances are competing for the same space. To address that, make a small cut in each of the seam allowances about an inch out from that center point. Make sure you don’t cut into the seam itself, though.
Now it’s time to press the seams
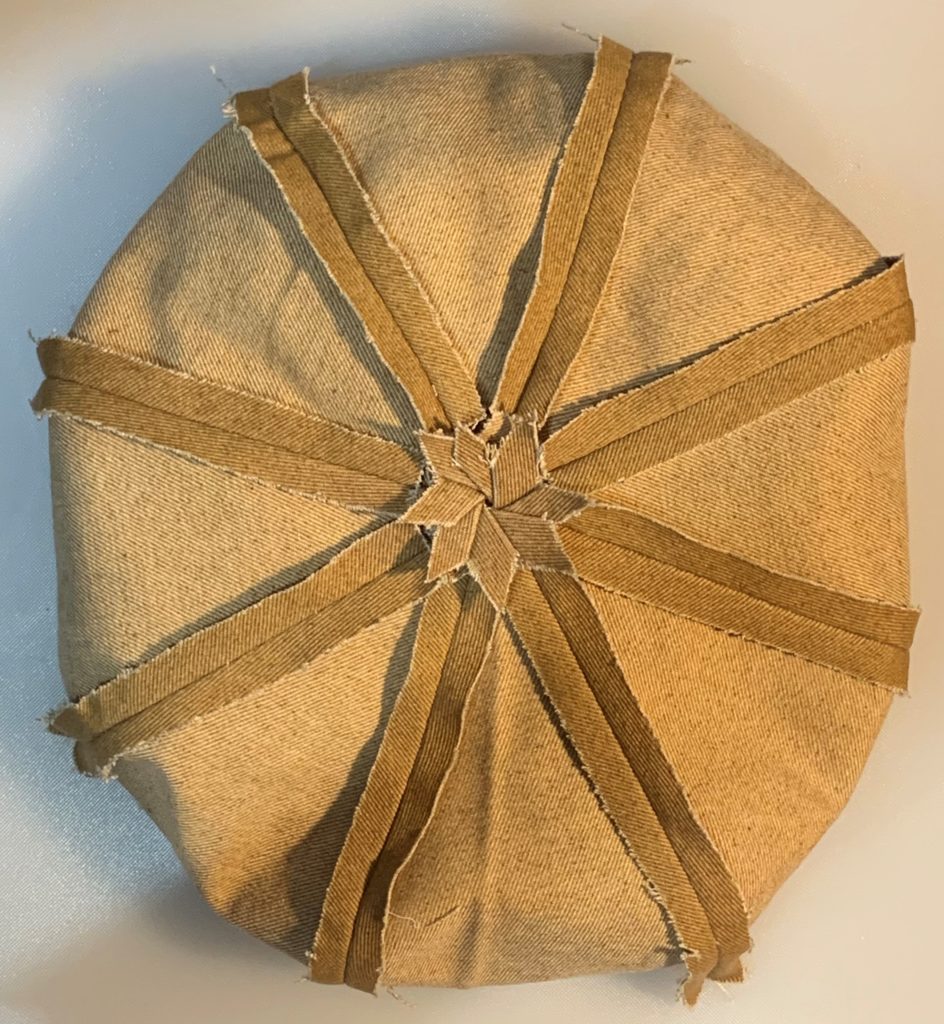
As I said above, the seams get pressed open. What about that snipped area up by the center though? Press them all either clockwise or counter clockwise (your choice, just pick one). Not only does it help the center seams lay flat, but it makes a fun flower-like pattern that only you will know is there (unless you take pictures of it and post them on the internet).
Baste the seam taping into place
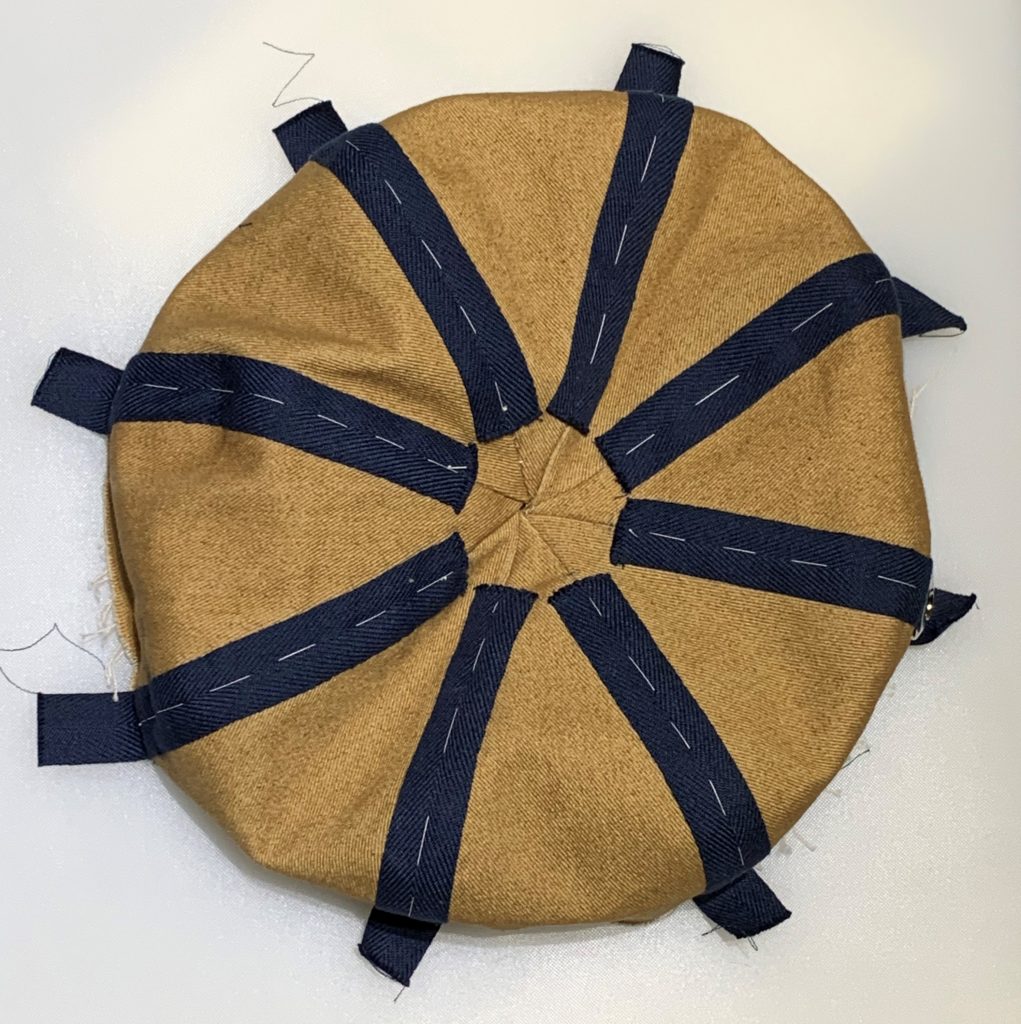
If you recall the cotton twill tape from the materials list, this is where we use it. The twill tape serves two functions. It gives a good visible marker for directional action drills, but it also reinforces the seam so that it can stand up to repeated blows better.
Start by taking that twill tape and cutting it into eight lengths of about 9 inches each. One of these will be basted onto each of the seams starting at about 1 inch away from the center of the target and extending to a little past the bottom edge. The idea is to have the tape start in the area that will be covered by the leather bullseye later, but not so close that the tapes overlap.
One of the nice things about twill tape is that the weave changes direction in the center of the tape, which gives a good marker for running your basting stitch up through the center of the seam and centering it on that pattern change. Just remember, you’ll be pulling those basting stitches out later, so don’t make them too small.
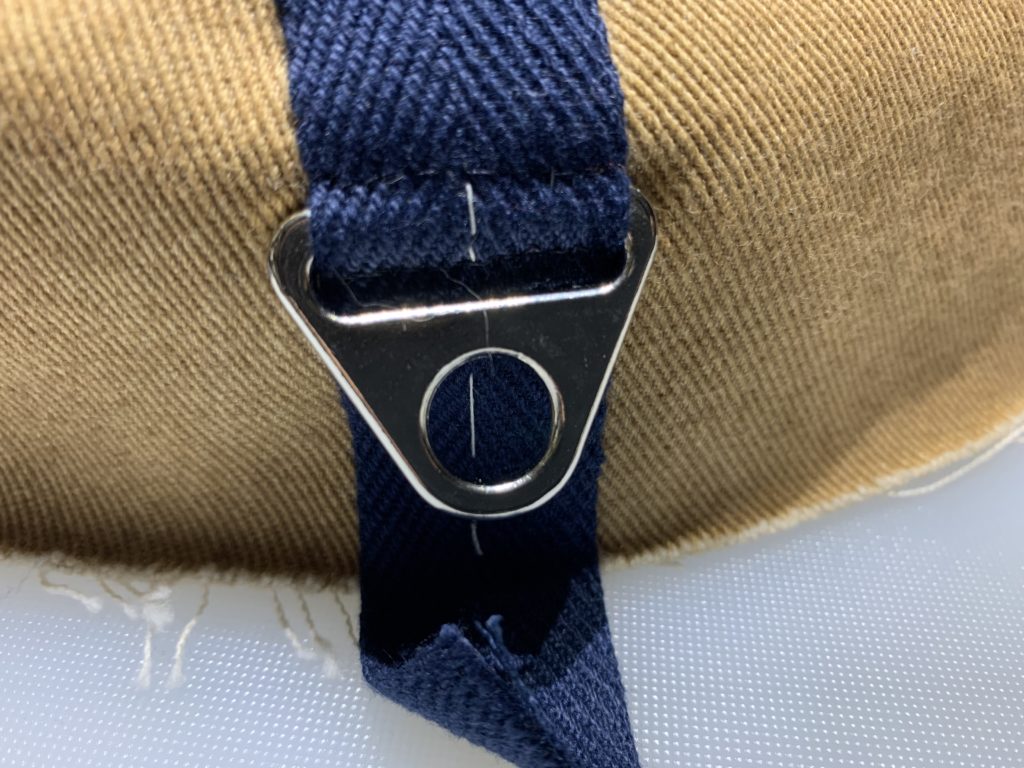
You’ll want to pick one of those strips of twill tape to be the top of the target. Run the triangle ring onto that strap at a point about 1 inch from the edge before you finish basting that strip into place.
Apply final stitches to the tape strips
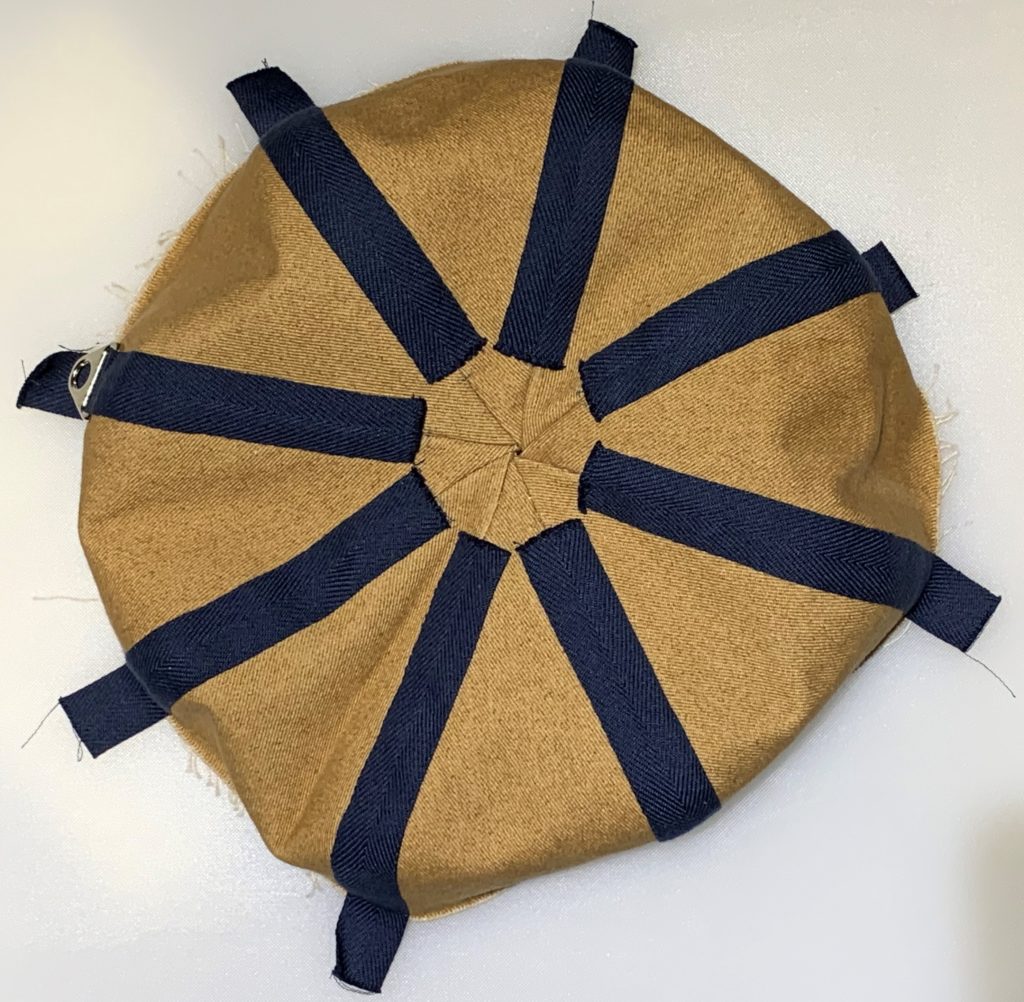
I used applique stitch for this, but a running stitch, as a top-stitch works fine too. make sure you reinforce the area around the triangle ring so that it doesn’t tear out later.
Prepare the bullseye
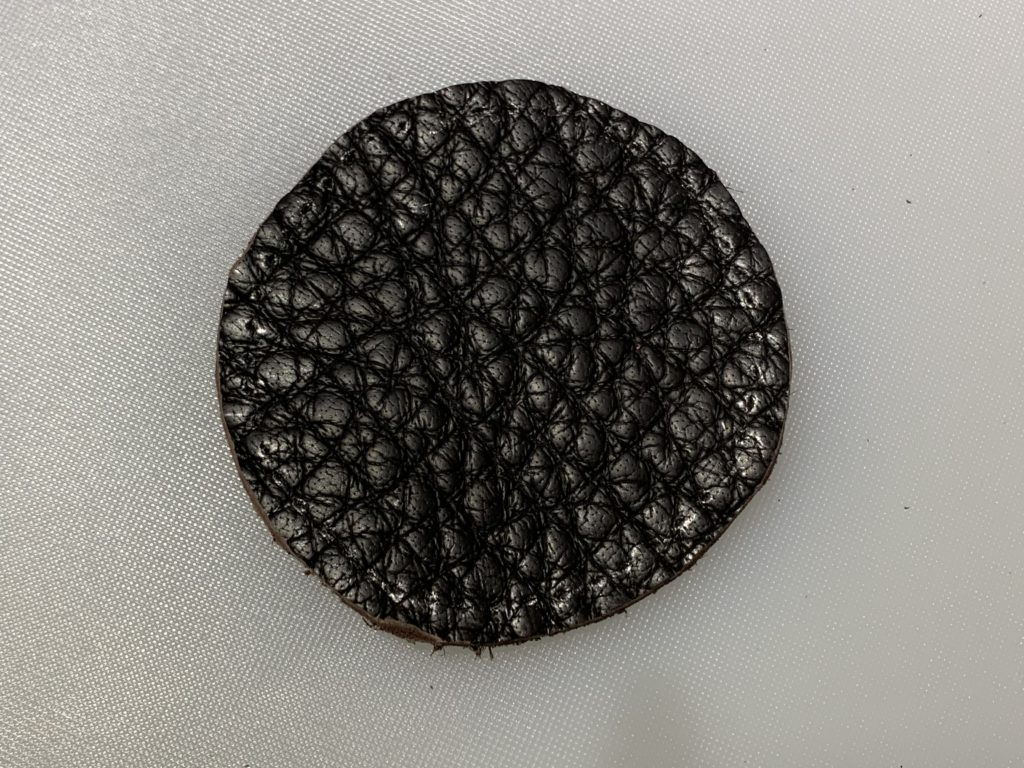
Using the leather awl, punch holes around the edge of the circle of round leather mentioned in the materials list. You’ll want those about 1/4 inch apart and about 1/4 inch from the edge.
Stitch the bullseye in place
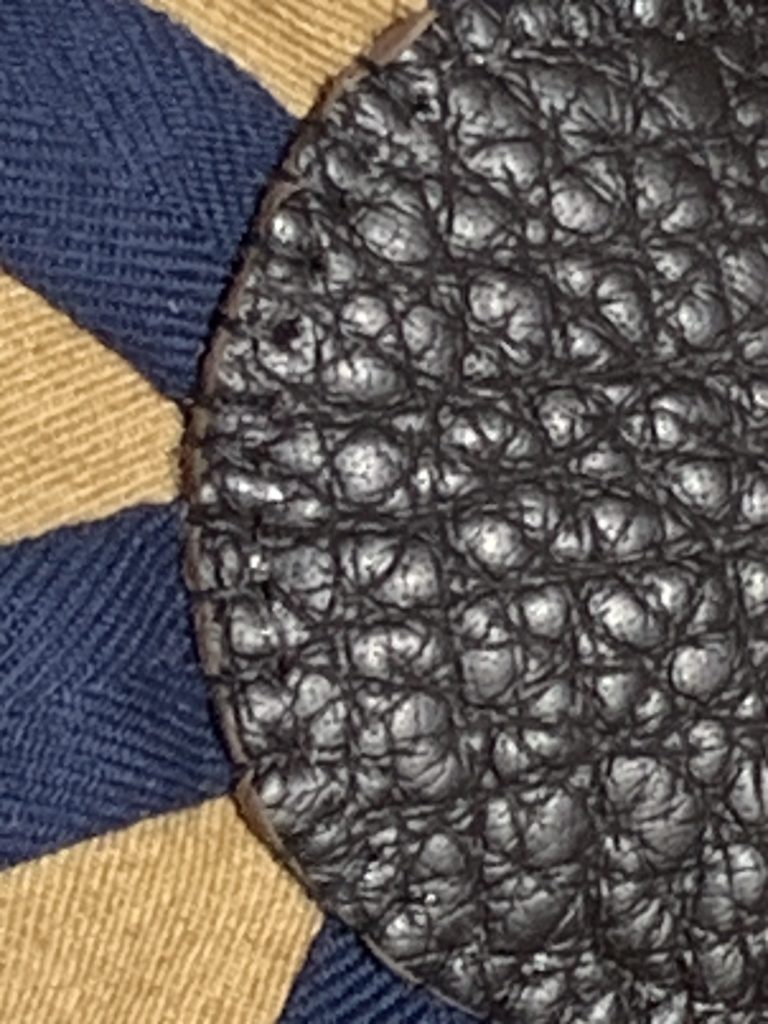
Using the leather glovers needle and the artificial sinew, center the leather bullseye and stitch it into place using an applique stitch. It can help to lightly mark the fabric with reference marks for where the edge should go.
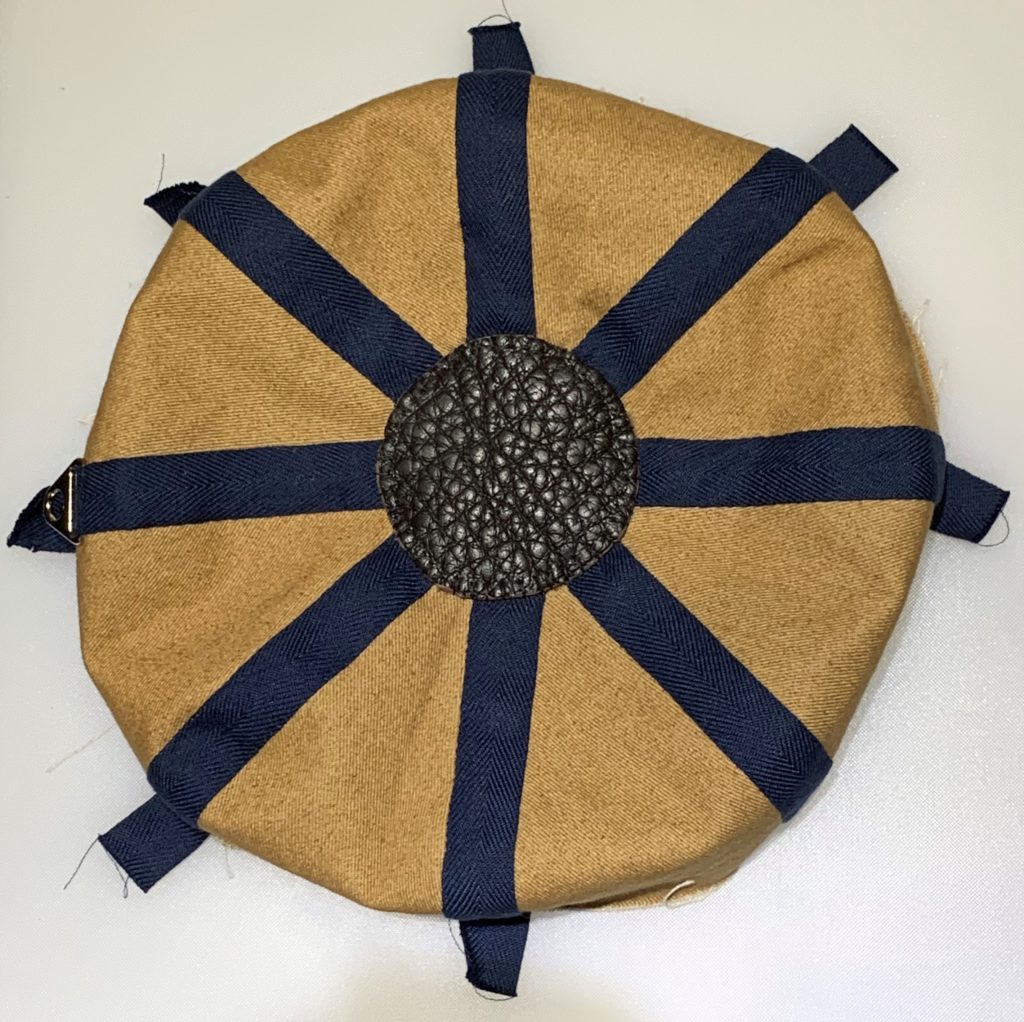
It should now look something like this.
Hem the edge
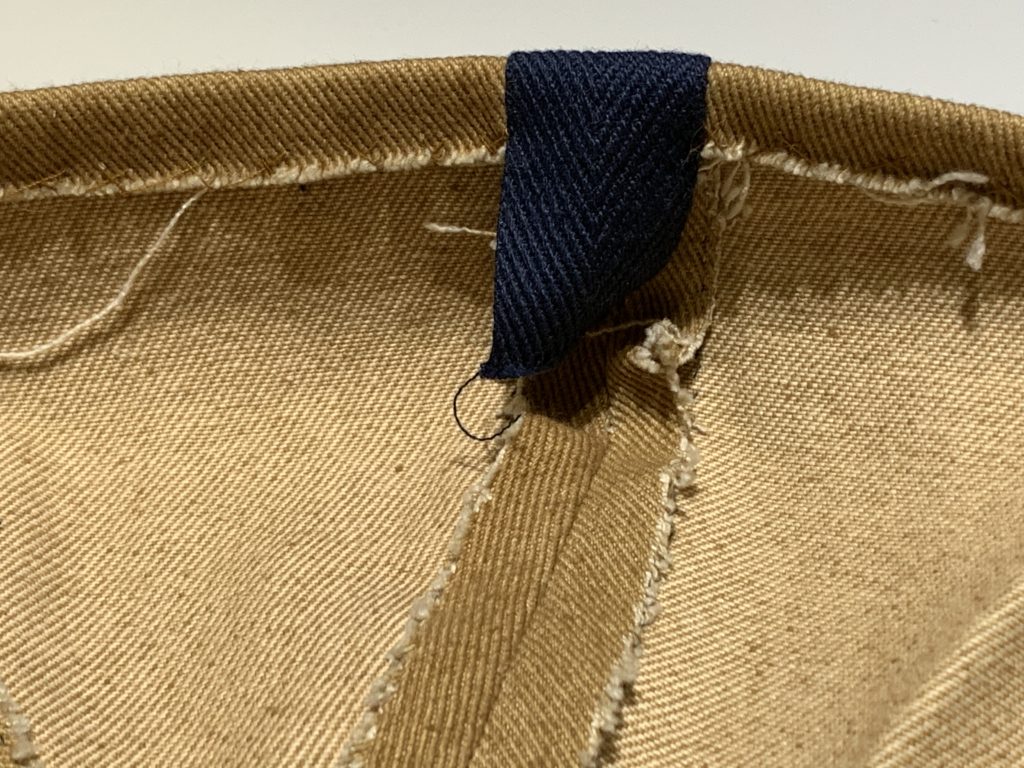
Do whatever trimming you need to do to even up the bottom edge of the target and then roll it in about half an inch. You can then stitch that hem down. Herringbone stitch works great for this, but a simple running stitch or stab stitch would work fine as well. This part can really be done at any point after the twill tape has been secured.
Once that hemming is done, go ahead and set this part down. It’s time to switch gears and work on the back of the target. This is a good time to do a quick check and make sure that the target face isn’t significantly larger or smaller than your plywood round. This is one of those steps that didn’t get pictured, but you should be able to pull situate the plywood round inside of the hem of the target front with just a tiny bit of stretching. If you can’t you’ll need to either cut a new piece of plywood, or cut down the one you have to get a good fit. If you were careful with all of your seam allowances, everything should fit fine.
Lay out your materials
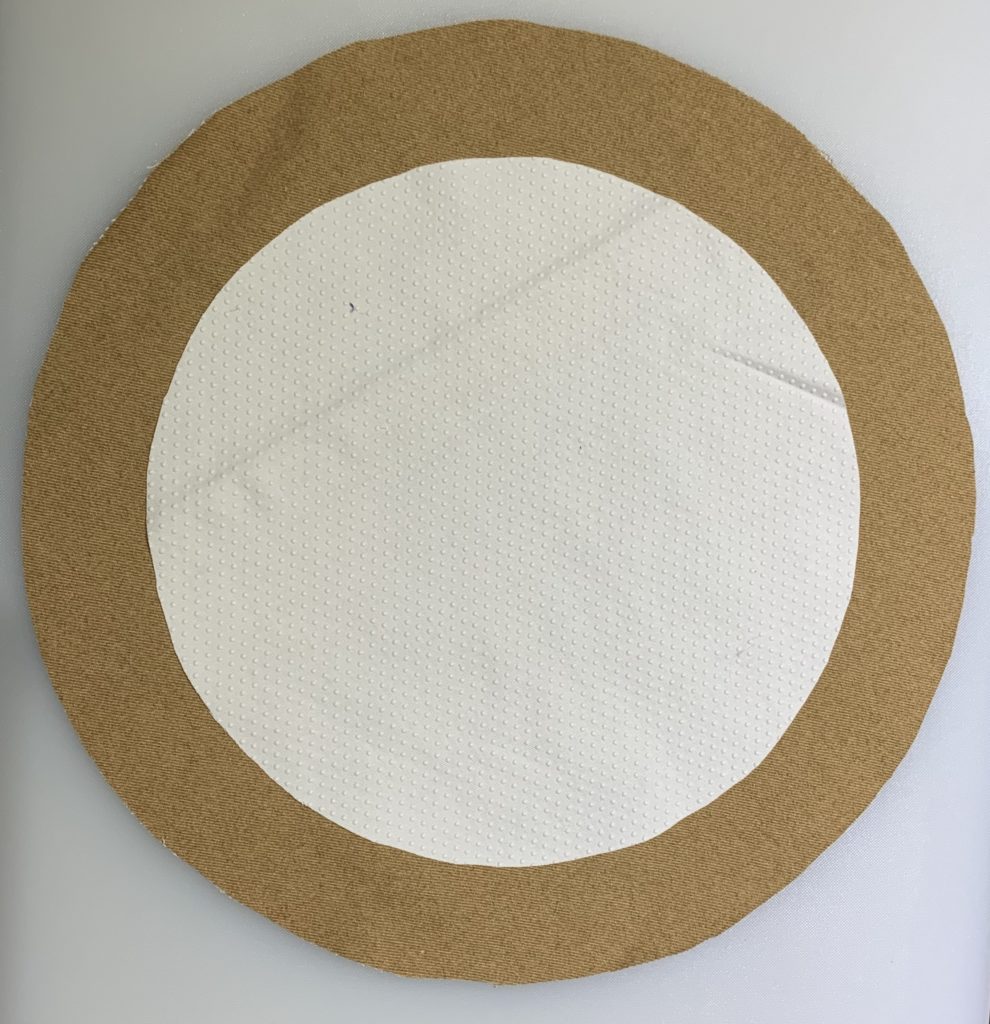
I put some grip-stop cotton on the back to reduce sliding when the target is hit at an angle. Grip-stop is a cotton utility fabric with little rubber dots at regular intervals. Your canvas circle should be about 14-16 inches in diameter, and your 12 inch grip-stop circle should be centered on it.
Pin the circle in place.
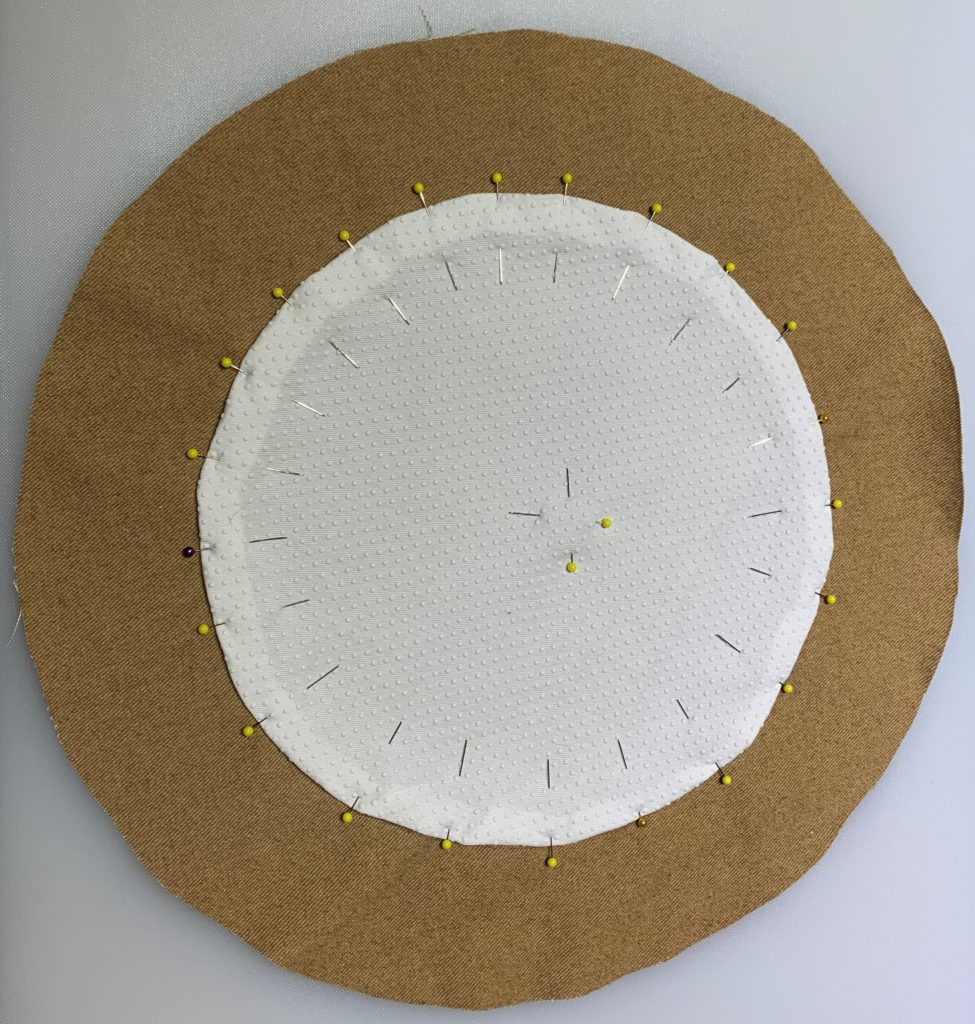
Start with a couple of pins in the center to keep your circle from shifting too much while you pin it. Then, work your way around the outside of the circle, rolling about 1/2 inch of the grip-stop fabric underneath and then pinning it to your backing canvas.
Stitch it down
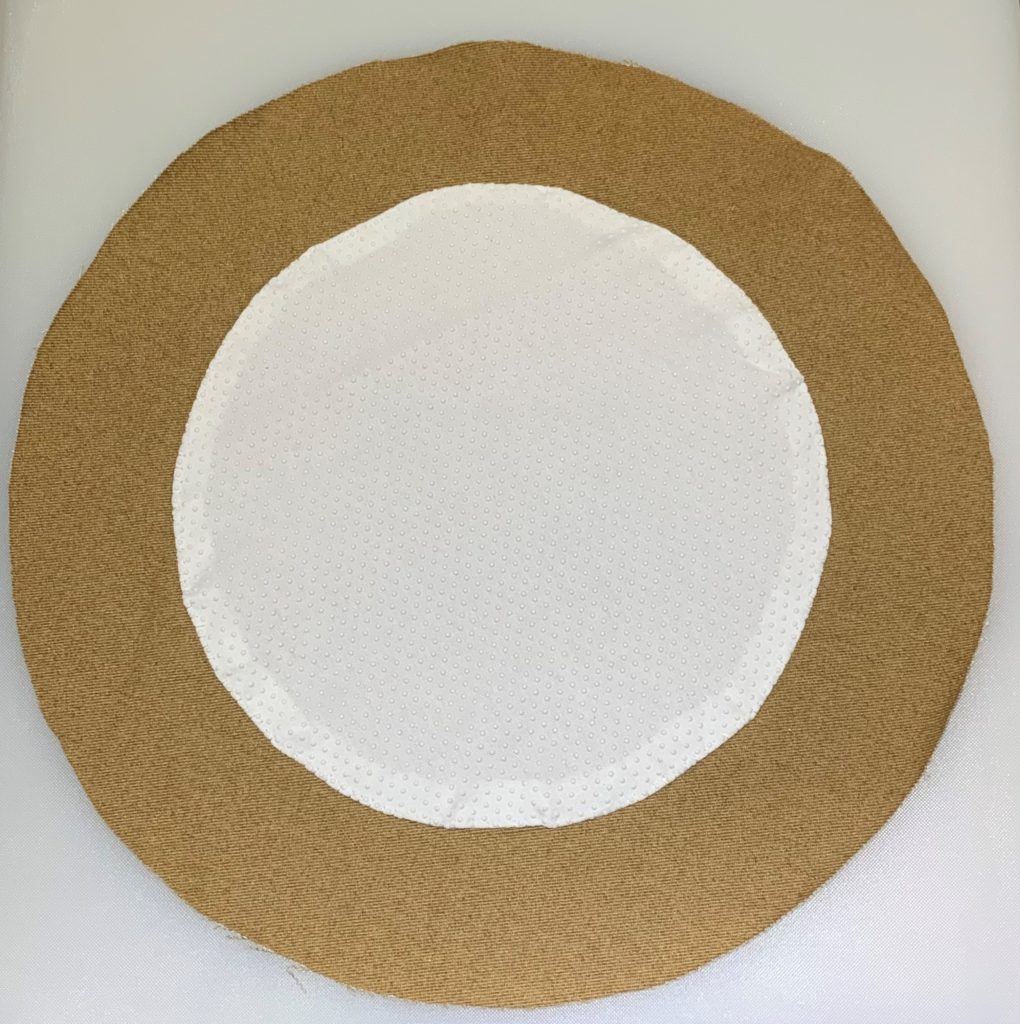
I used applique stitch again. I kept the stitches pretty small and used a white thread to match the grip-stop fabric. If you want applique stitch to appear invisible, you always want to match the thread to the color of the fabric you’re appliqueing into place.
Time to work on the inside
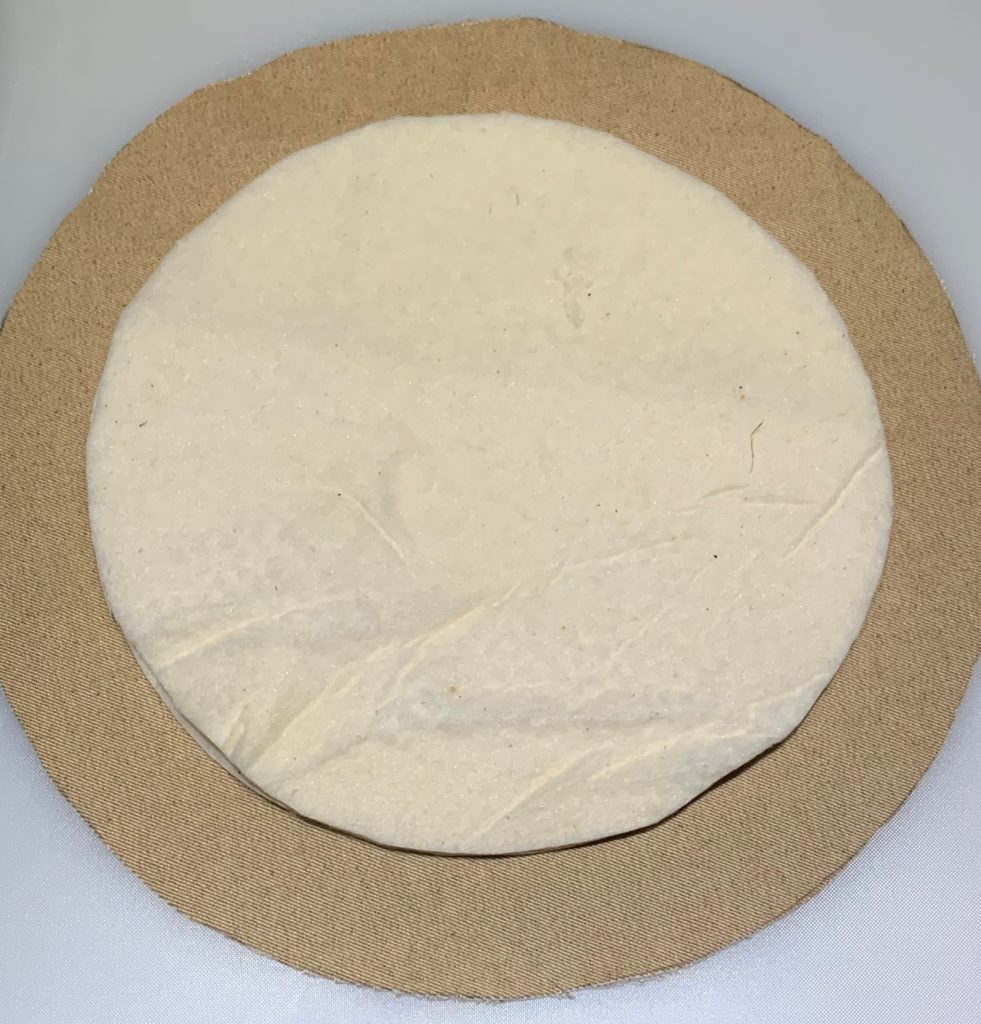
Flip the canvas over and center your 12 inch rounds of flat batting onto it
Keep stacking
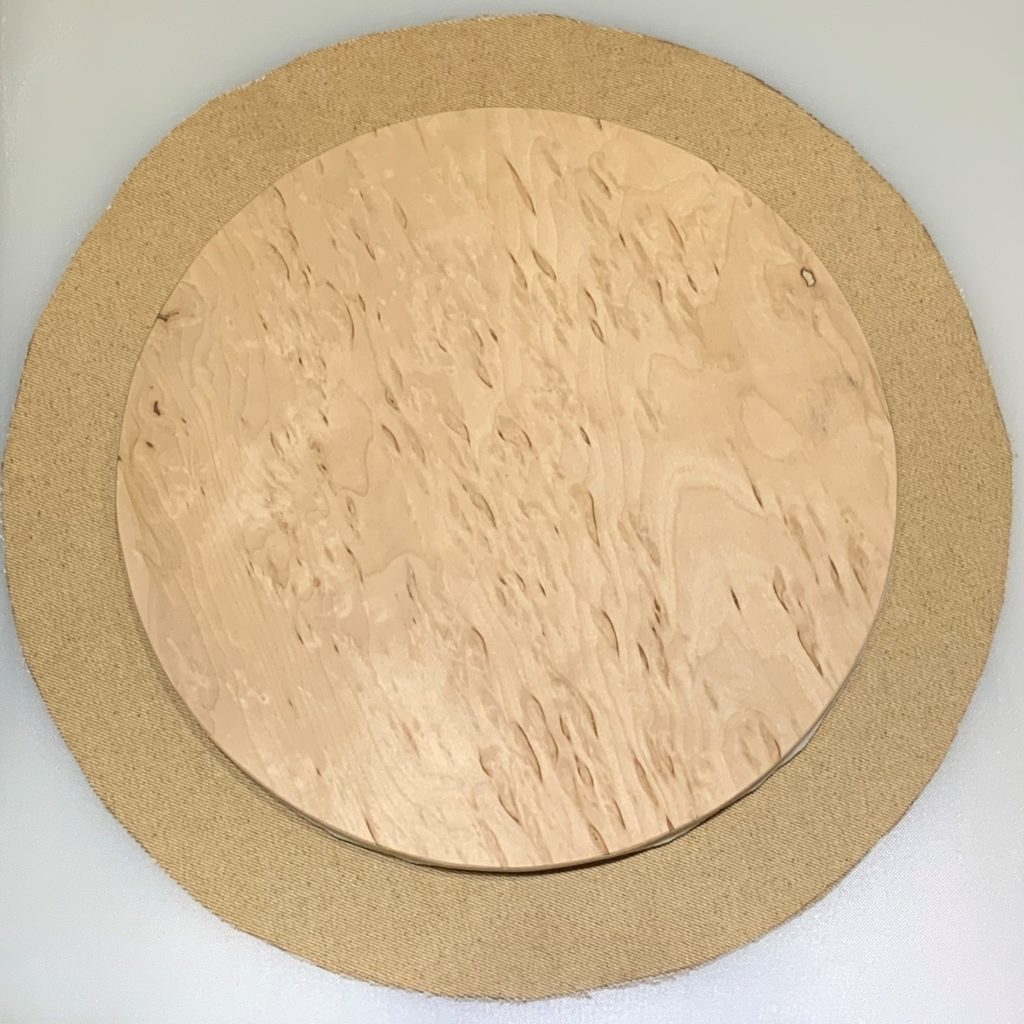
Center your plywood round over the batting. If you look really closely, you can just see a little bit of batting peeking out on the lower right side.
Start Stapling
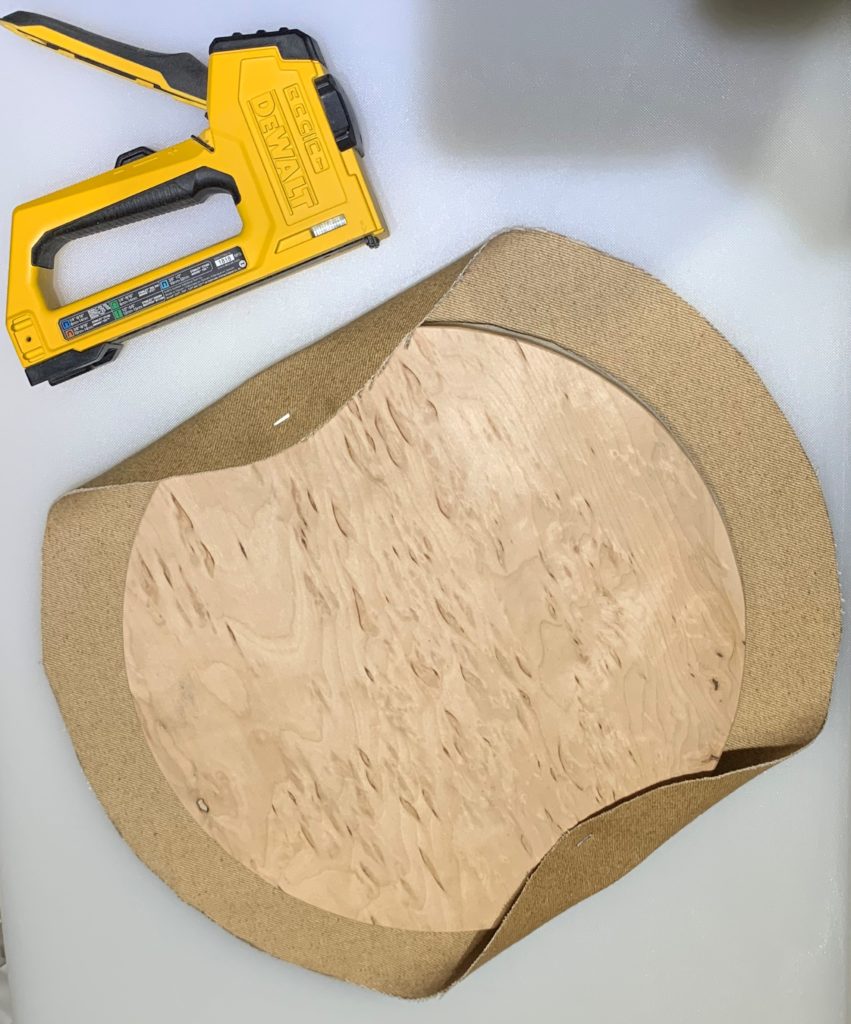
We don’t want the backing shifting behind our piece of plywood, so we’re going to staple it into place. Start with two opposite sides of the circle. push down firmly on the plywood so that nothing shifts, pull the fabric up over the edge, hold it tight, and staple it into place. It can help to have an extra set of hands for this, but you can also just set the whole thing on the floor and use your knee to push down on the plywood round while you manipulate the fabric and the stapler with your hands.
More Staples
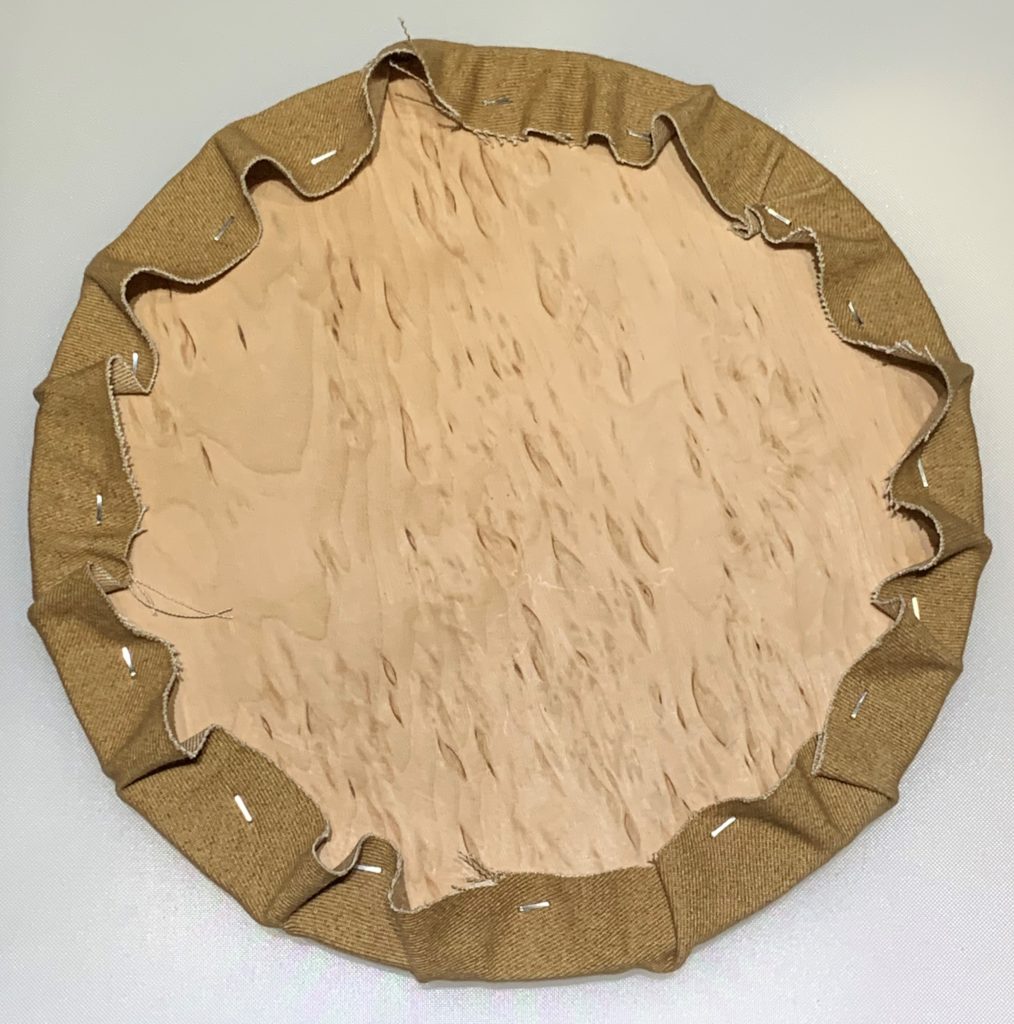
Once your first two staples are in, I recommend doing another pair of staples at about 90 degrees from the first to. Or, put another way, if the first two staples are at 12 o’clock and 6 o’clock do another set at 3 and 9. Then start filling in more staples in between the ones that are already there until it looks fairly smooth. I used 16 staples, and I would consider that to be about the minimum you would want to go with. I would typically use about twice that many, but we were in a stay at home order when I made this and I was running low on staples, so I made due with what I had. Within certain limits, the more staples you use, the smoother you can get the fabric. That said, the edge is going to get covered, so you have some leeway.
Check in on your work
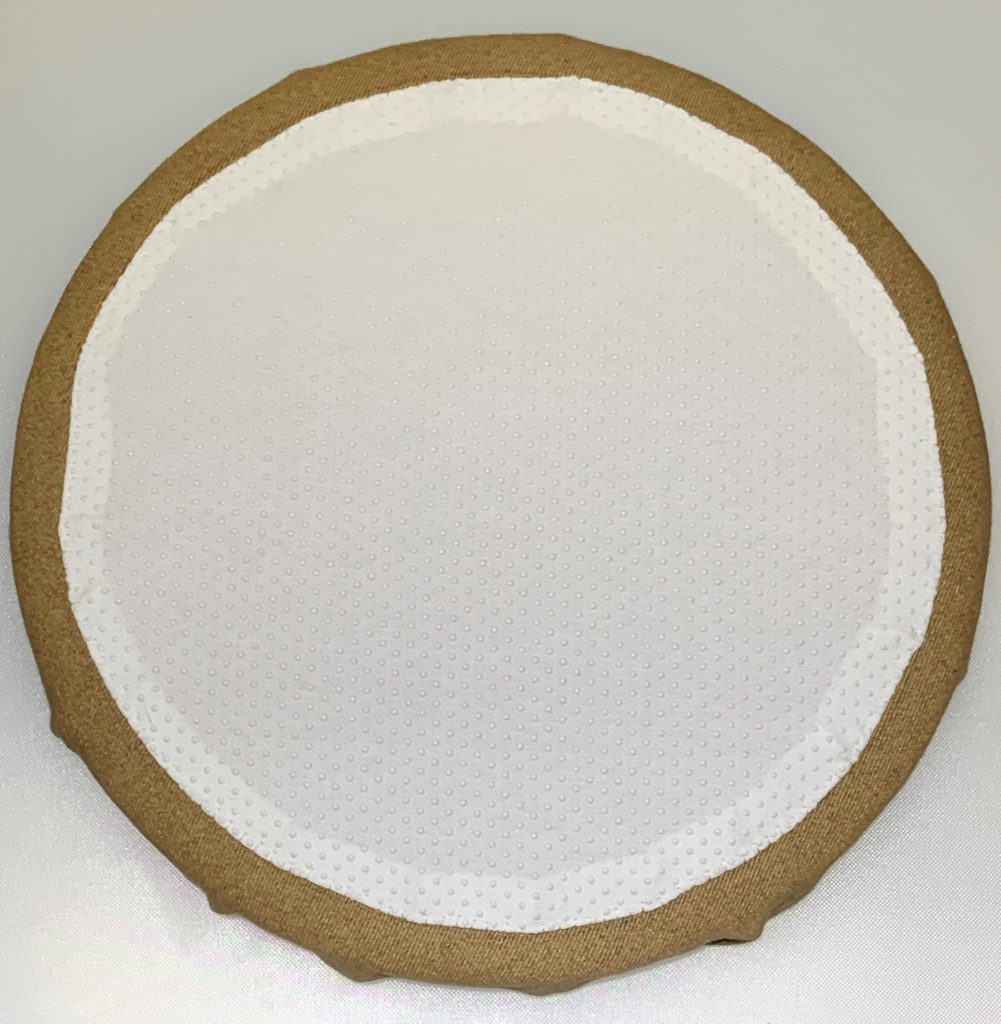
If you flip the back-piece over, it should look something like this. If it does, you’re ready to move to the next step.
Fit the two main pieces together
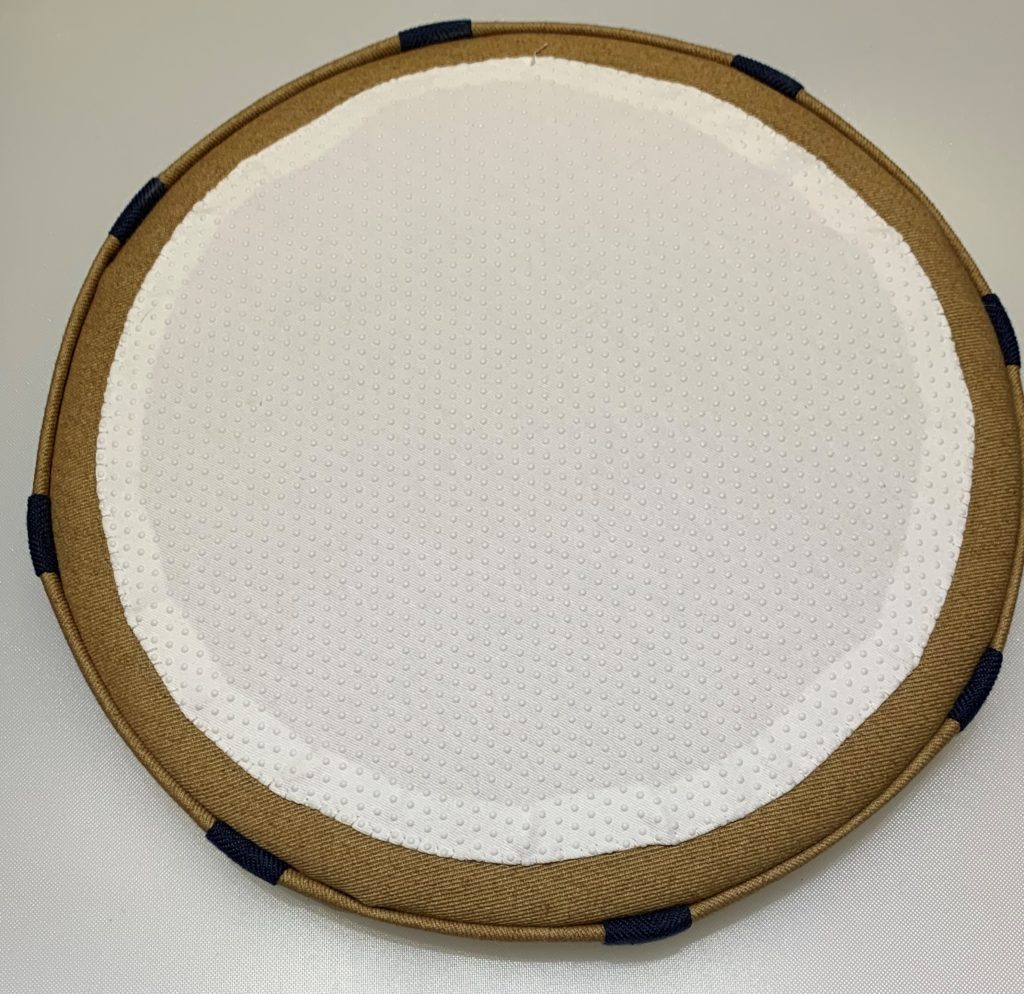
Remember that test fit we did right after finishing the target face? It should be just a tiny bit more snug now. If you want, you can put a few upholstery tacks into place, but keep them away from the very edge, and make sure you leave a space of 2-3 adjacent facing panels without tacks.
Stitch the pieces together
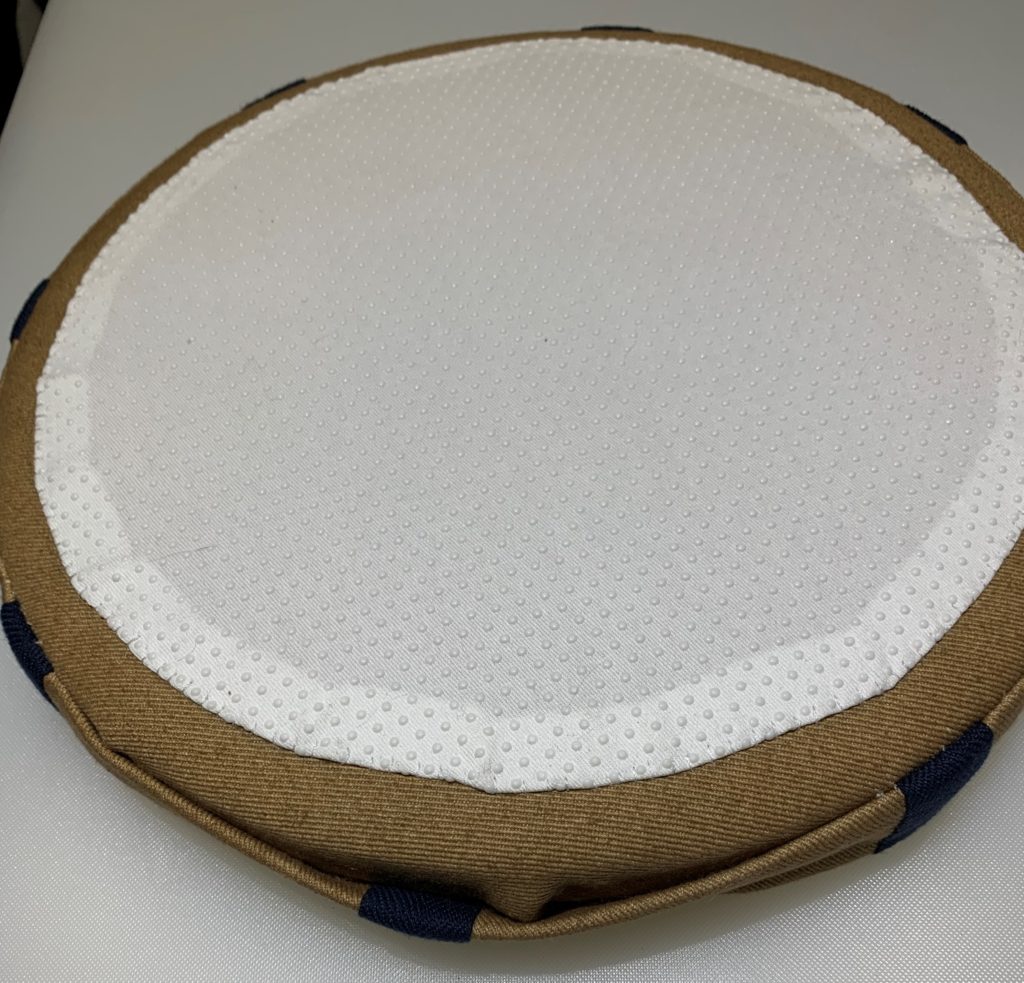
I used the herringbone stitch again, with my upholstery thread. Make sure you leave a space of 2-3 panels un-sewn for the moment. That’s where we’re going to stuff our batting into place. I recommend leaving the opening on the opposite side of the target from where your triangle ring is. That will put the opening at the bottom of the circle.
Stuff it and finish it
I don’t have pictures of the next few steps. Sorry about that.
Start by stuffing poly-fill into the gap you left un-sewn. This is pretty straight forward, work with small handfuls, and occasionally reach in and push the batting to the opposite side of the pillow. I wanted mine really firm, so I used the entire 12-oz bag in mine. I could probably have gotten away with about 3/4 of the bag and it would have made finishing easier.
Once the pillow is stuffed to your satisfaction, use your pliers to pull the hem down to where it belongs and insert upholstery tacks to hold it in place. Then, pull out your needle and thread and finish stitching the opening closed.
Congratulations! You’re done!


